Từ 34.900 ₫
Drawing a single hydrangea isn't too complicated, but building an entire cluster of hundreds of small petals takes a lot of time. The artist not only has to keep the shape of each bloom relatively consistent but also must control the density, distribution rhythm, depth, and color variation among the flower clusters.
The Procreate Hydrangea Brush Set 3.0 is built to shorten that repetitive process. Instead of constructing each petal from scratch, you can quickly create hydrangea clusters, flower strips, branches, leaves, and decorative patterns, then spend more time on composition, lighting, color, and personal style.
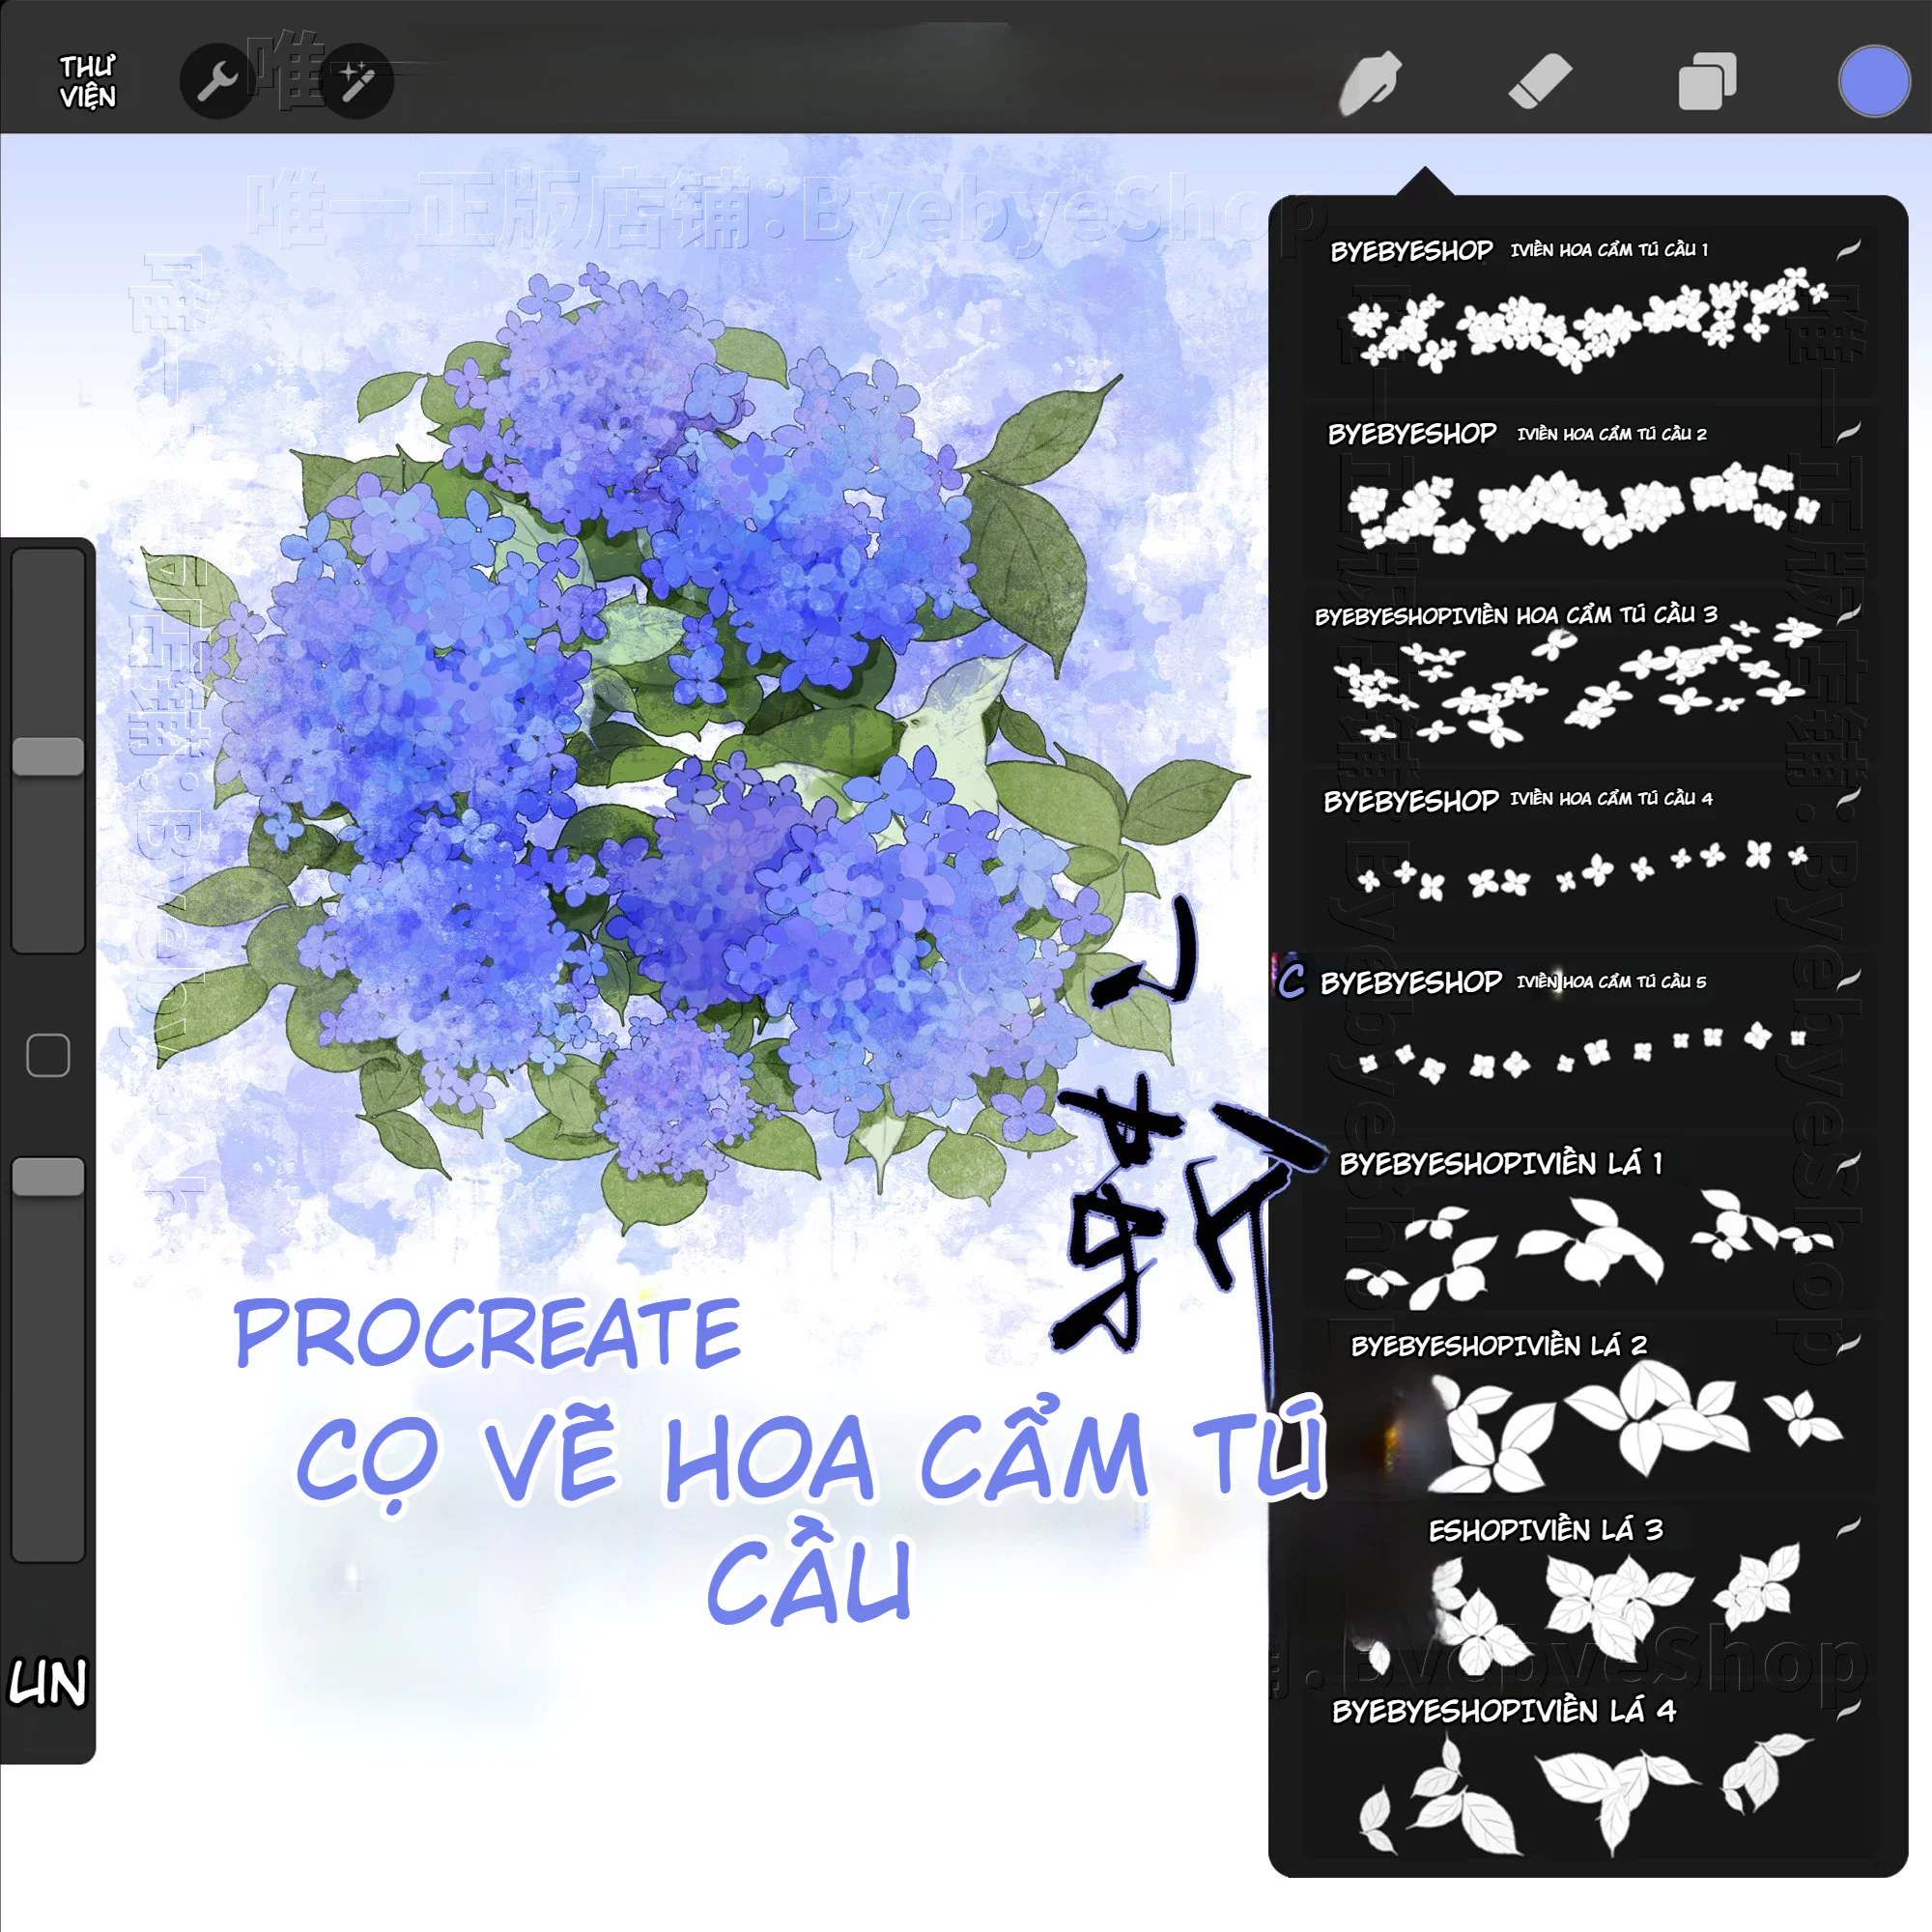
From the preview images, the resource set isn't just a simple flower brush tip but is divided into multiple groups including line art brushes, flat fill brushes, flower border brushes, two-color brushes, and supporting leaf patterns.
The lineart brush group offers various types of flower clusters. There are patterns of dense flower strips, sparse and light patterns, patterns with continuous small blooms, and larger clusters to serve as focal points in the composition.
These brushes can be used as complete lineart or as a guide layer before coloring. They are suitable for creating floral patterns on dresses, scarves, hair accessories, cards, photo frames, posters, and book covers.
For a more natural result, avoid keeping every brushstroke intact after placement. You can erase some flowers, reconnect a few lines, change sizes, and draw additional individual petals.
The solid fill brush tips help create flower silhouettes quickly, especially useful when building many hydrangea clusters in the same composition. Users can lay down the main color blocks first, then lock the layer or use a Clipping Mask to add shadows, highlights, and color variations.
This brush group can also be used independently for flat graphic styles, stickers, simple patterns, or designs without outlines.
An easy workflow is to place the flat fill layer underneath, the lineart layer on top, then add darker colors inside the cluster and lighter colors on petals facing the light source.
The product includes many brush tips that create continuous flower strips. With a single stroke, users can create hydrangea borders along the hem of a dress, picture frames, decorative curves, or titles.
The border patterns come in different densities. Some form thick, prominent flower strips, while others consist of smaller, sparser blooms, suitable for small-scale details.
This group is especially useful for wedding card design, greeting cards, photo frames, packaging, book covers, and clothing patterns.
Several brush tips support both the primary and secondary colors simultaneously. This feature is well-suited for hydrangeas, as a flower cluster rarely has just a single color but shifts gently between blue, purple, pink, white, or turquoise.
You can combine blue with purple, pink with white, light purple with dark purple, or turquoise with blue. When first using them, choose two close colors for a natural transition, then try more contrasting pairs later.
The brush set also provides many branch and leaf patterns in both lineart and flat fill forms. The patterns vary in arrangement, from long branches, clusters of two or three leaves, to large leaf groups used as backgrounds for the flowers.
Leaves play an important role in composition as they break the repetition of round flower clusters, create resting space, and guide the viewer's eye.
When using them, rotate, flip horizontally, resize, and erase some leaves. Placing all branches and leaves at the same angle will quickly reveal the brush pattern.
The Procreate Hydrangea Brush Set 3.0 is suitable for floral illustrators, fashion designers, card makers, poster designers, book cover artists, packaging designers, and social media content creators.
Anime artists can use the brushes to decorate dresses, tops, hair, accessories, and backgrounds. Botanical illustrators can use them to build a preliminary composition, then edit and render in their own style.
The small flower patterns are also suitable for creating stickers, fabric patterns, decorative frames, product labels, and wallpapers.
Start with a flat fill area to determine the overall size and shape of the flower cluster. Do not immediately place many identical clusters. First, build a few large blocks with different sizes and rotations.
Next, place lineart brushes or smaller flower clusters on top to break up the silhouette. The flowers in the core should be darker and more saturated, while petals on the outer edge can be lighter or less saturated.
Then, add leaves in the back and on the sides. Some leaves should be partially hidden by flowers to create a sense of front and back layers.
Finally, add texture, highlights, small shadows, and a few loose petals. These are the details that keep the cluster from feeling like it was made with a single brushstroke.
The advantage of stamp and border brushes is speed, but if left unedited, the repetition cycle will be very obvious.
You should change the brush size after every few strokes, use multiple flower patterns within the same cluster, rotate or flip branches and leaves, erase duplicate flowers, and add some hand-drawn petals.
Do not use a single brush tip for an entire bouquet. Combining three or four different patterns usually gives a more natural result.
An easy-to-use palette might include one main color, one secondary color, and one light color. For example, blue as the main color, purple as the intermediate color, and blue-white for highlights.
The flowers deep inside the cluster can use darker, cooler, and more saturated colors. The outer petals should be lighter or less saturated to create breathing room.
Leaves should not use just one shade of green. You can combine yellow-green in the highlights, neutral green in the midtones, and blue or purple in the shadows.
The brush set significantly reduces time spent on rendering large numbers of small flowers, offers a full range of tools from lineart to flat fill, and additionally provides flower borders, two-color versions, and many leaf patterns.
Users can build a relatively complete floral composition without having to switch between many different brush sets.
The brush set has broad applications, from illustrations to card design, covers, apparel, and digital creative products.
The brushes help speed up the process but do not replace skills in composition, color blending, and lighting control. To make the work unique, you still need to edit brushstrokes, add details, and change the cluster structure.
Brushes with high density can make the image look heavy when used on small canvases. Test each brush tip at various sizes before applying to your main artwork.
The original product name mentions commercial usage capability. However, the actual scope must follow the license or terms provided with the file. The right to use the output artwork does not imply the right to share, resell, or redistribute the brush files.
After downloading the file to your iPad, open the Files app and select the compatible brush file. Use the Open in Procreate function or import the file from the brush library.
After a successful import, create a test canvas and try each brush with different sizes, colors, and pressure levels.
For two-color brushes, set both the primary and secondary colors before drawing. If the result is not as desired, swap the two colors or reduce the contrast between them.
Software used: Procreate on iPad.
Resource type: digital painting brushes.
Main content: hydrangea flowers, flower borders, branches and leaves, lineart, and flat fill areas.
File format and number of brushes should be checked directly from the download package before official specifications are announced.
The Procreate Hydrangea Brush Set 3.0 is a useful resource for those who frequently draw floral elements or need to quickly create a large number of petals within the same composition.
The most notable aspect is the combination of lineart brushes, flat fill brushes, flower borders, two-color versions, and branches and leaves. The brush set can assist from the initial composition stage through decoration and finishing.
It is a suitable choice for botanical illustration, apparel decoration, card design, posters, book covers, and many digital art products featuring hydrangeas as a highlight.
The brush set is designed for use in Procreate on iPad.
Yes. The flat fill and border brushes are relatively easy to handle. Beginners should try each brush tip on a separate canvas before building a large composition.
Users set the primary and secondary colors in the color picker. The brush tip uses both to create variation within a single stroke.
Từ 34.900 ₫
PayPal checkout supports PayPal balance and eligible international cards.
 PayPal balance
Discord cộng đồng Digital Art
Real ratings from NextGZ members
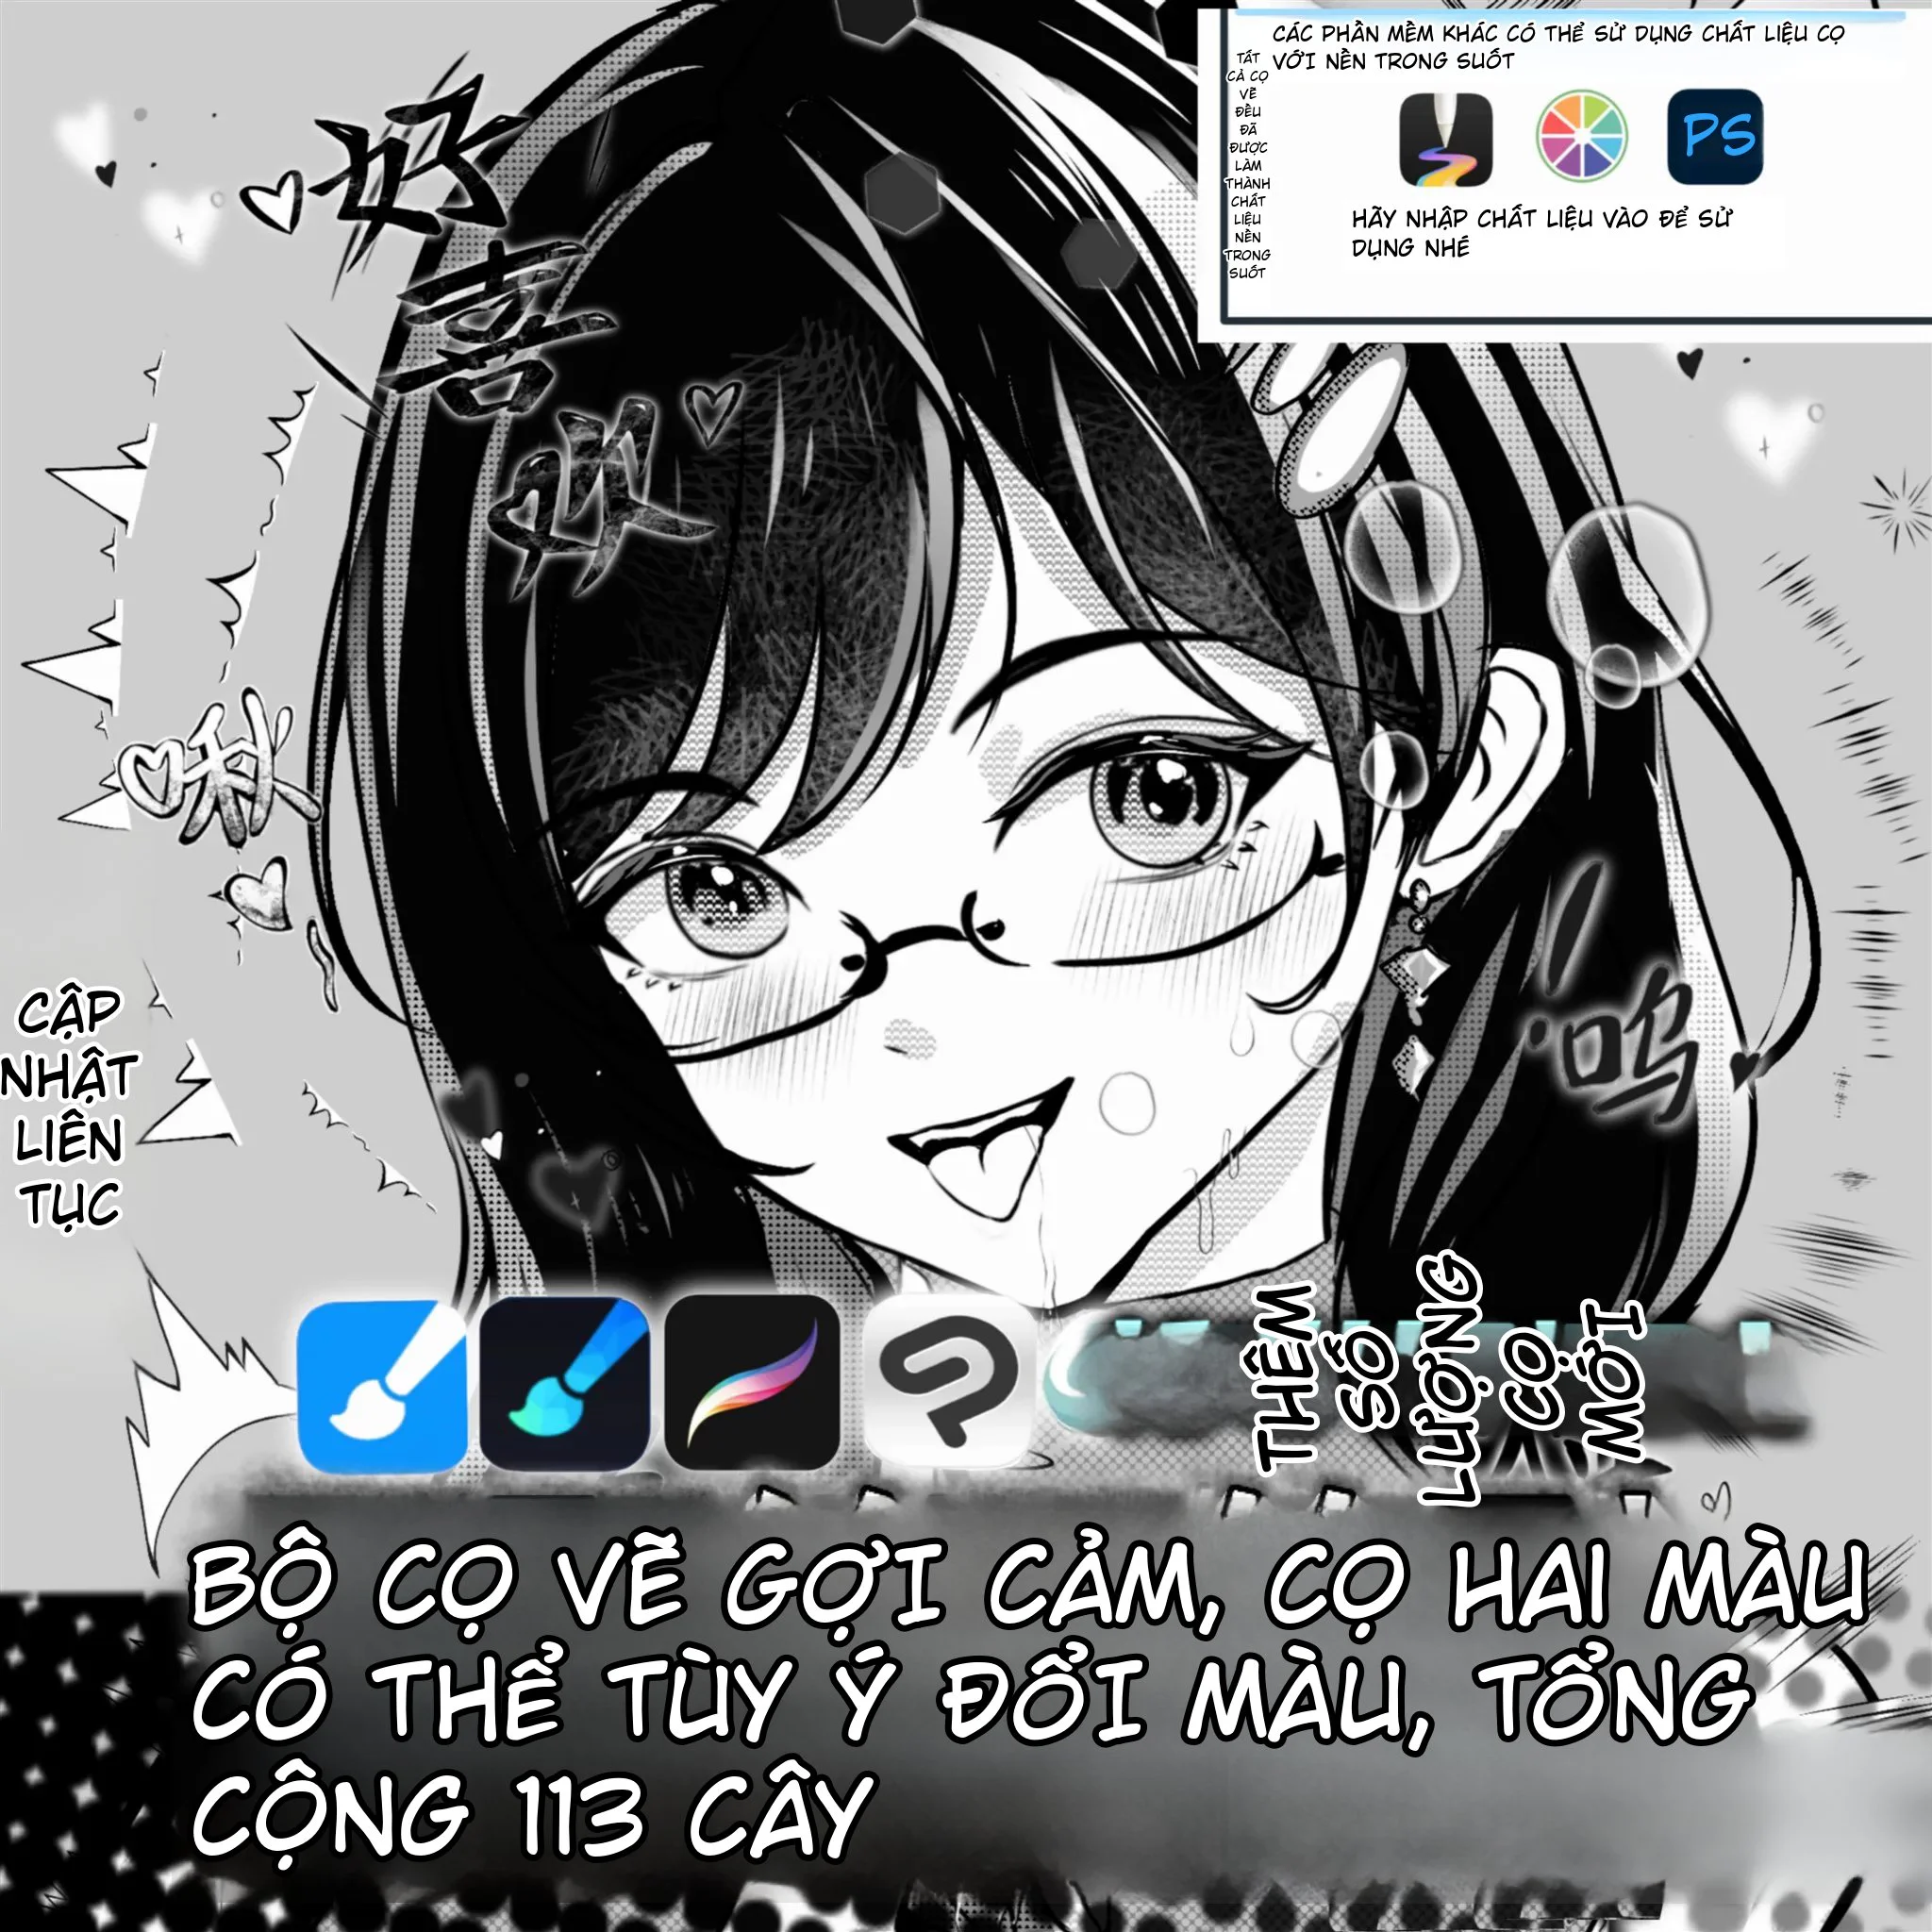
104 Bộ Brush Thầy Chuishi - Procreate
Mẹo học chất liệu latex: Hãy nghĩ như kim loại có thêm nếp gấp, độ mềm và biến dạng
Cách tô tóc hồng anime trong IbisPaint: Outline màu, bóng xanh và paint-over 7 bước
Cách vẽ tóc dài, tóc đen và tóc trắng anime: Khối tóc, gradient và tỉa lọn
Cách tô tóc anime xanh trong IbisPaint theo quy trình Pintarou: Từ mảng nền đến phản quang hồng
Bình luận
0 bình luận
Đăng nhập để tham gia thảo luận cùng cộng đồng!
Đăng nhập ngayĐang tải bình luận...