

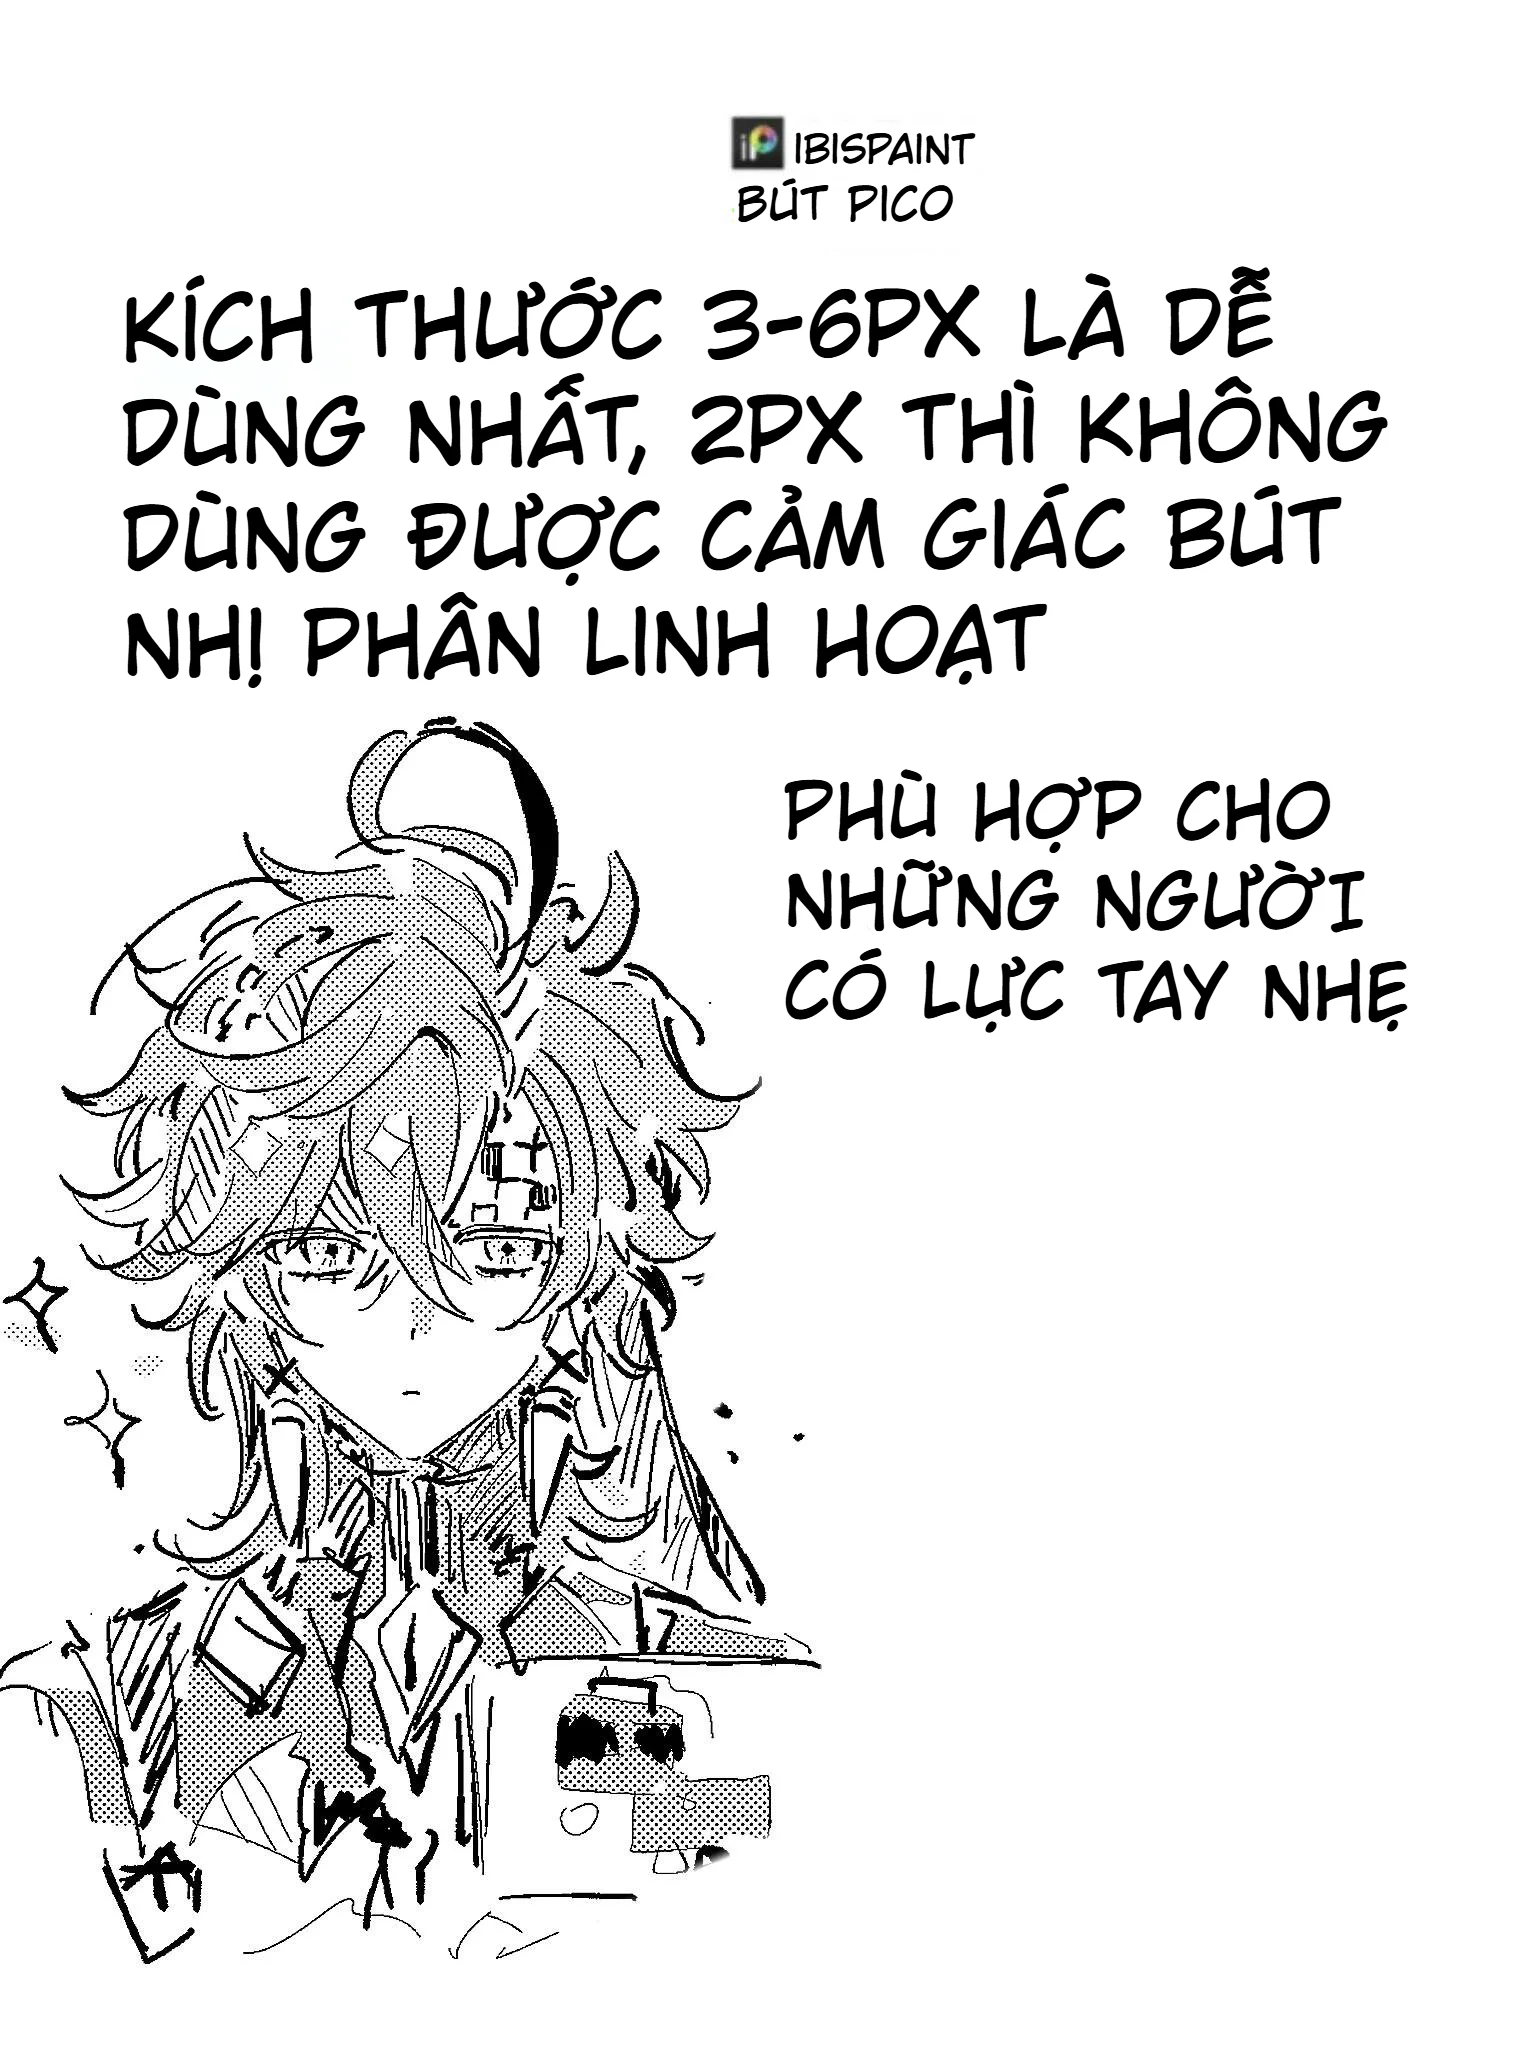
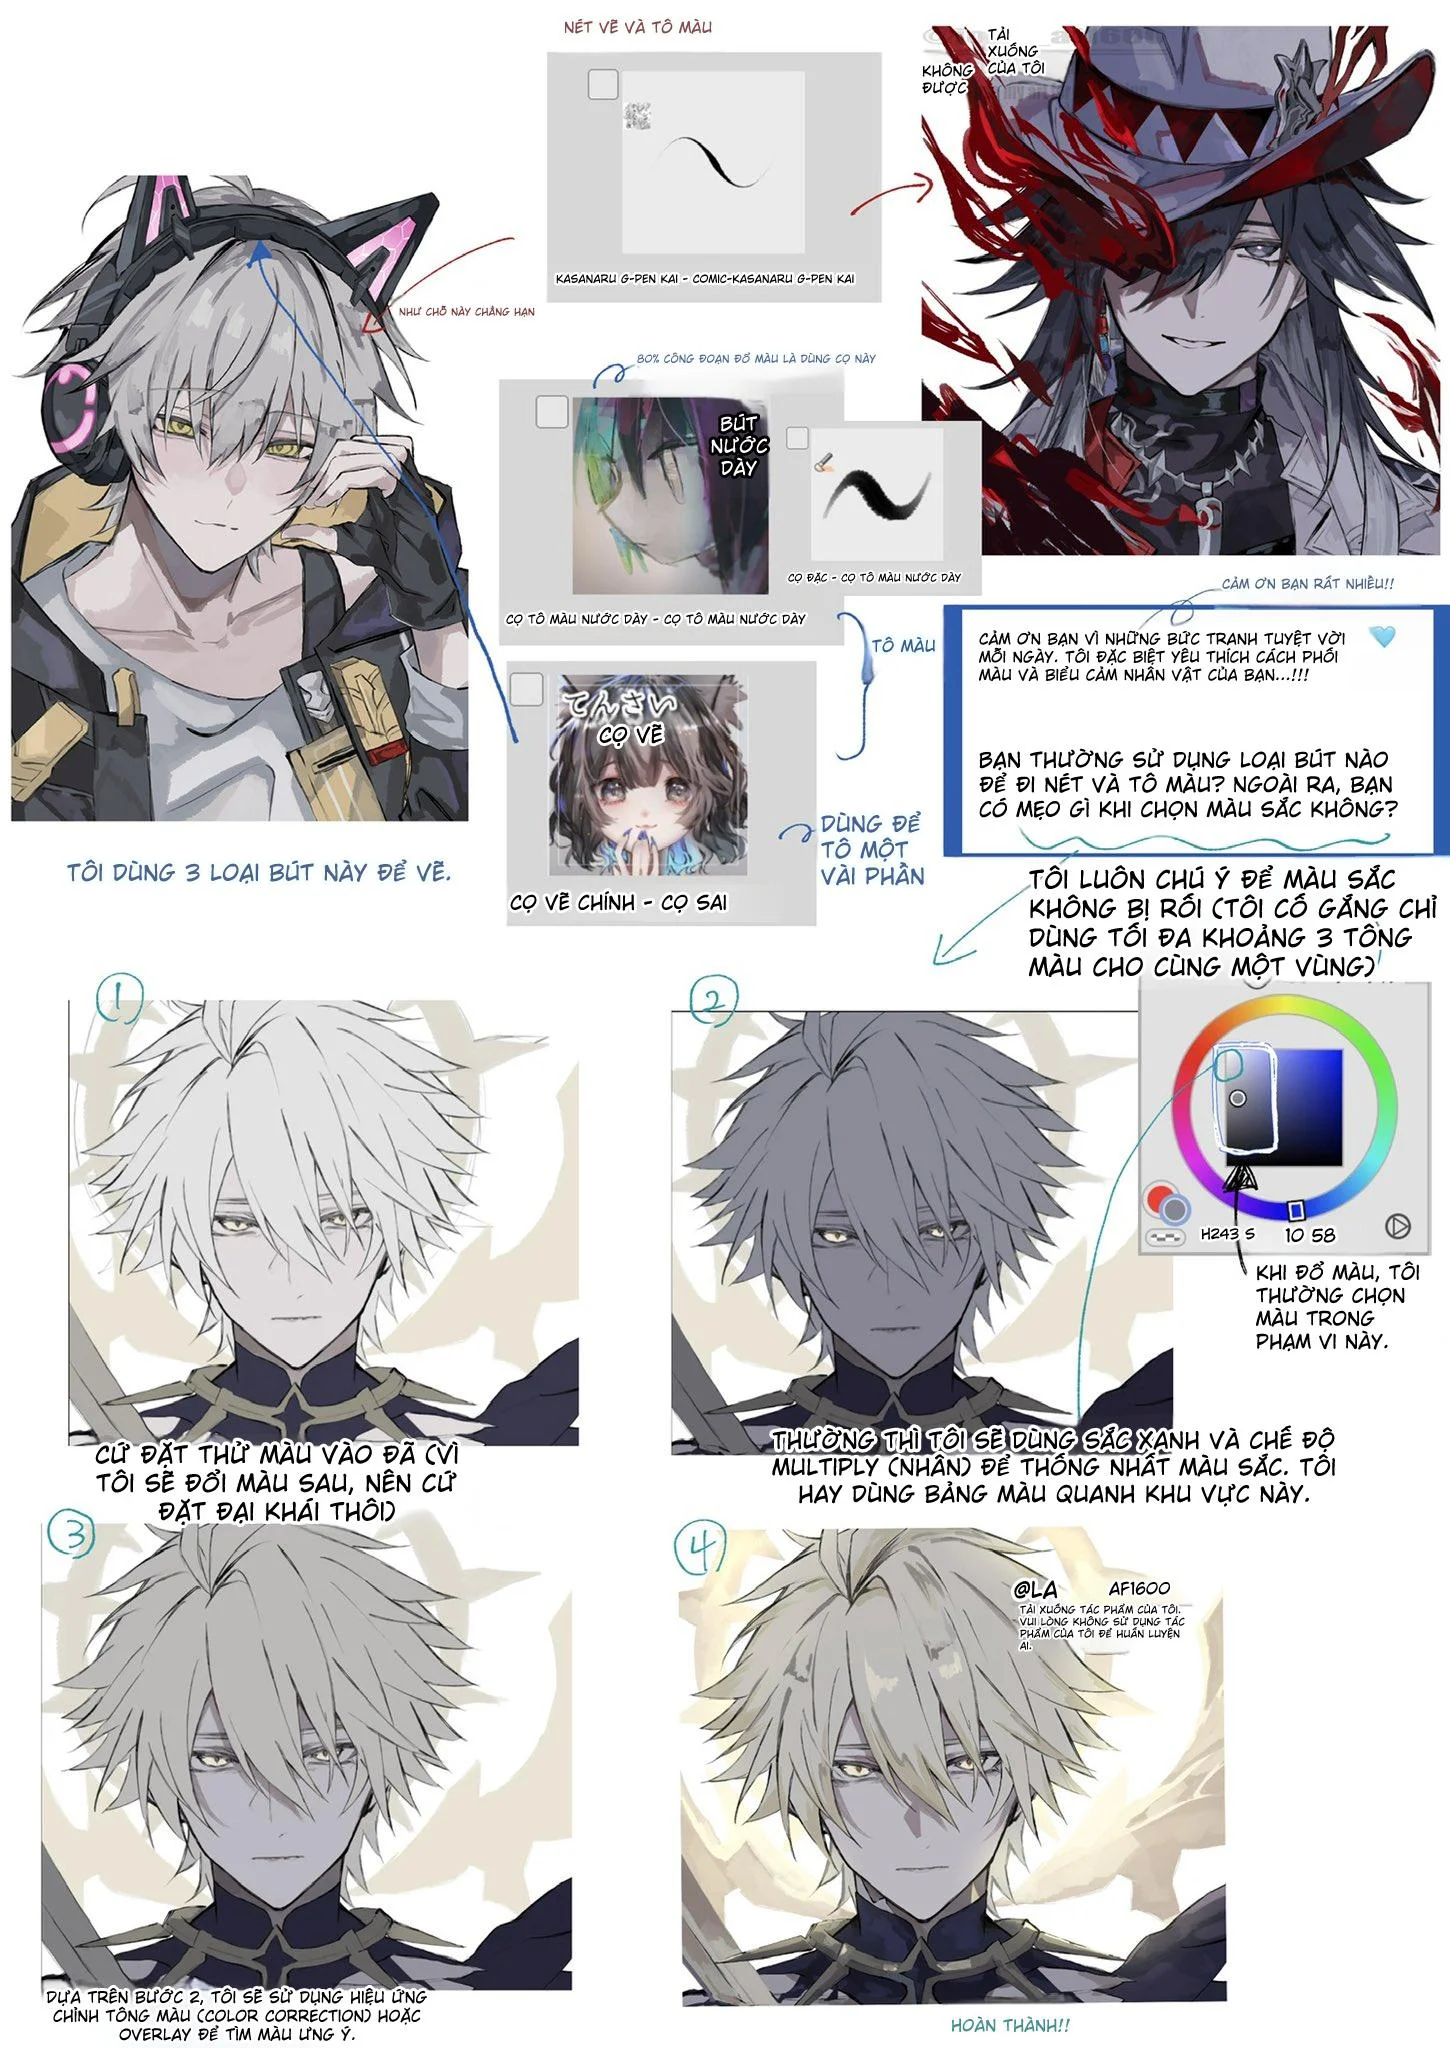
How to paint contrasting black and white anime hair: a clean, 4-step process with depth
White hair and black hair are two very difficult extremes in digital painting. White hair easily looks flat, loses its form, and quickly turns into a lifeless gray mass. Black hair, on the other hand, easily swallows all detail if shaded too heavily. When combining both into a split-color hairstyle, the difficulty doubles because the artist must maintain the hair volume, light and shadow, separation between the two color sections, and still make the overall look smooth, not cut in half like a sticker. The method in this tutorial is strong because it doesn't try to over-render. It follows a very clear workflow: lock in the hair sections first, use Multiply to build form and shadow, add secondary colors to the dark areas, and then finish with hair strands and silhouette adjustments. Multiply is a blend mode that darkens colors by multiplying the color of the blending layer with the layer below, so it's especially useful for shading.

Another great point is that this workflow aligns with a very basic principle when drawing anime hair: before thinking about individual strands, think about hair flow and large clumps. Clip Studio hair painting guides all emphasize starting with large shapes, overall flow, and light direction first, then moving on to rendering and hair strands at the end. When building from large masses, the hair will retain its volume and rhythm much better than jumping straight into strands from the start.
Why does this black and white hairstyle easily go wrong?
The first reason is that these two color sections react to light very differently. The white side needs clear shadows to read the form, but too much shadow makes it dirty immediately. The black side needs secondary colors or reflected light to avoid becoming a flat, sunken black mass. The second reason is the boundary line between the two hair sections is very prone to looking "fake". If you just fill one side white, the other side black, and then paint a few highlights, the hair won't feel like it's part of a single volume. It will look more like two pieces of hair stuck together than real hair. That's why this tutorial starts by blocking in the hair masses first and then refining the edges, prioritizing volume and flow over contour.
Step 1: Lock in the hair color sections first, then smooth the edges
The first thing in the image is not to draw sharp lines from the beginning, but to paint the color masses for the hair first, then outline and smooth the edges later. This is a very smart approach, especially for light-colored hair. When you can fill a large hair mass with the correct direction, flow, and puffiness first, adjusting the silhouette afterward becomes much easier. Some Clip Studio anime hair painting guides follow a very similar logic: block the base color first, keep the silhouette clear, then add a light gradient or adjust the shape so the hair feels less like a single flat mass.
For the hairstyle in the image, step 1 also does something quite important: integrating the sketch into the color mass and lightly adjusting the hue. This helps prevent the hair from separating into two layers: "sketch on top, color below." Instead, the outline begins to blend into the hair volume, making the hairstyle look softer and more unified. This is where many people, rushing, often make the mistake of lines completely separating from the color, especially with white hair.
To make this step solid, ask yourself three questions:
Which direction does the hair volume fall?
Where is the hair whorl?
Which mass overlaps which?
If you can't answer those three questions, don't draw strands.
Step 2: Shade with Multiply, starting from the hair whorl and light-obscured areas
Moving to step two, the tutorial uses Multiply to build the first shadow layer. This is a very correct choice because Multiply helps darken shadows quickly while preserving the base color underneath. In Clip Studio's materials on blend modes, Multiply is considered particularly useful for shadows; and in hair painting tutorials, shadows are usually placed in overlapping areas, the underside of hair clumps, and light-obscured parts.
A very worthwhile point to learn from the image is that the author doesn't shade randomly. They start from the hair whorl area. This is extremely useful for volumetric thinking. The whorl area near the top of the head is where the hair changes direction, sections separate, and flow bends. If you shade this area correctly, you'll lock in the feeling of "hair growing and flowing from the head," rather than just colored strips hanging on the skull.
Besides the whorl area, the first Multiply layer should focus on:
the underside of hair clumps
the shaded edges opposite the light source
where two hair masses intersect
hair close to the face or ears if you need to emphasize thickness
At this stage, no need for fine detail. Just give the hair a clear enough dark layer so the entire hairstyle has depth.
Step 3: Use Multiply a second time to overlay a secondary color, save the black section, and enrich the color
This is the step that makes this tutorial worth keeping. The author doesn't stop at a neutral shadow layer but continues to use Multiply to overlay another color onto the dark areas. In the image, the dark areas are pushed towards a brown hue, so the black section is no longer a dead black layer. This is a very effective technique for dark hair. If you only shade with black, the hair will look flat and internal details will be lost. But if you introduce a secondary hue into the dark areas, the hair will look much more "colorful."
In hair coloring guides, Clip Studio also often advises artists to add reflected light or secondary colors to shadows to make hair richer, rather than just going from a base color to a dark layer of the same hue. For black hair, this method is especially important because the dark areas need variation in temperature and hue for the hair volume to feel alive.
Right in the image, there's a great note: after overlaying black shadows, hair details can become completely flat. This is a very common mistake. The way to fix it is not to try and save it by drawing lots of bright strands, but to change your color thinking for the shadows first. A bit of brown, cool purple, gray-blue, or reddish-brown can all give the dark areas more dimension while keeping the overall black appearance.
Step 3 Extended: When the base area is too dark, use Gradient Map + Clipping
A small note in the image suggests a very valuable tip: if the base area leans too heavily towards black, you can create a mask for the area you want to change and then clip a Gradient Map layer using Clipping to change the color faster. This is a very powerful workflow in Clip Studio Paint. Gradient Map is a correction layer used to remap light and dark values to different colors on a gradient spectrum; if you clip it to the layer or hair area below, you can change the color mood very quickly without destroying the pre-painted value structure. Clip Studio TIPS clearly states that after creating a gradient map adjustment layer, you can use a clipping mask / clip to layer below to apply the color only to the desired area.
For white–black split hair, Gradient Map is particularly useful when:
you want to try many shadow tones for the dark hair side
you want to push the black section towards brown, brick red, dark purple, or dark blue
you want to test color options without having to repaint everything
This is the kind of tool that saves a lot of time, especially when testing concepts.
Step 4: Add hair strands, adjust masses, and save the overall silhouette
Only at the final step does the tutorial add hair strands. This is the correct order. Hair strands are not meant to "patch" a hairstyle with weak volume; they should only be the finishing layer. At this stage, the author also clearly states they will adjust any color masses and hair edges from step 1 that aren't smooth enough, while also enhancing the overall shape's focal points. This thinking is spot on: hair strands only look good when the large masses are stable. If the large masses are wrong, adding strands only makes it messier.
Anime hair painting guides on Clip Studio also usually leave finishing touches for the end: secondary highlights, a few flyaway strands, adjusting hard–soft edges, and cleaning up the silhouette. Adding strands last is to make the hair look less artificially manufactured, not to replace building the volume.
For the hairstyle in the image, hair strands do one more thing: they help the white and black sections intersect more naturally. If the boundary between the two hair halves is too clean, like a vector cut, the character will look more like they're wearing a wig than real hair. A few strands crossing over, touching the boundary, or breaking out of the silhouette will make the overall look have a much more natural rhythm.
For this hairstyle to look good, you must maintain 3 things simultaneously
1. The hair volume must be clear
Don't get so caught up in the black-and-white effect that you forget to construct the head form and hair flow.
2. The dark areas must be color-rich
Black doesn't mean just painting black. Dark areas need secondary hues to avoid looking flat.
3. The boundary between the two hair halves must be "alive"
It shouldn't look like an absolutely flat cut line. Give it masses, clumps, intersections, and a bit of naturalness.
Common mistakes when painting contrasting black and white hair
The first mistake is drawing strands too early. The result is fragmented hair that still lacks volume.
The second mistake is the white side lacking shadows, making the hair look like cotton wool.
The third mistake is shading the black side too heavily, killing the detail.
The fourth mistake is the boundary between white and black being too hard, making the hair look like two decal layers stuck together.
The final mistake is using hair strands to save the volume, when the large masses were wrong from the start.
Just avoid these mistakes, and the split-color hairstyle will become much easier to handle.
A concise workflow you can use right away
If you need to condense the whole article into an easy-to-remember formula:
Block base hair mass first
Adjust silhouette and edges
Multiply pass 1 to build volume
Multiply pass 2 to enrich shadow color
Gradient Map + Clipping if you need to change the mood of dark areas
Hair strands + final cleanup to finish
Conclusion
The workflow in the image is strong in one exact point: it teaches you to paint contrasting black-and-white hair without falling into messy over-rendering. The processing order is very clear and practical: paint hair masses first, smooth edges, shade with Multiply to lock in volume, add secondary colors to dark areas, utilize Gradient Map and Clipping when needing quick color changes, and finally add hair strands and adjust the silhouette. Multiply is a very suitable blend mode for shading, and Gradient Map combined with clipping is an extremely fast way to remap color on an existing value base.
If it had to be summed up in one concise sentence:
the secret to this hairstyle isn't drawing lots of strands, but keeping the hair masses solid enough so that both the white and black parts exist within a unified hair volume.
Where should you start when painting black and white anime hair?
You should start with large hair masses and the overall silhouette, not jump into hair strands too early. Anime hair painting guides also advise starting with large shapes before adding details.
Why use Multiply for shading hair?
Because Multiply darkens colors by multiplying the color of the blending layer with the layer below, making it very suitable for building shadows and increasing depth.
How does Gradient Map help when painting dark hair?
Gradient Map allows you to remap light and dark values to a new color spectrum, very useful when you want to change the color mood of dark hair areas while keeping the existing shading form.
What is the role of Clipping in this workflow?
Clipping helps limit the color or gradient layer to display only within the hair section that needs adjustment, so it's very convenient for local color changes without bleeding outside.
Should you add hair strands from the beginning?
No. Hair strands are the final finishing step to increase naturalness and silhouette emphasis, not a replacement for building large hair masses.


Bình luận
0 bình luận
Đăng nhập để tham gia thảo luận cùng cộng đồng!
Đăng nhập ngayĐang tải bình luận...