 Digital Painting







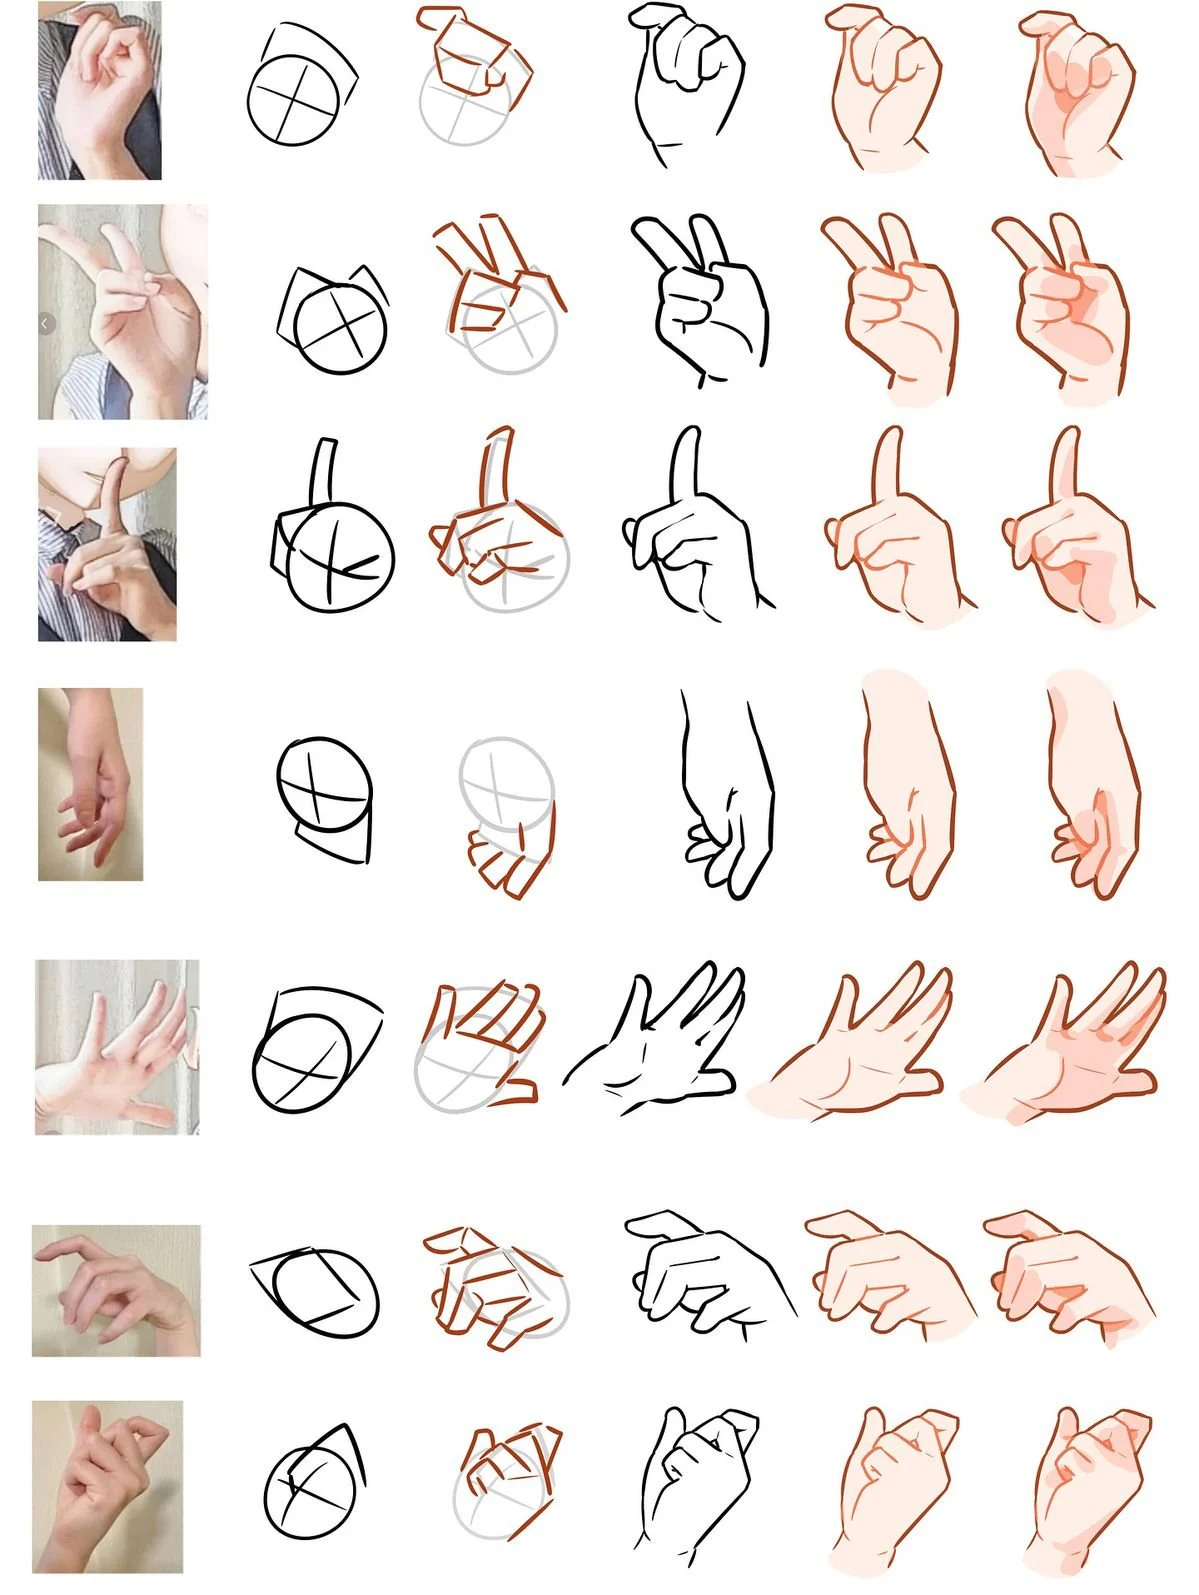
The hand is hard to draw not because it has too many fingers, but because every posture drastically changes the shape of the palm, the visible length of each knuckle, the overlapping layer order, and the gaps between the fingers. This reference sheet presents seven different postures following the same workflow: reference photo, simple block-in, finger structure, clean line art, flat color, and shadows.
The tutorial below breaks down the entire sheet into a reusable method suitable for many styles: anime, manga, character illustration, concept art, or semi-realistic digital painting.
Understanding the overall structure of the reference sheet
Each row in the image is organized along a very clear thought process:
- Reference photo: provides real data on proportions, angle, curvature, and overlapping.
- Palm block: usually simplified into a circle, oval, or box shape with a diagonal axis.
- Finger blocks: fingers are built using straight lines, boxes, or wedges—no need for beauty yet.
- Line art: removes construction lines, retains the silhouette and important folds.
- Flat color: fills with a uniform light skin tone across the whole shape.
- Shadows: adds pinkish-orange hues at the joints, hidden areas, finger overlapping zones, and the wrist edge.
The most valuable takeaway is that the artist does not start by trying to copy the outline of each finger. They find the big block first, then the finger rhythm, and finally the details. This is the core principle that prevents the hand from looking distorted even in complex poses.
Anatomical foundations to remember before constructing the hand
1. The palm is not a flat square
The palm should be understood as a slightly curved wedge shape. The area near the finger joints is wider, while the part connecting to the wrist is narrower. The palm side has two large muscle masses: the thenar eminence at the base of the thumb and the hypothenar eminence on the opposite side. The back of the hand is flatter but still has a horizontal curve.
In the sheet, the palm is often constructed using a circle or oval with a cross mark. The circle is just the starting step; the cross mark is the crucial information because it determines:
- The tilt direction of the palm.
- The line along which the finger joints run.
- Which side is closer to the viewer and which recedes.
- The rotation axis between the hand and wrist.
2. The four finger joints do not lie on a straight line
The base joints of the index, middle, ring, and little fingers form an arch. The middle finger joint is usually the highest, and the little finger joint the lowest. If you place all four joints on a rigid horizontal line, the hand will look like a comb or a rubber glove.
When the hand is clenched, this arch becomes even more important because it creates the descending rhythm of the knuckles. In an open posture, the arch determines the starting point of each finger and prevents them from appearing to grow from the same height.
3. Fingers are a sequence of three segments, not a continuous curved tube
Each main finger has three segments with two visible joints. The thumb has two segments, and its base sits lower, offset from the line of the other four fingers. When constructing, divide each finger into small cylindrical or box-like segments. Only after the proportions are correct should you soften them into organic curves.
The segment closest to the palm is usually the longest, and the tip segment the shortest. However, with foreshortening, the segment nearer to the viewer may appear large but short, while the receding segment may be almost entirely hidden. Don't measure length on the photo by feel; follow the direction of each segment instead.
4. The thumb determines the believability of the pose
The thumb does not lie on the same plane as the other four fingers. It grows from a rotating mass at the edge of the palm and can open, close, oppose, or press against the other fingers. In the seven postures on the sheet, the thumb is often the element that creates the action: pinching, holding, locking fingers, forming a circle, or making a heart shape.
Before drawing details, identify three points: the base of the thumb, the middle joint, and the tip. Connect these three points into a bent line. Then wrap the muscle mass around this line.
General workflow: from reference photo to a finished hand
Step 1: Analyze the silhouette and negative space
Zoom out on the reference photo and look at the hand as a black mass. Ask yourself:
- Which direction is the large mass tilting?
- Which fingers form the outer contour?
- Are the gaps between fingers triangular, teardrop-shaped, or narrow slits?
- Which finger overlaps which?
Negative space is an extremely powerful checking tool. For example, the V-sign pose has a large V-shaped negative space between the index and middle fingers; the open hand pose has many narrow triangles; the clenched fist pose leaves almost no negative space between the fingers.
Step 2: Build the palm with simple blocks
Use a circle or oval to quickly capture the volume, then trim the edges to turn it into a wedge shape. Draw a cross mark on the block to define the planes. Add a small block for the wrist and a separate wedge for the thumb base.
Don't use a perfect circle all the way to the end. A real hand has changing edges: the thumb side protrudes strongly, the little finger side is softer, and the knuckle area has a zigzag rhythm.
--- ---Step 3: Set the axis for each finger
Draw simple bone lines for each finger. Each line must have breakpoints at the joints. Be clear about the front-to-back order:
- Fingers closer to the viewer use clearer strokes and larger volumes.
- Obstructed fingers only need the visible part drawn.
- Do not draw through the front finger in the final line art.
- Keep the direction of the phalanges consistent with the force of the action.
Step 4: Wrap the volume and check thickness
Wrap the bone segments with tapered cylinders. Fingers are not the same thickness from base to tip; they taper, and the fingertips have a rounded pad shape. The palm side is usually fuller, while the back of the finger is flatter.
At a bent joint, the inner line is compressed and forms creases; the outer line stretches into a large arc. This is why a bent finger should not be drawn with two parallel lines.
Step 5: Clean up the line art
The line art in this sheet is quite minimal. Keep only:
- The outer silhouette.
- The overlap gaps between fingers.
- A few folds at the joints and palm.
- Necessary wrist lines or thenar eminence volumes.
Creases are not a full anatomical map. Drawing too many lines will make the hand look old, dry, and lose the anime style. Prioritize lines that help explain the volume.
Step 6: Apply skin color and selective shading
The base color in the sheet is a light, slightly creamy skin tone. Shadows use pinkish-orange instead of brownish-gray, keeping the hand feeling soft and lively.
Common areas for shadows:
- Gaps between the fingers.
- The underside of bent fingers.
- Areas where one finger presses on another.
- Knuckles and the base of the thumb.
- The wrist edge facing away from the light source.
Don't shade evenly around every outline. Shadows should indicate which side faces away from the light and which side is hidden. Contact areas have dark, small, sharp shadows; transitional volumes have broad, light, soft shadows.
Pose 1: Fist with thumb and index finger forming a ring
In the first row, four fingers curl into the palm while the thumb and index finger form a small ring. This is a difficult pose because many fingers overlap and the silhouette easily becomes an unclear round blob.
Construction
- Build the palm as a tilted oval.
- Place the arc of the four knuckles at the top.
- Construct the middle, ring, and little fingers as three folded overlapping volumes.
- Place the index finger curved into a large arc, with the tip pointing toward the thumb.
- Build the thumb from the side of the palm, not from the middle of the palm.
The ring formed by the thumb and index finger must have real thickness. Don't draw them like two lines touching. The slight squeeze of the two fingertips will flatten the fingertip pads and create a small contact shadow.
Common mistakes
- The four curled fingers become identical loops.
- The thumb is too long or its base is too high.
- No size difference between closer and farther fingers.
- The outer contour is too round, losing the rhythm of the joints.
Pose 2: V-sign
The V-sign pose has two fingers extended, two fingers folded, and the thumb pressing across to hold them. Its convincingness lies in three factors: the negative space of the V, the thumb locking the folded fingers, and the different tilts between the index and middle fingers.
Construction
Place the palm as a tilted volume. Draw two long axes for the index and middle fingers; don't make them perfectly parallel. The middle finger is usually longer. The ring and little fingers fold into the palm, showing only the outer phalanges. The thumb crosses horizontally, creating a band overlapping the two folded fingers.
The negative space between the two extended fingers should be wide at the tips and narrow toward the base. If this space is a parallel slit, the pose will look stiff.
Shading
Focus shadows under the thumb, in the gap between the two extended fingers, and on the inner sides of the folded fingers. You can add a slight pink tint to the fingertips and joints to enhance the feeling of blood under the skin.
Pose 3: Index finger pointing up
This pose creates a strong vertical axis. The index finger extends upward, the other three fingers fold horizontally, and the thumb rests on the side. Since the index finger is the focal point, all other lines should support the upward direction.
Construction
Build the palm smaller relative to the index finger's length. Place the index finger as a tapered cylinder, slightly curved naturally; don't make it as straight as a stick. The three folded fingers form a horizontal cluster with a stepped rhythm. The thumb appears on the side, often covering part of the middle or ring finger.
When viewed from an angle, the index finger may partially cover the bases of the fingers behind it. Determine which lines must stop at the overlap area to avoid crossing lines.
Shading
The strongest shadow is usually beneath the cluster of folded fingers and the area where the thumb presses into the palm. The index finger only needs a thin shadow strip on the side facing away from the light to maintain a slender feel.
Pose 4: Relaxed hand pointing downward
This is one of the poses most easily drawn stiffly. A real relaxed hand is not fully extended; the fingers curve at different degrees, the middle and ring fingers usually hang lower, and the little finger separates slightly.
Construction
Start with the wrist axis going downward. The palm has a long wedge shape. Draw the four fingers as hanging ribbons with different curves and lengths. Don't try to draw every phalanx fully if they are overlapped.
The silhouette is more important than internal lines. Make the outer edge of the index finger, the drooping fingertips, and the edge of the little finger clear. The inner finger gaps can be just a few short strokes.
Creating a sense of gravity
The curves of the fingers should show they are subject to gravity. The fingertips hang down, the wrist is soft, and there are no sharp angles unless the character is tensing up. Shadows should lie on the inner sides and areas where fingers overlap.
--- ---Pose 5: Splayed Hand
The splayed hand is the best test for finger proportion and rhythm. Because the fingers are separated, any deviation in finger base, length, and direction is clearly visible.
Construction
- Build the palm as a fan or wedge block.
- Mark the arc of the four knuckles.
- Radiate the five finger axes like spokes of a fan, but the spacing is not perfectly even.
- The middle finger is the longest; the index and ring fingers are close in length; the pinky is noticeably short.
- The thumb extends from the lower edge, forming its own angle with the palm.
The fingers should not be fully extended. Each finger has a slight curve and its own rotation direction. The fingertips are slightly tapered, not pointed like claws unless the style requires it.
Negative Space
Check the triangles between the thumb – index, index – middle, middle – ring, and ring – pinky. The shapes of these spaces immediately help detect if any finger is placed in the wrong direction.
Pose 6: Hand Curved as if Touching or Grasping an Object
In this pose, the fingers curve toward the viewer and create strong foreshortening. Relying only on anatomical length can easily lead an artist to draw the fingers too long and lose the sense of spatial depth.
Construction
Build the palm as a tilted block. Place the fingertips first, then connect backward to the knuckles. Constructing from the fingertips back to the base is particularly useful when the fingertips are the part closest to the viewer.
Each finger should be seen as a series of rotating boxes. The top, side, and bottom surfaces change with each phalanx. Do not use a single continuous curve for the entire finger. Fingers closer to the viewer have larger tips and visibly shorter distances between joints.
Line and Shadow
Use thicker lines on the near edge, thinner lines on the receding parts. Shadows concentrate under the curved phalanges and between the fingers and the palm. A small shadow patch at the fingertip can clarify the surface turning away from the light.
Pose 7: Finger Heart
The finger heart gesture is made by crossing or pressing the thumb and index finger together while the other three fingers curl in. The heart shape is very small, so it is easily lost if the angle and negative space are not controlled.
Construction
Build the cluster of the palm and the three curled fingers first. Then place the index finger curving down and the thumb pushing up. The two fingertips need to create a clear gap or intersection point, enough for the viewer to recognize the heart symbol.
Do not make the index finger's curve too large. The heart is in the fingertip area, not the entire finger. The thumb needs the thenar mass for support; drawing only a detached thumb segment will make the hand lose its structure.
Shading
Add contact shadows where the thumb and index finger meet, shadows under the three curled fingers, and a pinkish tint at the fingertips. The rest of the area should remain bright so the small symbol doesn't get lost.
How to Transition from Real Photos to Anime Style Without Losing Structure
Anime style does not mean abandoning anatomy. It is a process of selection and simplification.
- Keep the correct orientation, overlap order, and major proportions.
- Make the fingers more slender but still maintain joints and thickness.
- Reduce the number of creases, keeping only lines that explain the form.
- Round the fingertips, simplify or omit nails if not needed.
- Use clean skin tones, warm orange-pink highlights, and soft transitions.
- Slightly exaggerate curves to make the pose readable at small sizes.
A good check is to compare the silhouette of your drawing with the reference photo. If the silhouette is correct but the details are simpler, the stylization is working. If the silhouette is wrong, adding pretty lines won't save the pose.
Suggested Layer Setup
- Reference: place the reference image beside your canvas, reduce opacity if needed.
- Gesture: axes for the wrist, palm, and finger directions.
- Construction: palm box, cylindrical phalanges, thumb wedge.
- Clean sketch: correct proportions and overlaps.
- Line art: clean lines with controlled thickness.
- Flat color: base skin color.
- Shadow: use clipping mask or lock alpha.
- Warm accents: pinkish tones at fingertips, knuckles, and palm.
- Highlights: small bright spots if the style requires it.
You don't need to rely on a specific software. This workflow can be applied in IbisPaint, Procreate, Photoshop, Clip Studio Paint, or any drawing software with basic layers.
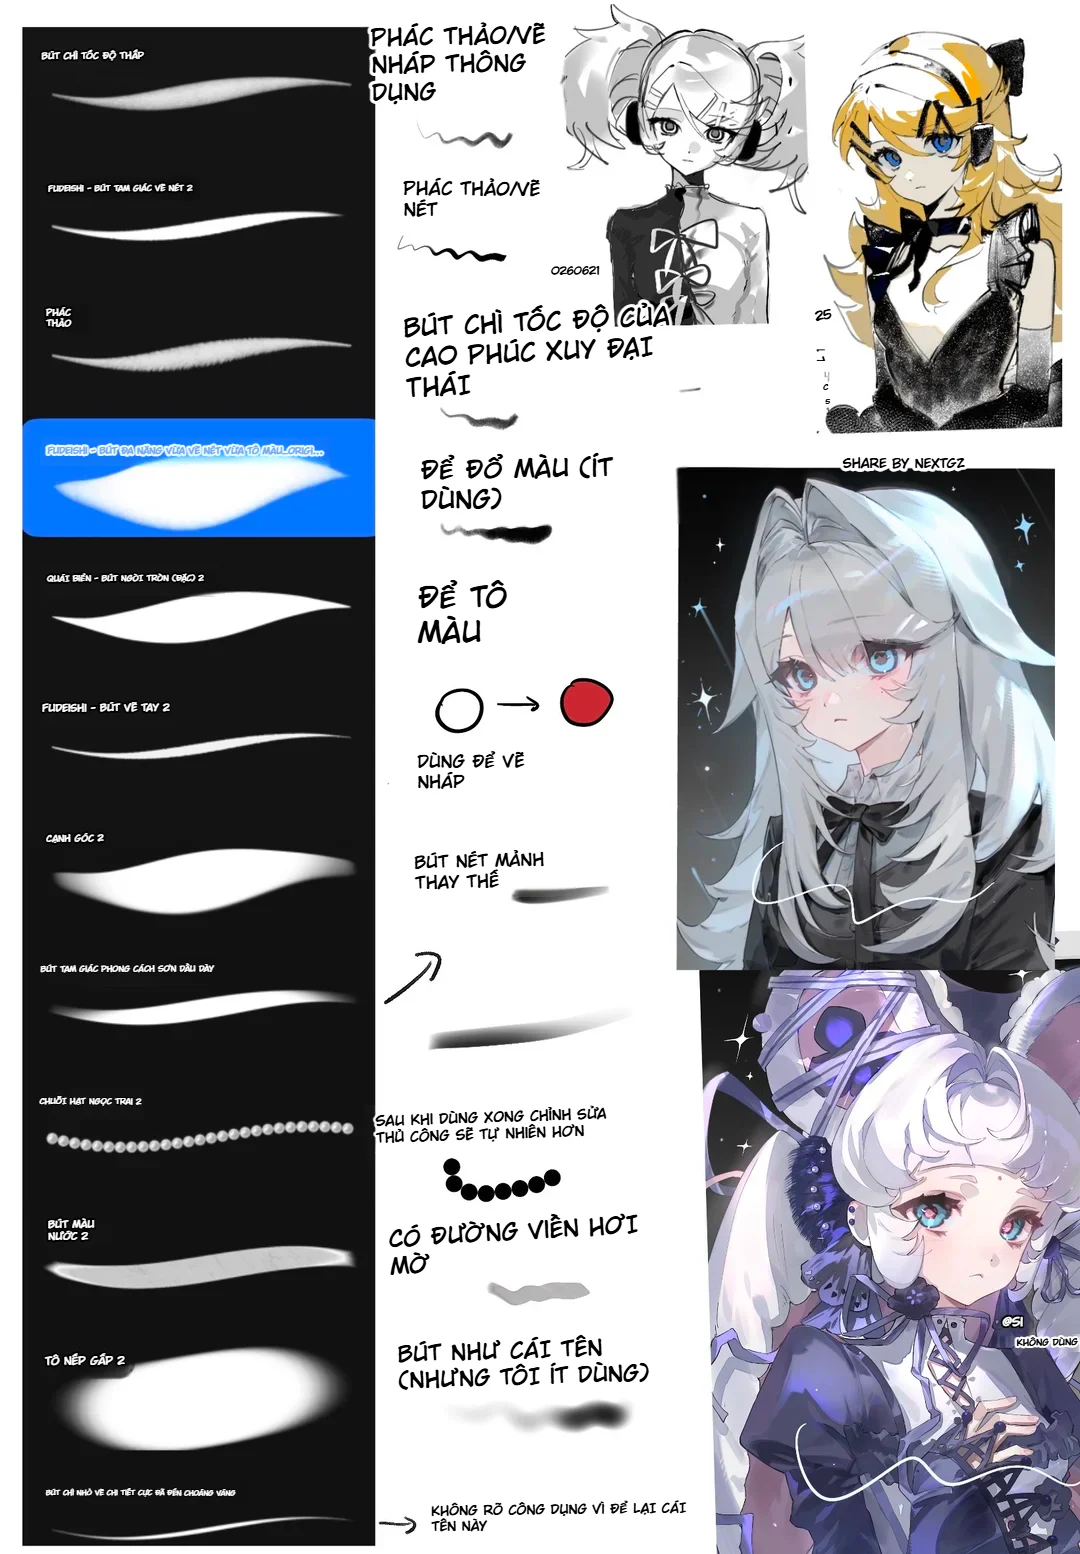
How to Choose Brushes and Handle Line Work
Construction Brush
Use a hard round brush or a pencil with stable opacity. Construction lines should be light, easy to erase, and not overly detailed.
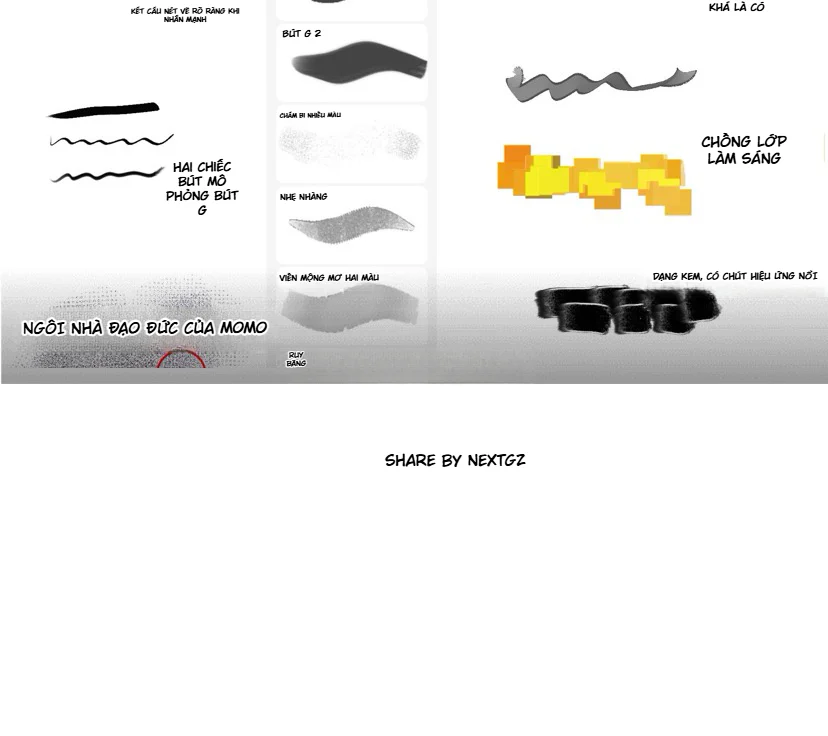
Line Art Brush
Choose a brush with pressure sensitivity. Increase line thickness on the outer edges, overlapping areas, and shadowed sides; decrease thickness on light-receiving edges and internal details. You don't need a uniform black outline around the entire hand.
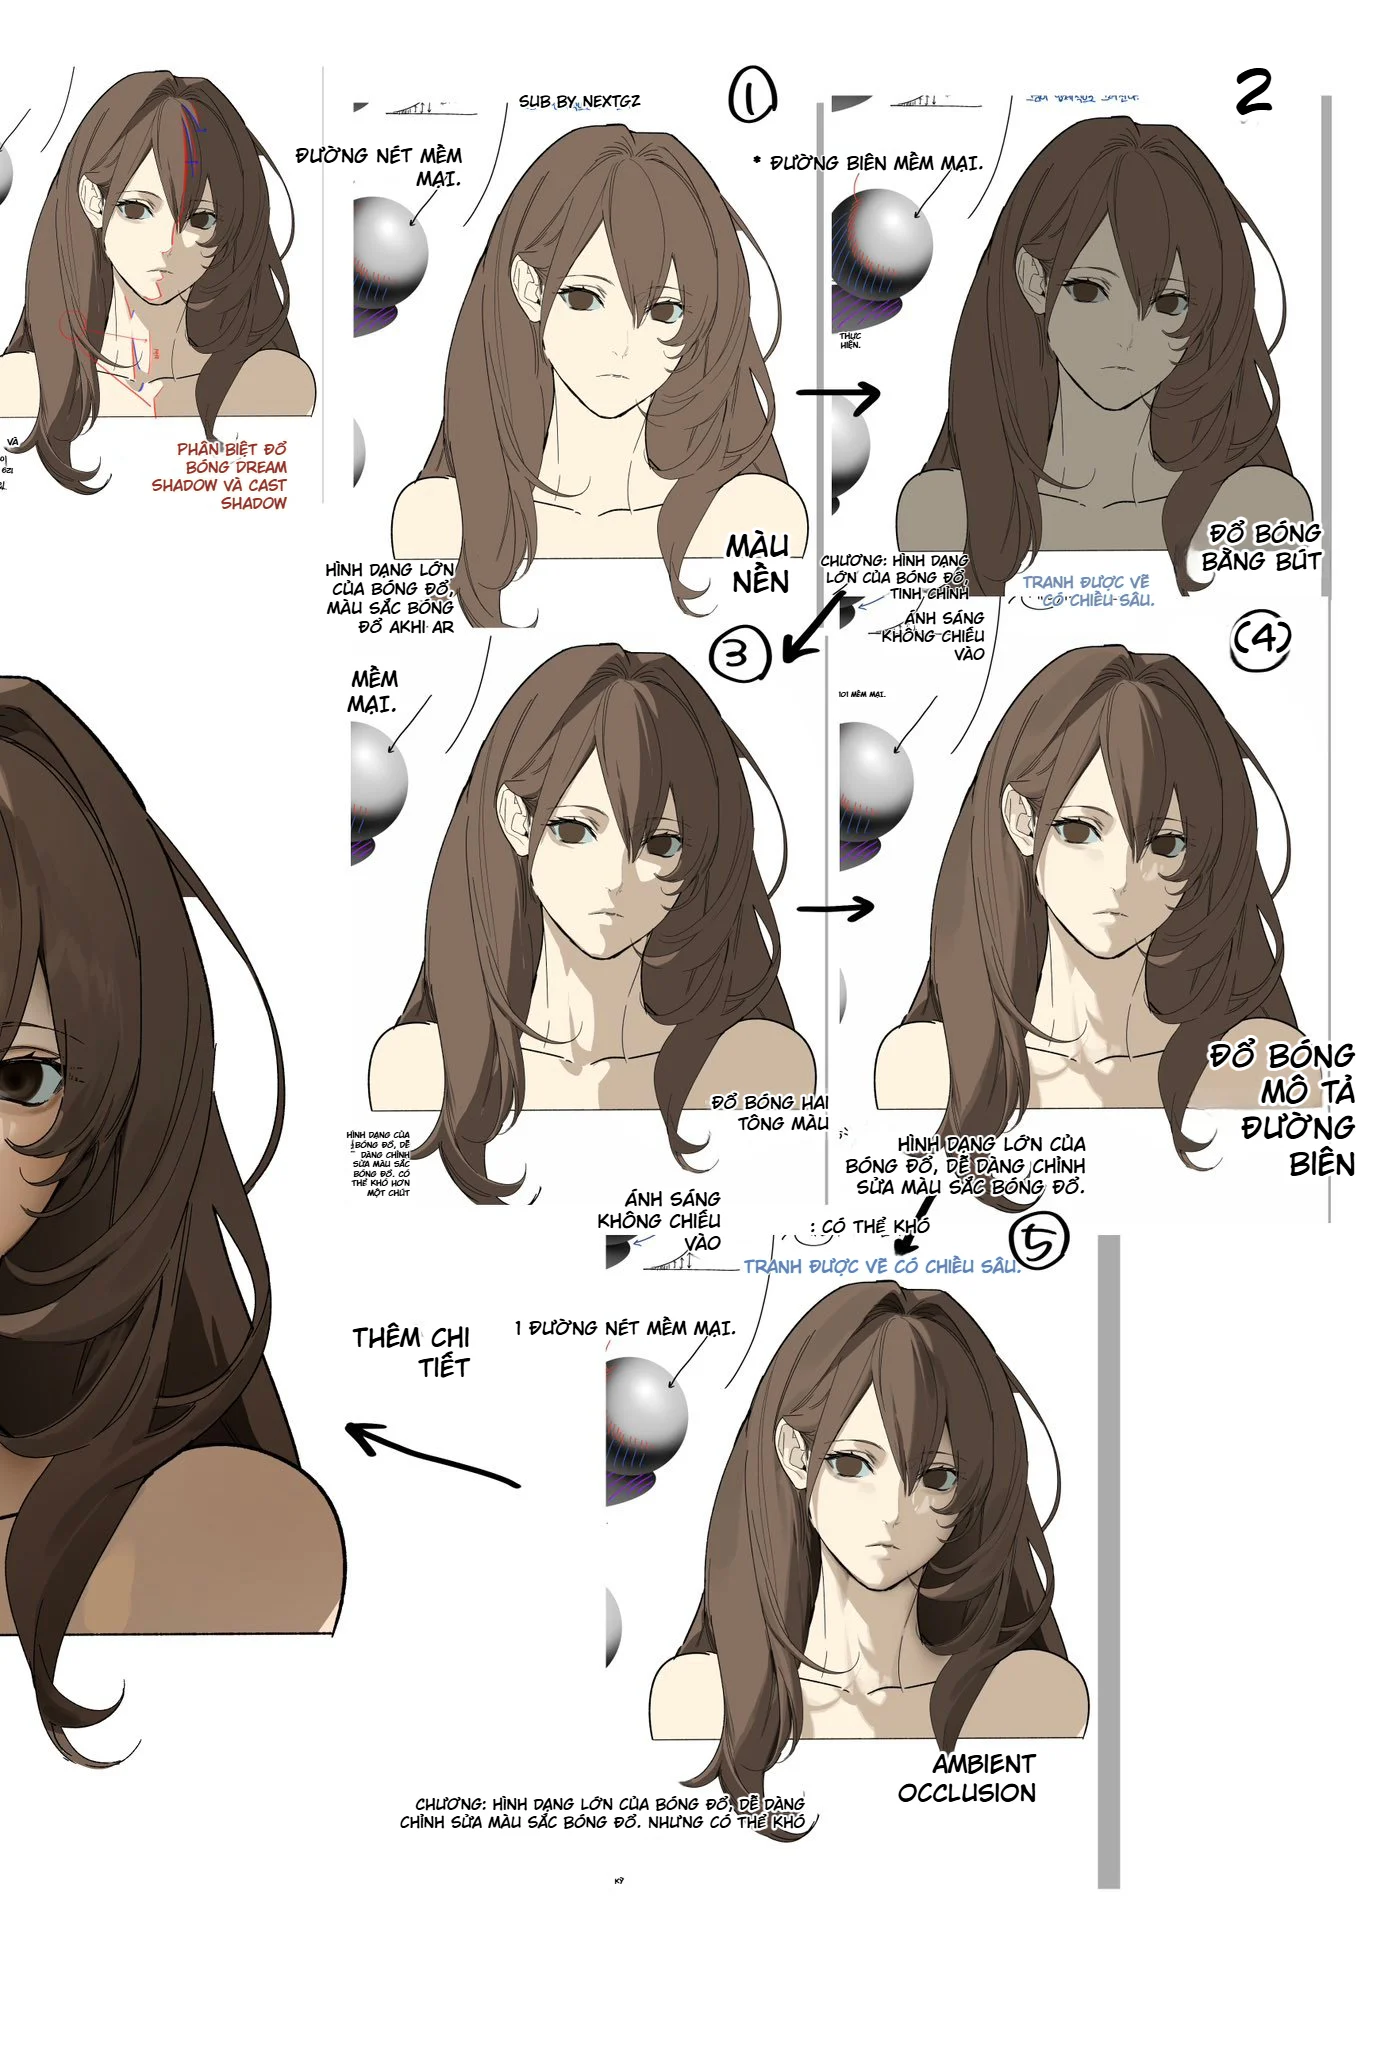
Shading Brush
Use a hard brush for contact shadows and a soft brush for form transitions. The shading in the reference board tends toward soft cel-shading: clear shapes but with softened edges in some places.
Common Mistakes When Drawing Hands from Reference Photos
Tracing the Outline Without Understanding the Form
The outline might be correct in one section but wrong for the overall volume. Build the palm and finger axes first.
All Fingers the Same Length and Thickness
The middle finger is the longest, the pinky is clearly shorter and smaller. Thickness also decreases from base to tip.
Knuckles Aligned on a Horizontal Line
Construct the knuckle arc before placing the fingers.
Thumb Attached at the Wrong Position
The thumb is on the side of the palm and has its own basal mass. This error ruins the natural feel of a pose the fastest.
Not Showing Foreshortening
Fingers pointing toward the viewer must have visibly shorter segments, larger near forms, and stronger overlapping.
Too Many Creases
Only keep creases that explain joints, compression, and the palm. Too many small lines make the hand look old and dirty.
Shadows Only Following the Outline
Shadows must describe planes and occlusion, not create an orange outline around the hand.
7-Day Practice Exercises
- Day 1: draw 20 palm blocks from different angles.
- Day 2: practice the knuckle arc and the proportions of the five fingers.
- Day 3: construct five fist poses, no clean line art.
- Day 4: construct five splayed poses and a V-sign using negative space.
- Day 5: practice fingers pointing toward the camera and foreshortening.
- Day 6: choose three poses, finish line art and flat colors.
- Day 7: add shading, place your drawing next to the reference photo, and self-critique errors.
Each exercise only needs 10–20 minutes. The goal is not to create a finished piece every day, but to build a library of poses and the ability to see volumes.
--- ---Pre-completion Checklist
- Is the palm orientation clearly defined?
- Is the four-knuckle arc natural?
- Is the middle finger the longest and the little finger short enough?
- Does the thumb have its base in the correct position?
- Is the front-to-back finger order clear?
- Do the spaces between fingers match the reference?
- Are there any sections drawn through the finger in front?
- Does the line art have too many creases?
- Is the contact shadow dark enough compared to the form shadow?
- When scaled down, is the pose still immediately recognizable?
Conclusion
The guide demonstrates a very practical principle: a convincing hand is built with volume, orientation, and layering before it is built with beautiful lines. Whether it's a fist, a peace sign, pointing, relaxed, splayed, bent fingers, or a heart made with fingers, the process remains the same: read the silhouette, construct the palm, set the finger axes, wrap the volume, clean up the lines, and shade according to structure.
When practicing, keep a reference image nearby but do not rely on tracing outlines. The ultimate goal is to understand deeply enough to be able to rotate the same pose to a different angle while preserving anatomy and expression.


Bình luận
0 bình luận
Đăng nhập để tham gia thảo luận cùng cộng đồng!
Đăng nhập ngayĐang tải bình luận...