Photoshop Mixer Brush: Trộn Màu Digital Painting Bằng Wet, Load, Mix Và Flow
Hướng dẫn Mixer Brush trong Photoshop: hiểu Wet, Load, Mix, Flow, Load/Clean Brush, Sample All Layers và workflow trộn màu cho da, tóc, vải, vật liệu.
15 min read
Hướng dẫn Mixer Brush trong Photoshop: hiểu Wet, Load, Mix, Flow, Load/Clean Brush, Sample All Layers và workflow trộn màu cho da, tóc, vải, vật liệu.
1:04 ước tính · Chưa có giọng vi-VN
Mixer Brush là công cụ dành cho những lúc artist cần màu trên cọ tương tác với màu đã có trên canvas, thay vì chỉ đặt thêm một lớp màu phẳng. Photoshop mô phỏng hai thành phần của cọ vẽ thật: một khoang chứa màu được nạp vào cọ và một vùng tiếp nhận màu lấy từ canvas. Wet, Load, Mix và Flow quyết định hai nguồn màu đó ảnh hưởng tới stroke như thế nào.
Hiểu bốn thông số này giúp artist tránh hai cực đoan thường gặp: cọ hoạt động gần như Brush Tool thông thường, hoặc màu bị khuấy quá mức thành một mảng bùn mất cạnh. Bài viết này xây workflow theo từng nhiệm vụ: block-in, chuyển sắc da, tóc, vải, vật liệu và kiểm soát cạnh.
Brush Tool chủ yếu đặt màu foreground lên canvas. Smudge Tool đẩy và kéo màu đã có. Mixer Brush vừa có thể mang màu trong cọ, vừa lấy màu từ canvas rồi trộn hai nguồn trong cùng một stroke. Nhờ vậy, nó tạo cảm giác gần với cọ ướt, cọ đã nạp sơn hoặc cọ sạch đang kéo màu.
Mixer Brush không tự tạo “chất sơn dầu” chỉ bằng một preset. Kết quả còn phụ thuộc đầu cọ, texture, hướng stroke, lực bút, màu nền và cách artist giữ hoặc làm mất cạnh. Công cụ chỉ cung cấp cơ chế trộn; quyết định hình khối vẫn thuộc về người vẽ.
Adobe mô tả Mixer Brush có reservoir và pickup well. Reservoir là phần màu được nạp trong cọ. Pickup well là phần nhận màu từ canvas khi stroke đi qua. Wet kiểm soát việc pickup màu từ canvas, Load kiểm soát lượng màu trong reservoir, còn Mix quyết định tỷ lệ giữa hai nguồn.
Khi hiểu mô hình này, artist có thể chẩn đoán lỗi nhanh hơn. Cọ hết màu quá sớm liên quan nhiều tới Load. Cọ kéo màu canvas quá mạnh liên quan tới Wet và Mix. Màu mới phủ quá dày liên quan tới Flow, Load và cách nhấn bút.
Để nạp màu từ canvas vào Mixer Brush, giữ Alt trên Windows hoặc Option trên macOS rồi nhấp vào vùng màu cần lấy. Thao tác này nạp mẫu màu vào cọ. Khi cần nạp một vùng có nhiều màu thay vì một màu phẳng, artist có thể lựa chọn cách lấy mẫu phù hợp trong điều khiển Load của Mixer Brush.
Việc nạp màu chủ động quan trọng hơn liên tục mở Color Picker. Khi đang blend da hoặc tóc, lấy màu ngay tại vùng lân cận giúp duy trì quan hệ màu hiện có và tránh đưa một màu ngoài ngữ cảnh vào stroke.
Wet kiểm soát lượng màu Mixer Brush nhận từ canvas. Khi Wet tăng, cọ có xu hướng kéo màu hiện có lâu hơn trên đường đi. Khi Wet thấp, stroke phụ thuộc nhiều hơn vào màu đang nằm trong reservoir.
Wet cao không đồng nghĩa với blend đẹp. Nếu hình khối cần cạnh rõ, Wet quá mạnh có thể kéo sáng và tối vào nhau, làm mất cấu trúc. Nếu vùng chuyển sắc còn cứng, Wet quá thấp khiến stroke chỉ phủ thêm màu mà không hòa với nền.
Tạo hai mảng màu cạnh nhau trên một layer test. Nạp một màu vào cọ rồi kéo ngang ranh giới với nhiều mức Wet khác nhau. Quan sát ba yếu tố: màu canvas được kéo bao xa, màu trong cọ còn giữ được bao lâu và ranh giới mất nhanh tới mức nào. Chọn mức theo job của stroke, không theo một con số chung.
Load là lượng màu có sẵn trong reservoir. Load cao giúp cọ tiếp tục đưa màu đã nạp ra trong một quãng dài hơn. Load thấp khiến cọ nhanh “cạn”, sau đó hiệu ứng của màu canvas trở nên rõ hơn nếu Wet đang hoạt động.
Trong block-in, artist thường cần màu trong cọ đủ để đặt mảng rõ ràng. Trong blend nhẹ, một reservoir quá đầy có thể làm màu mới lấn át chuyển sắc đang có. Hãy điều chỉnh Load cùng Wet, không xem hai thông số độc lập.
Mix quyết định tỷ lệ giữa màu lấy từ canvas và màu trong reservoir. Ở một đầu, stroke dựa chủ yếu vào màu đang nạp. Ở đầu còn lại, stroke dựa chủ yếu vào màu nhặt từ canvas. Wet vẫn cần thiết để cọ thực sự nhận màu từ bề mặt.
Mix cao hữu ích khi mục tiêu là hòa những màu đã tồn tại. Mix thấp phù hợp khi artist muốn giữ màu nạp vào làm chủ đạo nhưng vẫn cần một chút tương tác với nền. Khi màu bị xám và mất độ trong, giảm mức độ trộn hoặc làm sạch cọ trước stroke mới thường hiệu quả hơn việc tiếp tục khuấy.
Flow kiểm soát tốc độ màu được đưa ra trong lúc stroke tiếp diễn. Flow thấp cho phép xây màu dần bằng nhiều lượt. Flow cao tạo tác động nhanh và rõ hơn. Nếu Flow được liên kết với áp lực bút, lực tay cũng thay đổi lượng màu đặt xuống.
Flow thấp không tự động tạo chuyển sắc mượt; nhiều stroke lặp trên cùng chỗ vẫn có thể làm bùn màu. Flow cao cũng không phải lỗi nếu artist đang block-in cạnh cứng. Hãy chọn theo mục tiêu mảng, sau đó kiểm tra hình ở kích thước tổng thể.
Load Brush nạp màu vào reservoir. Clean Brush làm sạch màu đang có trong cọ. Hai thao tác này là một phần của nhịp vẽ, tương tự rửa cọ và lấy sơn mới trong hội họa truyền thống.
Khi chuyển từ màu tối bão hòa sang vùng sáng sạch, hãy làm sạch cọ hoặc nạp lại màu phù hợp. Nếu cứ dùng một cọ mang theo hỗn hợp cũ, vùng sáng dễ xám và toàn bức tranh mất độ trong.
Photoshop có tùy chọn tự động nạp hoặc làm sạch cọ sau mỗi stroke. Tự động Load hữu ích khi cần mỗi nét bắt đầu với lượng màu tương tự. Tự động Clean hữu ích khi muốn các stroke không mang hỗn hợp từ lần trước. Tuy nhiên, workflow blend có thể cần giữ màu qua nhiều nét, vì vậy không nên bật theo thói quen mà không xét mục tiêu.
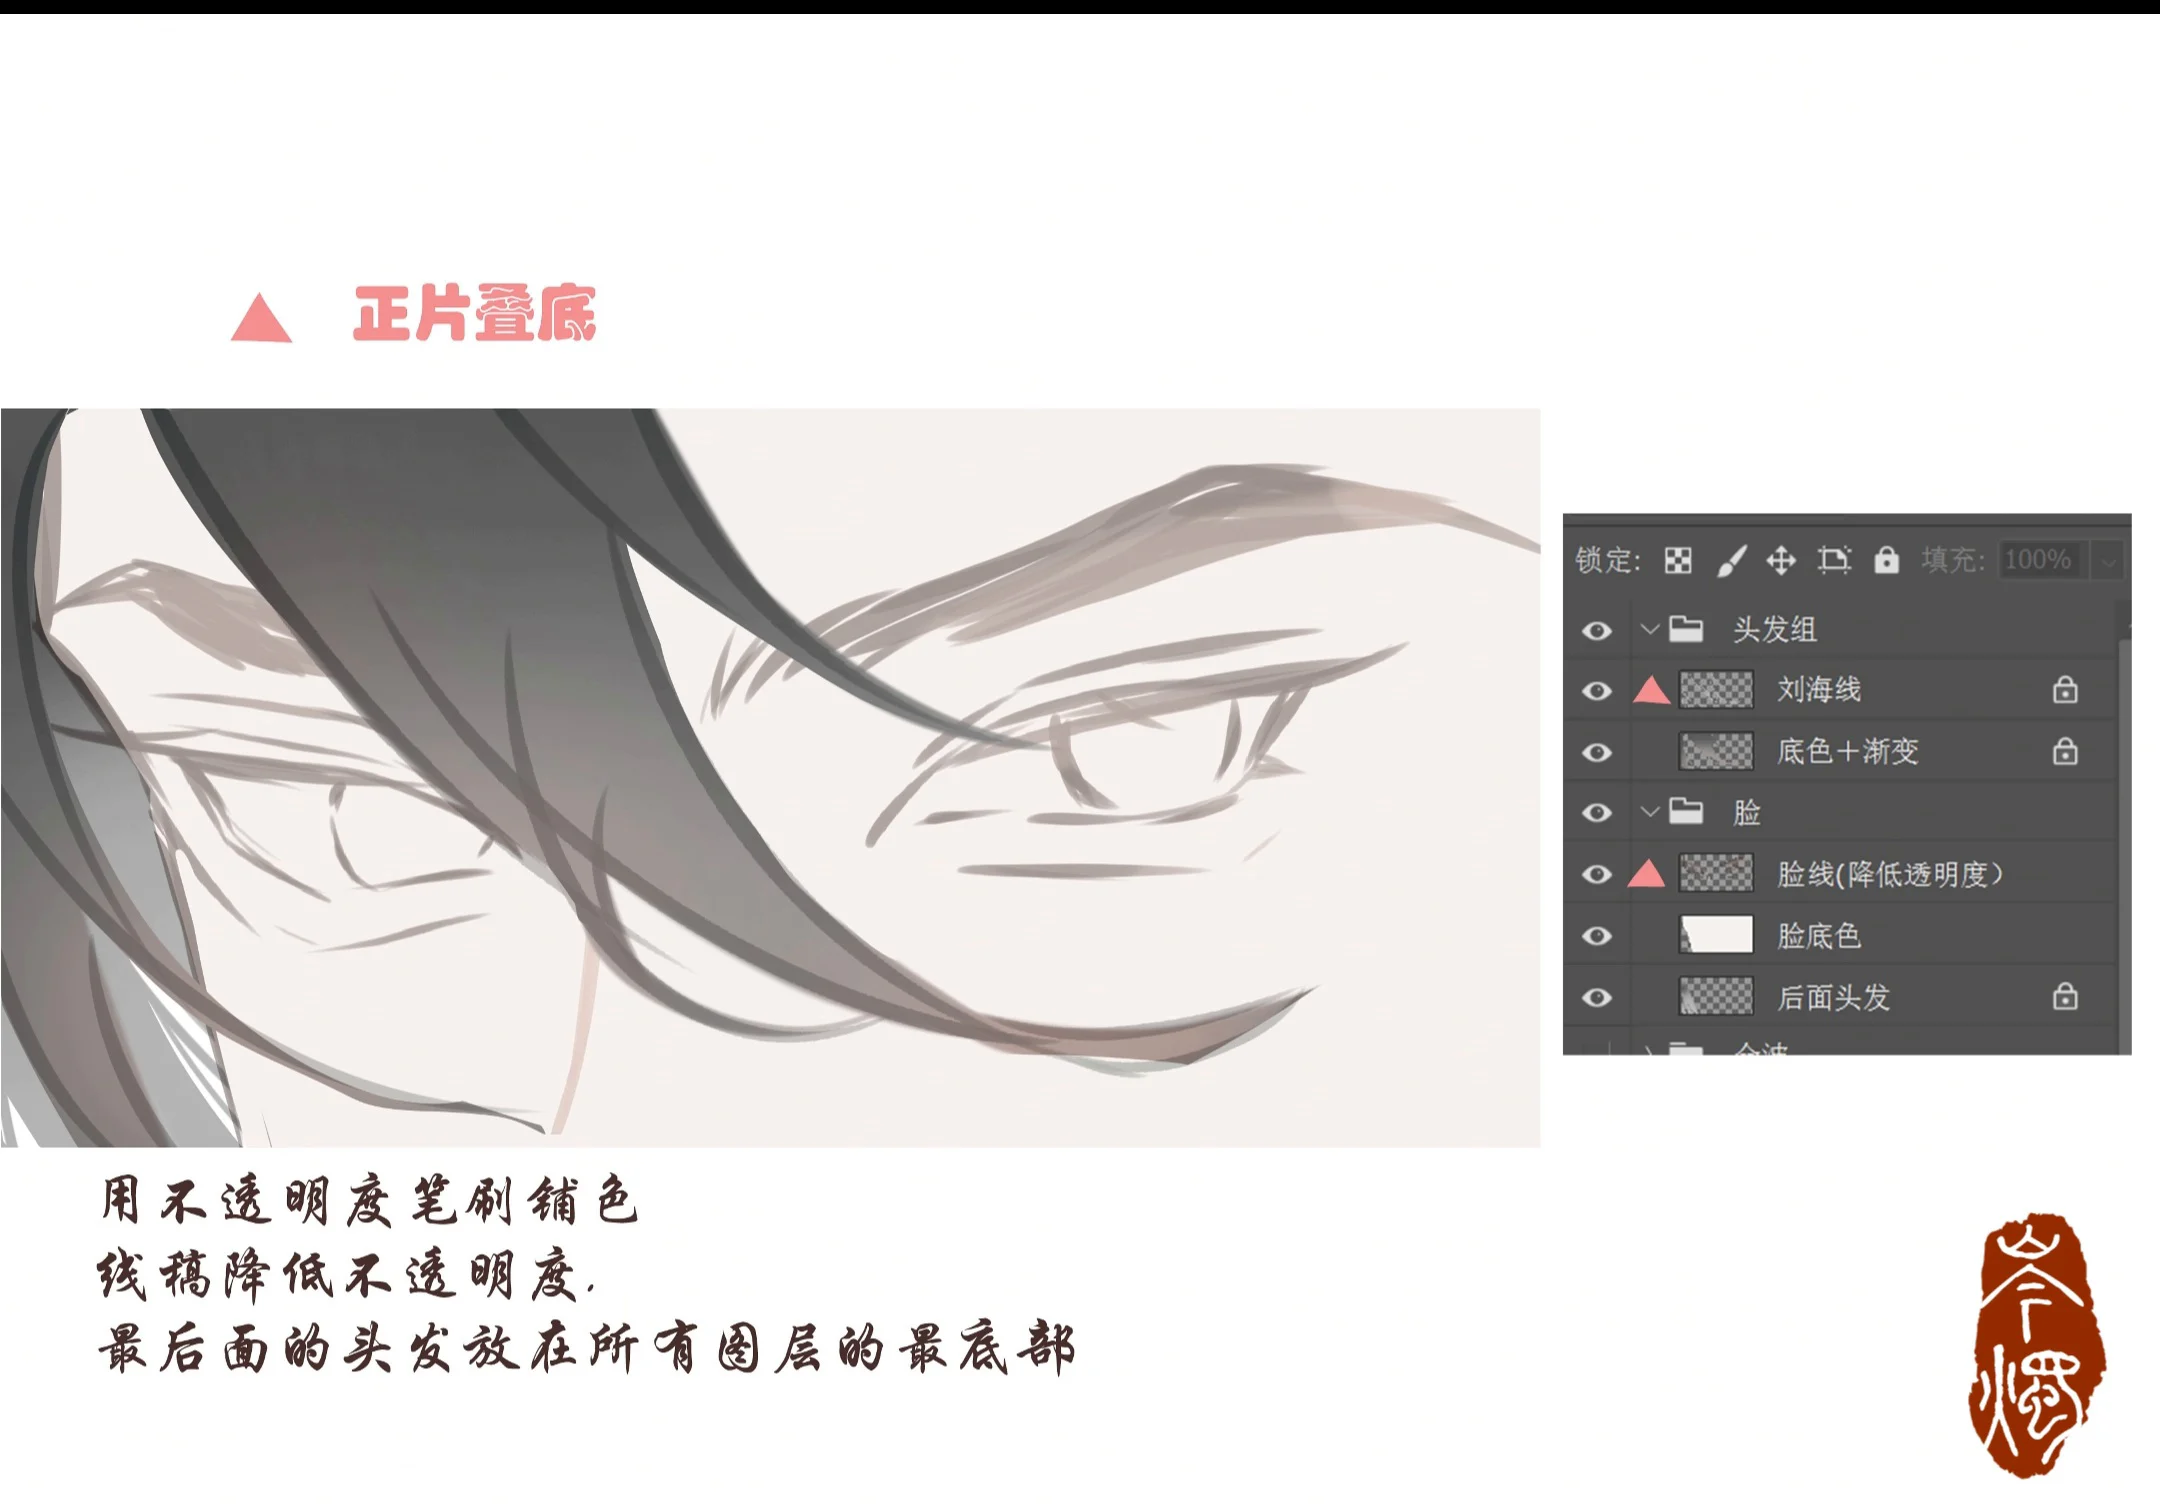
Khi bật Sample All Layers, Mixer Brush lấy mẫu từ tất cả layer đang hiển thị thay vì chỉ layer hiện tại. Artist có thể tạo một layer trống phía trên phần màu gốc, bật Sample All Layers rồi đặt stroke trộn trên layer mới. Cách này giúp thử nghiệm mà không sửa trực tiếp pixel gốc.
Đây là workflow linh hoạt, nhưng không hoàn toàn “miễn rủi ro”. Nếu layer hiệu ứng quá mạnh, hình vẫn có thể bị bùn khi nhìn tổng hợp. Hãy đặt tên layer rõ ràng, dùng mask hoặc xóa cục bộ và so sánh trước-sau bằng cách bật tắt layer.
Nếu artist muốn Mixer Brush chỉ tương tác với một mảng cụ thể, lấy mẫu toàn bộ canvas có thể kéo màu từ background, lineart hoặc hiệu ứng khác. Khi đó, gộp tạm các layer liên quan thành Smart Object hoặc làm việc trên bản sao trong một nhóm có kiểm soát có thể dễ dự đoán hơn.
Không có bộ Wet–Load–Mix–Flow đúng cho mọi brush, kích thước canvas và chất liệu. Hãy xây preset theo job, nhưng coi chúng là điểm xuất phát để kiểm thử. Mỗi preset nên được thử bằng một dải stroke trước khi dùng trên tranh chính.
Job của block-in là đặt mảng màu và value rõ. Vì vậy cọ cần giữ màu reservoir tốt, lấy màu canvas ít hơn và có Flow đủ để tạo mảng dứt khoát. Nếu stroke bắt đầu trộn quá sớm, giảm Wet hoặc Mix. Nếu màu cạn trước khi hoàn thành mảng, tăng Load hoặc nạp lại cọ.
Job của blend da là làm mềm một số chuyển tiếp nhưng vẫn giữ mặt phẳng, lỗ mũi, mí mắt, môi và shadow core. Dùng cọ lấy vừa đủ màu canvas, Flow có kiểm soát và thường xuyên làm sạch hoặc lấy lại màu tại vùng lân cận. Không đi cọ qua toàn bộ khuôn mặt theo chuyển động tròn vô định.
Vải cần phân biệt cạnh nếp gấp, mặt phẳng nhận sáng và vùng chuyển mềm. Dùng một cấu hình ít trộn cho cạnh chính, sau đó một cấu hình trộn hơn cho vùng chuyển. Việc cố dùng một preset cho cả hai khiến nếp vải hoặc quá cứng, hoặc tan thành một dải blur.
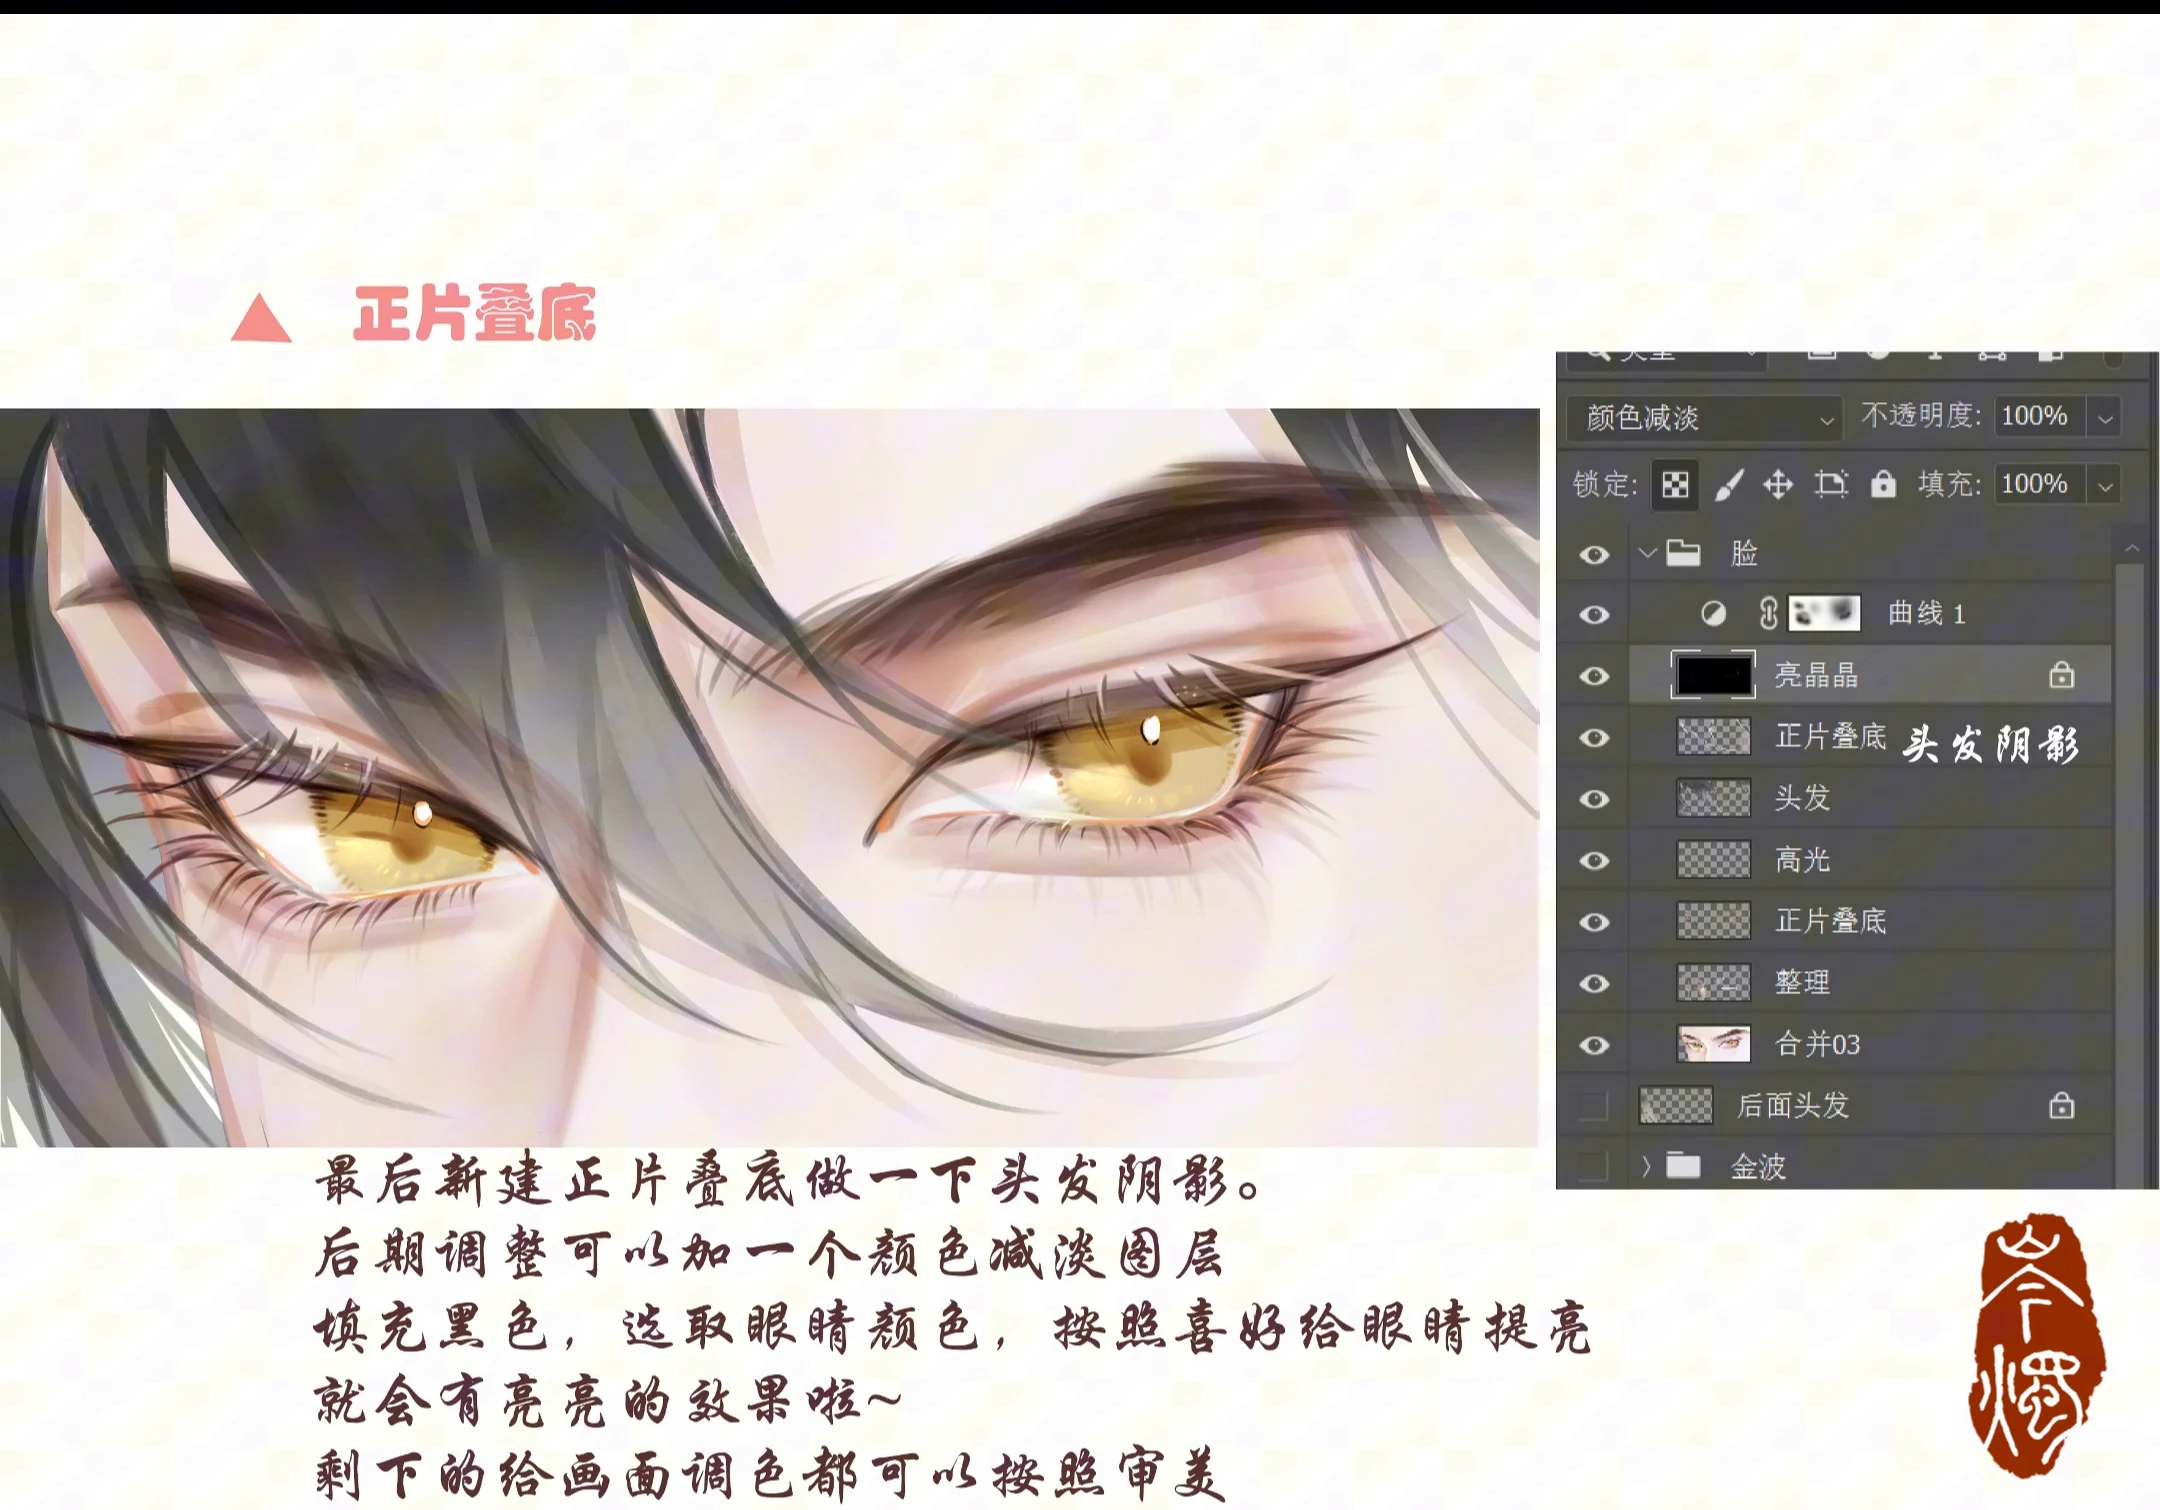
Tóc nên được xử lý theo khối lớn trước sợi nhỏ. Mixer Brush phù hợp để hòa khối sáng-tối và tạo nhịp cọ theo hướng tóc. Sau đó dùng Brush Tool hoặc một cọ Mixer ít trộn hơn để đặt các cạnh và sợi nhấn. Không blend mọi lọn cho mượt giống nhau.
Vùng cần soft edge dùng cọ lấy màu canvas nhiều hơn và Flow nhẹ hơn. Vùng hard edge cần màu reservoir rõ, ít kéo màu nền hơn. Lost edge không phải một vệt blur; đó là nơi hai vùng có value hoặc màu đủ gần để ranh giới tạm biến mất.
Bài tô da và tóc anime bằng edge control trong Photoshop giải thích sâu hơn cách phối hợp cạnh cứng, mềm và lost edge.
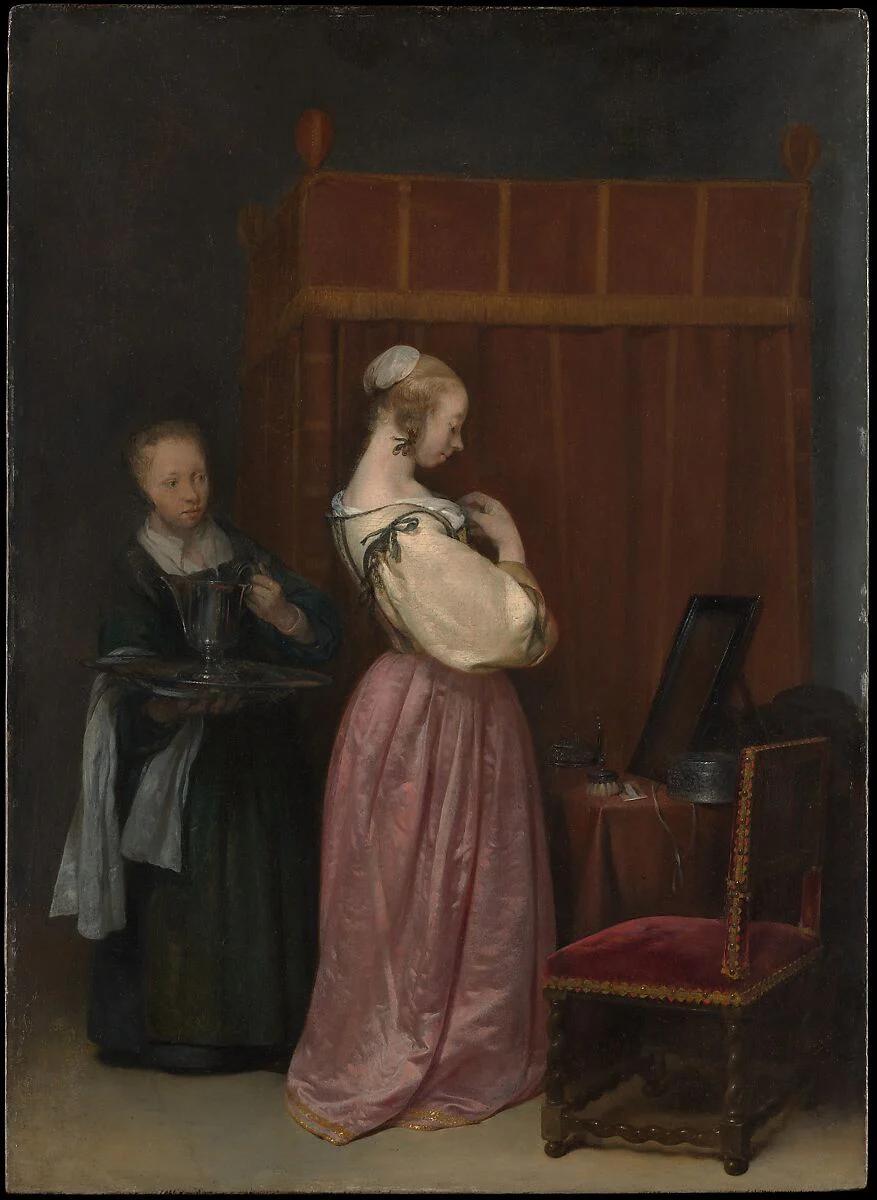
Mixer Brush không nên làm mọi vật liệu giống nhau. Vải có thể cần chuyển sắc dài hoặc ngắn tùy chất liệu. Kim loại thường có thay đổi value nhanh và cạnh phản xạ rõ; blend quá mức làm mất cảm giác kim loại. Kính phụ thuộc background, phản xạ và cạnh, không phải chỉ làm mờ. Hãy xem phân tích render vải, kim loại và kính trong Photoshop trước khi chọn mức trộn.
Bùn màu xuất hiện khi cọ liên tục mang hỗn hợp cũ qua nhiều vùng, hoặc Wet/Mix khiến màu canvas bị kéo qua lại quá nhiều. Dấu hiệu là hue giảm độ rõ, vùng sáng xám đi và value trung gian lan rộng.
Nếu toàn bộ silhouette và chi tiết nội bộ đều mềm, cọ đang trộn quá rộng hoặc artist không đặt lại cạnh. Hãy xác định focal point, shadow core và cạnh chồng lấp, sau đó dùng stroke ít trộn hơn để khôi phục chúng. Không cố cứu hình chỉ bằng Sharpen vì vấn đề nằm ở cấu trúc cạnh, không phải độ nét kỹ thuật.
Khi màu reservoir cạn sớm, kiểm tra Load và Flow, đồng thời xem chế độ tự động Load có phù hợp không. Artist cũng có thể nạp lại bằng Alt/Option-click. Đừng nhầm cọ cạn với opacity thấp: một cọ hết màu sẽ thay đổi hành vi theo quãng stroke, còn opacity thấp vẫn đặt màu theo cách ổn định hơn.
Reservoir có thể đang sạch hoặc Mix đang thiên mạnh về màu canvas. Nạp màu mới, kiểm tra Load và xem cọ có đang ở trạng thái Clean không. Nếu mục tiêu thật sự là kéo màu có sẵn, hành vi này có thể đúng; chỉ cần xác định rõ job của stroke.
Ẩn các layer không cần tham chiếu, giới hạn vùng bằng Selection hoặc làm việc trên bản sao đã gộp của nhóm liên quan. Background bão hòa hoặc lineart màu có thể bị Mixer Brush lấy mẫu và làm bẩn vùng nhân vật nếu mọi layer đều đang hiển thị.
Vẽ hai mảng màu cạnh nhau. Tạo bốn dải thử với các mức Wet và Mix khác nhau nhưng giữ nguyên brush. Ghi chú dải nào giữ được hai màu, dải nào tạo trung gian đẹp và dải nào trở thành bùn. Mục tiêu là học phản ứng, không tìm một con số “chuẩn”.
Vẽ ba quả cầu cùng ánh sáng. Quả thứ nhất giữ cạnh shadow cứng, quả thứ hai có penumbra mềm, quả thứ ba có lost edge ở phía tối. Dùng Mixer Brush để tạo sự khác nhau mà không blur toàn bộ hình.
Trên cùng canvas, vẽ ba dải vải, kim loại và tóc với cùng bảng màu. Thay đổi cách trộn, nhịp stroke và cạnh để ba vật liệu vẫn khác nhau. Bài tập này cho thấy chất liệu không phụ thuộc riêng texture.
Giữ layer màu gốc không đổi. Tạo layer Blend có Sample All Layers, hoàn thiện chuyển sắc rồi so sánh. Sau đó giảm opacity layer Blend để tìm mức giữ được cấu trúc tốt nhất. Không merge cho tới khi đã kiểm tra ở kích thước nhỏ.
Không. Brush Tool tốt cho đặt mảng và cạnh rõ; Mixer Brush tốt cho tương tác giữa màu trong cọ và màu canvas. Một workflow mạnh thường dùng cả hai.
Không. Wet kiểm soát lượng màu được lấy từ canvas; Mix quyết định tỷ lệ giữa màu canvas và màu reservoir trong kết quả trộn.
Wet vẫn cần cho quá trình pickup. Kiểm tra Wet, layer tham chiếu và Sample All Layers.
Chỉ khi muốn mỗi stroke không mang hỗn hợp từ stroke trước. Với blend liên tục, giữ màu trong cọ đôi khi hữu ích hơn.
Có thể đặt stroke trên layer trống và lấy mẫu từ các layer hiển thị khi Sample All Layers được bật. Hãy kiểm tra layer nào đang tham gia vào mẫu.
Có thể dùng để color grading tổng thể sau khi cấu trúc value và cạnh đã ổn. Bài color grading tranh anime bằng Adjustment Layer trình bày workflow không phá hủy cho bước này.
Mixer Brush trở nên dễ kiểm soát khi artist hình dung rõ hai nguồn màu: reservoir và canvas. Wet quyết định pickup, Load quyết định lượng màu nạp, Mix quyết định tỷ lệ hai nguồn, Flow quyết định tốc độ đặt màu. Load/Clean Brush, Alt hoặc Option-click và Sample All Layers hoàn thiện workflow. Hãy xây preset theo job, giữ layer Blend riêng khi cần và luôn bảo vệ sự khác nhau giữa cạnh, khối và vật liệu.

 Digital Art
 Game Development
 Godot
Godot
 Công cụ & Phần mềm
 Công cụ & Phần mềm
 Digital Painting
 Công cụ & Phần mềm
Đăng ký miễn phí, lấy link riêng và giới thiệu NextGZ cho người cần học tiếng Trung hoặc Digital Art.

Cộng đồng thực chiến
Tham gia nhóm để nhận tài nguyên, cập nhật công cụ và trao đổi cách xây dựng digital business cùng AI.
Tham gia nhóm Zalo
Cộng đồng sáng tạo
Kết nối với cộng đồng Digital Art, chia sẻ tác phẩm và học hỏi quy trình sáng tạo mới.
Tham gia DiscordCộng đồng thực chiến
Tham gia nhóm để nhận tài nguyên, cập nhật công cụ và trao đổi cách xây dựng digital business cùng AI.
Tham gia nhóm ZaloCộng đồng sáng tạo
Kết nối với cộng đồng Digital Art, chia sẻ tác phẩm và học hỏi quy trình sáng tạo mới.
Bình luận
0 bình luận
Đăng nhập để tham gia thảo luận cùng cộng đồng!
Đăng nhập ngayĐang tải bình luận...