 Brushes & Tài nguyên






Introduction: Why you should create your own brush in 画世界Pro?
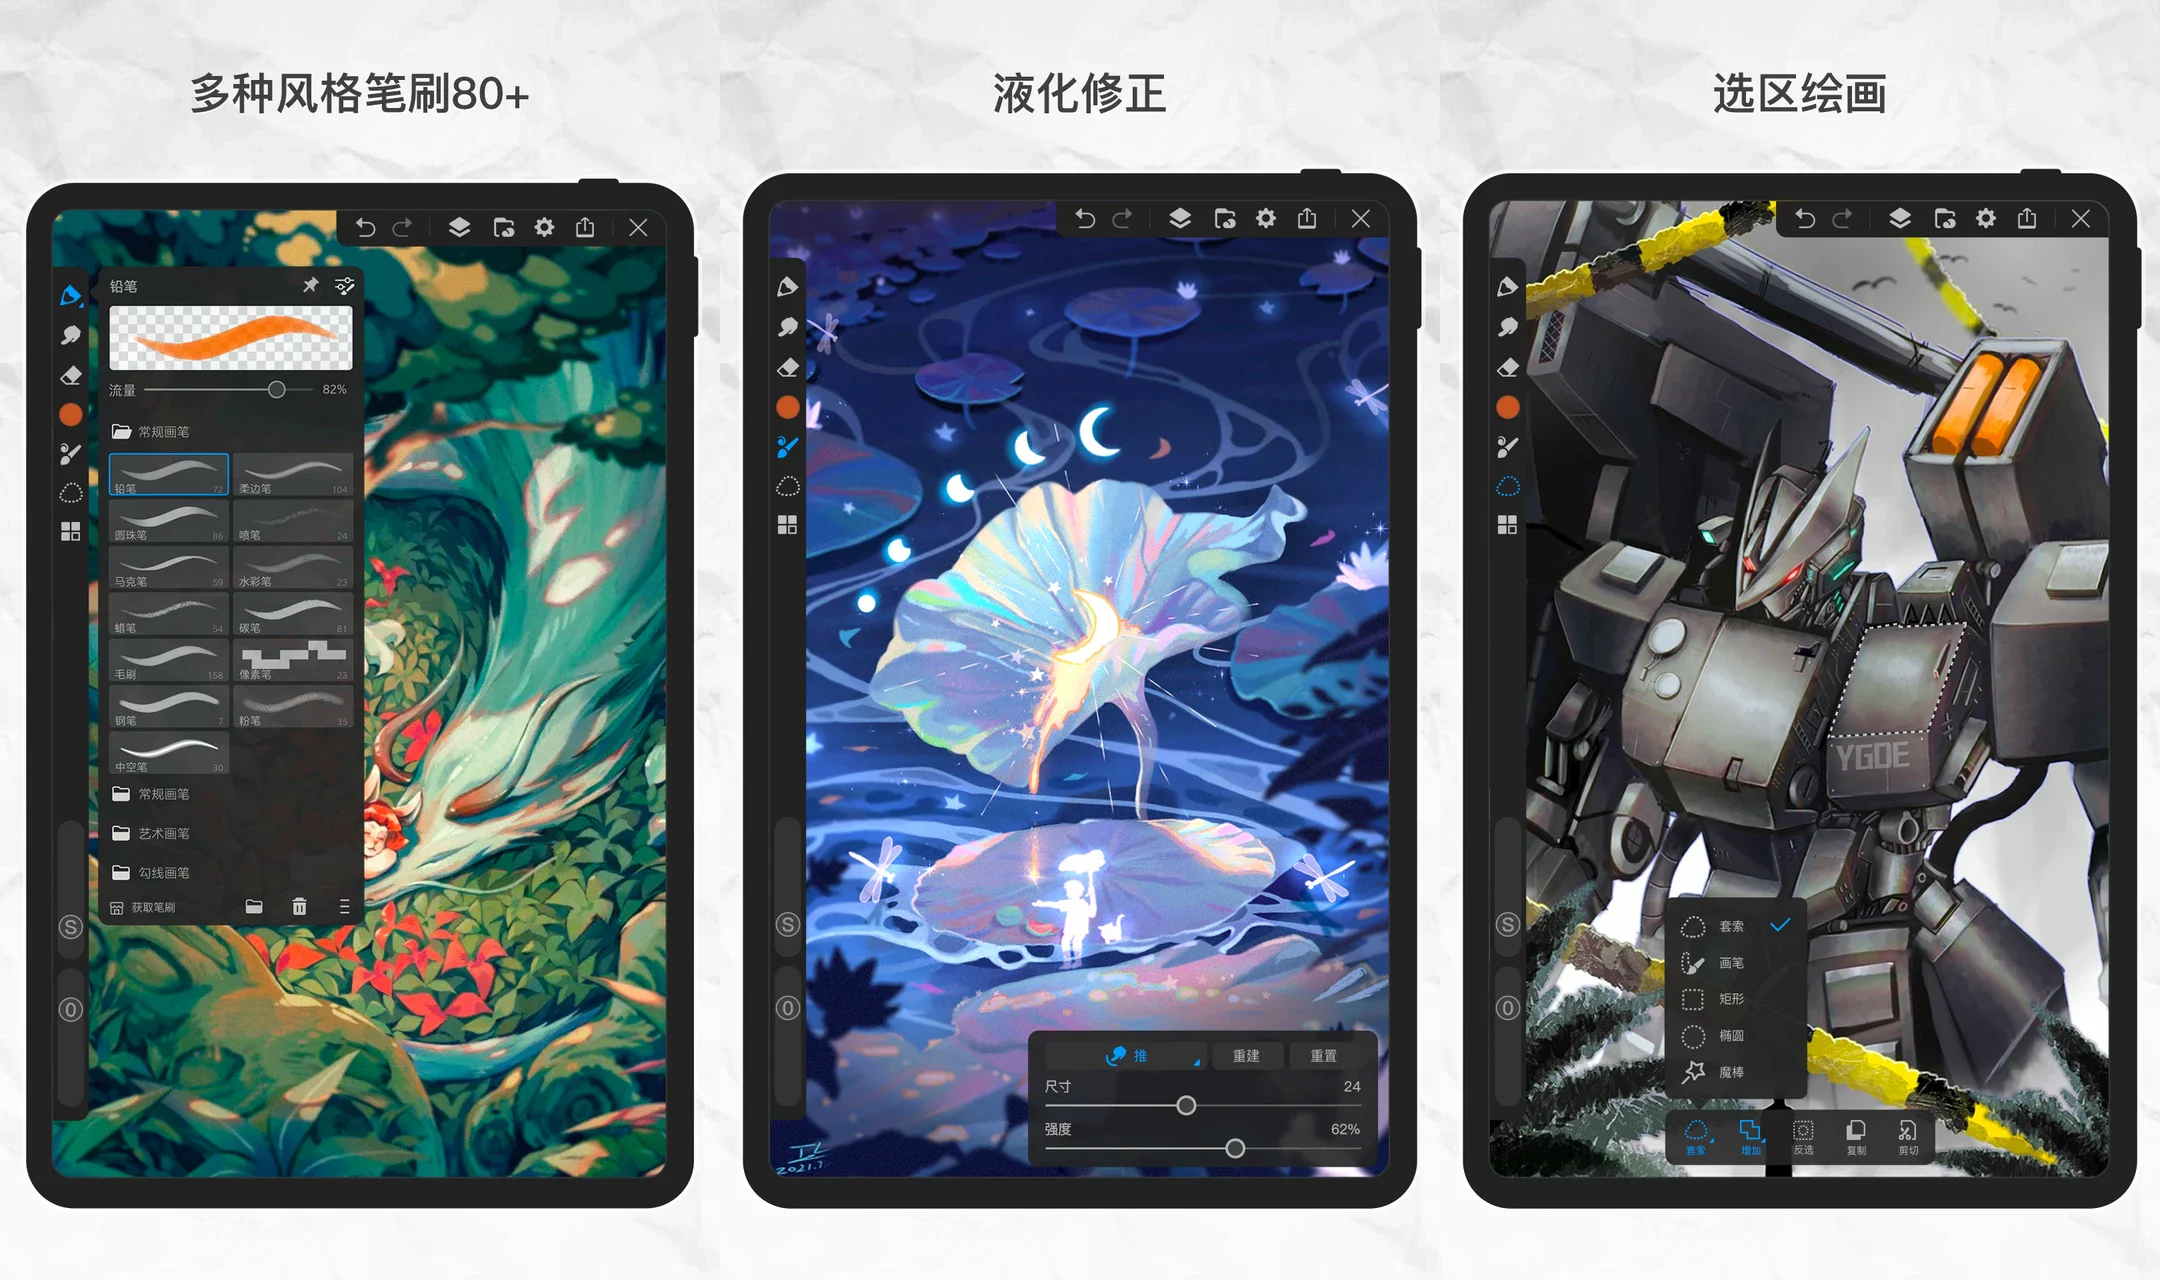
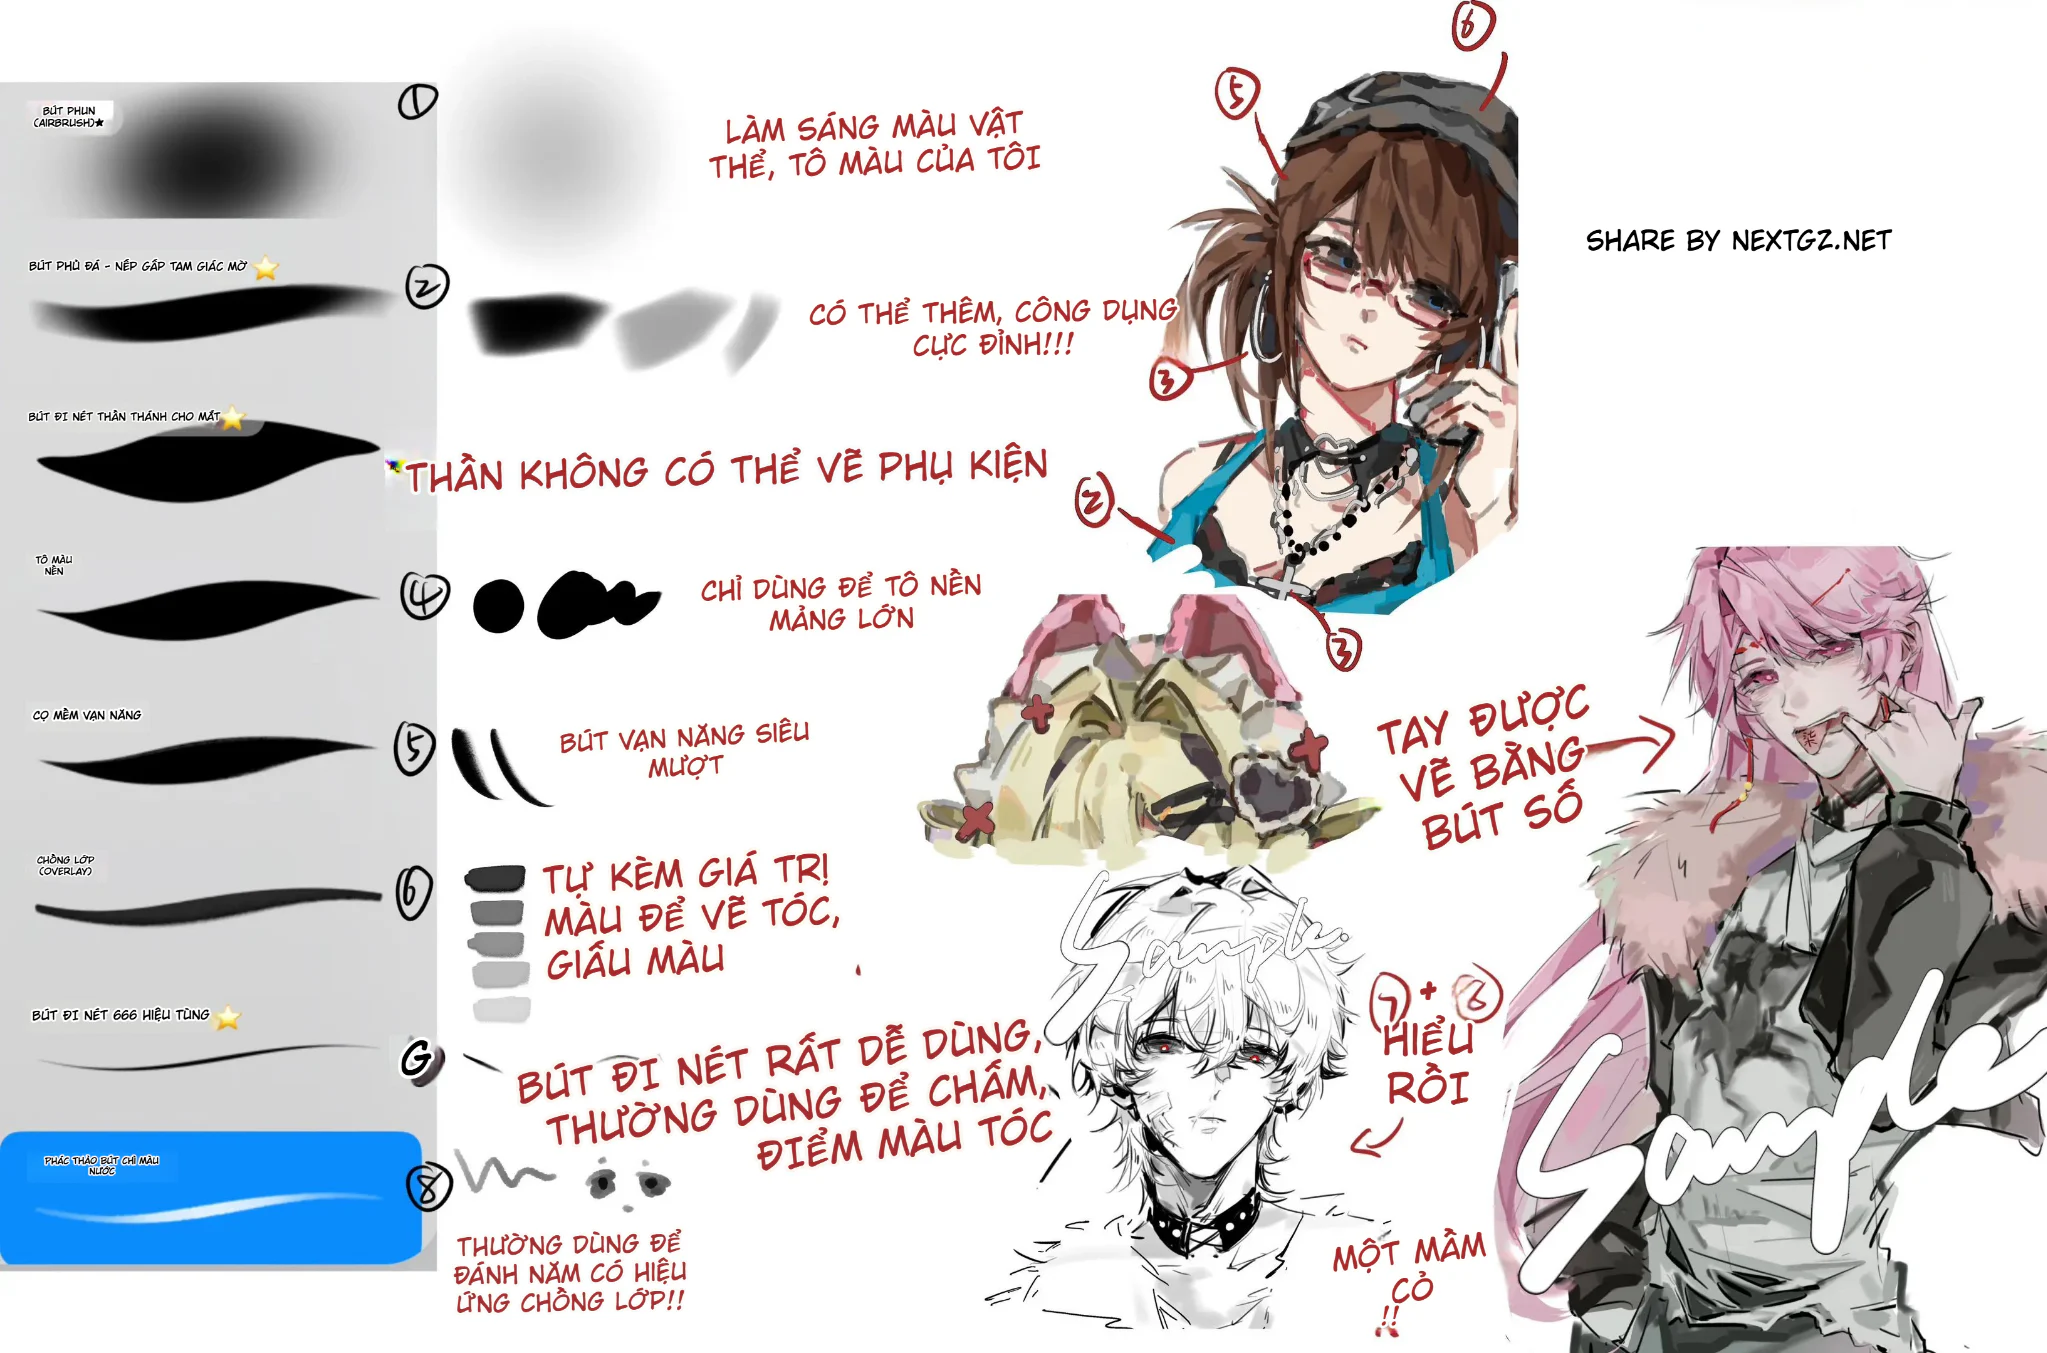
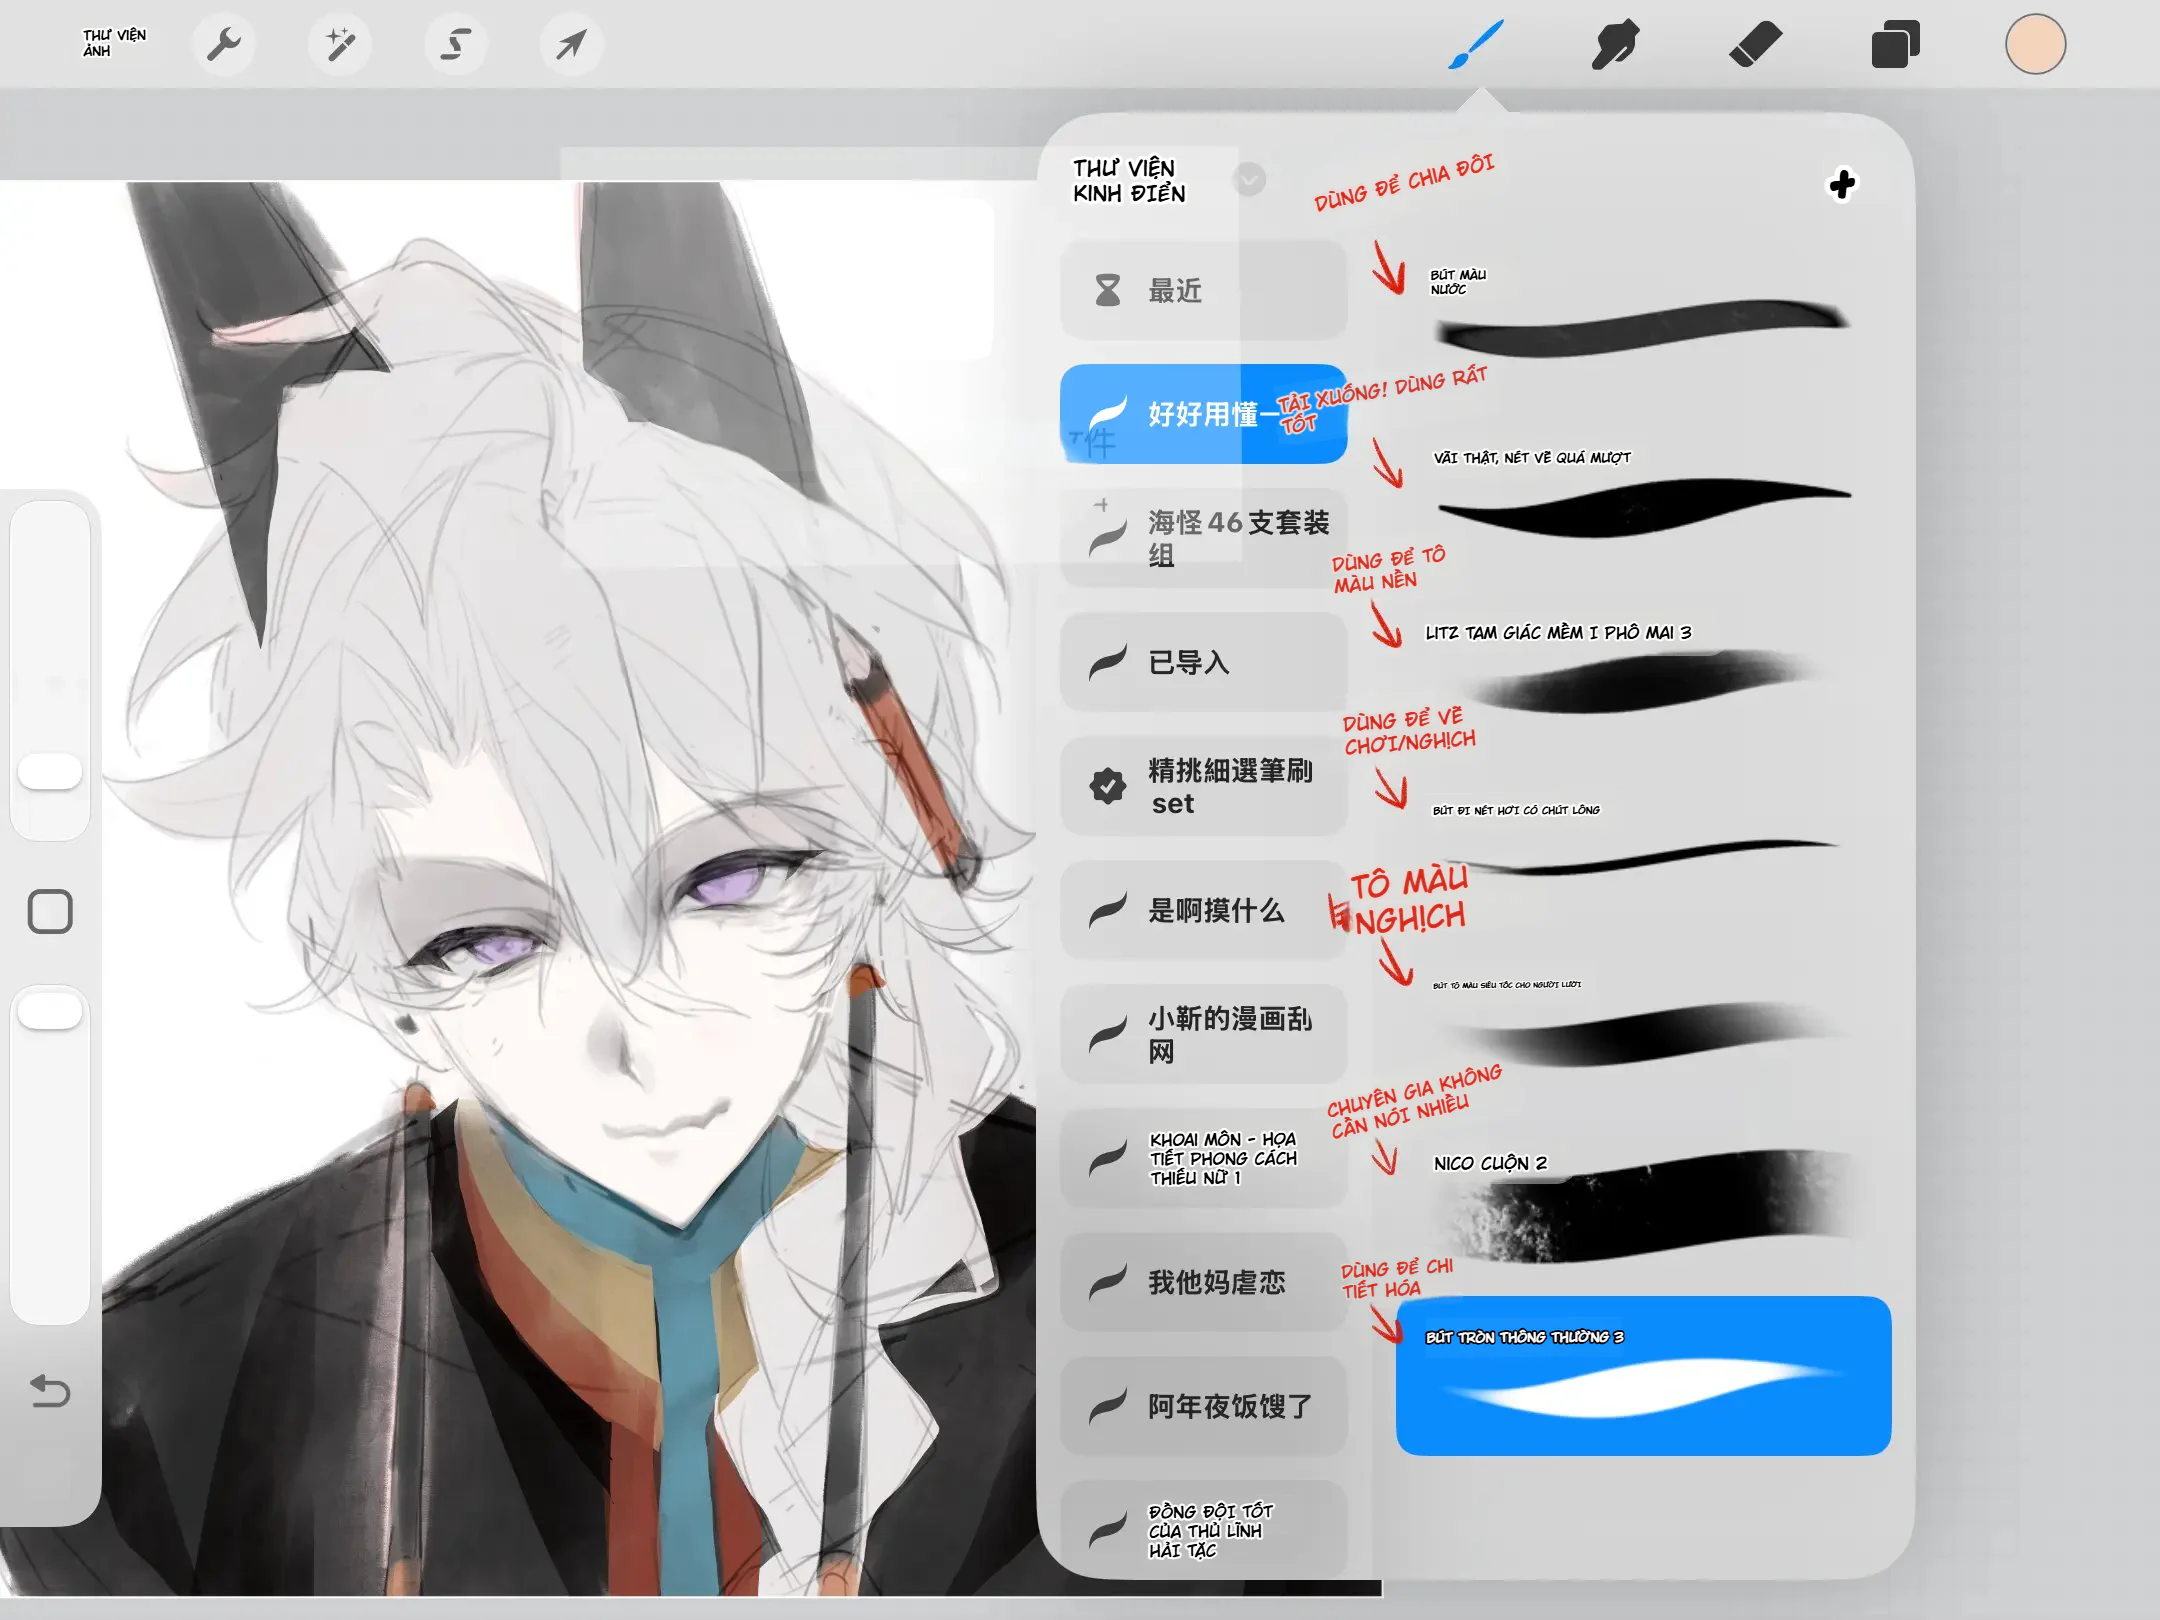
画世界Pro is one of the most powerful and popular digital drawing applications today, especially among the Chinese and Vietnamese drawing communities. One of the 'awesome' features that helps you create your own style is the ability to create custom brushes. Instead of just using default brushes, you can customize the brush tip shape, texture, and spacing to simulate any material: from pencil, graphite, watercolor brush to marker pen or airbrush.
In this article, I will guide you step by step on how to create your own brush in 画世界Pro, while also pointing out common mistakes and how to fix them. This knowledge is gathered from my personal experience and reliable Chinese reference sources. Get ready to level up your drawing skills to new heights!
Important note: Before you begin, make sure you have updated to the latest version of 画世界Pro (version 2.0 and above). The steps below may vary slightly depending on the version, but the principles are the same.
1. Shape – The foundation of every brush
1.1. Common shape types in 画世界Pro
The shape determines the basic form of each stroke. In 画世界Pro, you can choose from pre-existing shapes such as:
- Circle: Suitable for basic brushes, creating even, smooth strokes.
- Square: Creates angular strokes, often used for pixel art or brick effects.
- Brush tip: Simulates a real paintbrush, creating thin and thick strokes when changing pressure.
- Star, leaf, cloud: Special shapes used for decorative effects.
- Custom shape: This is the strength – you can draw any shape and save it as a new shape.
1.2. How to create a custom shape from scratch
To create a completely new shape, follow these steps:
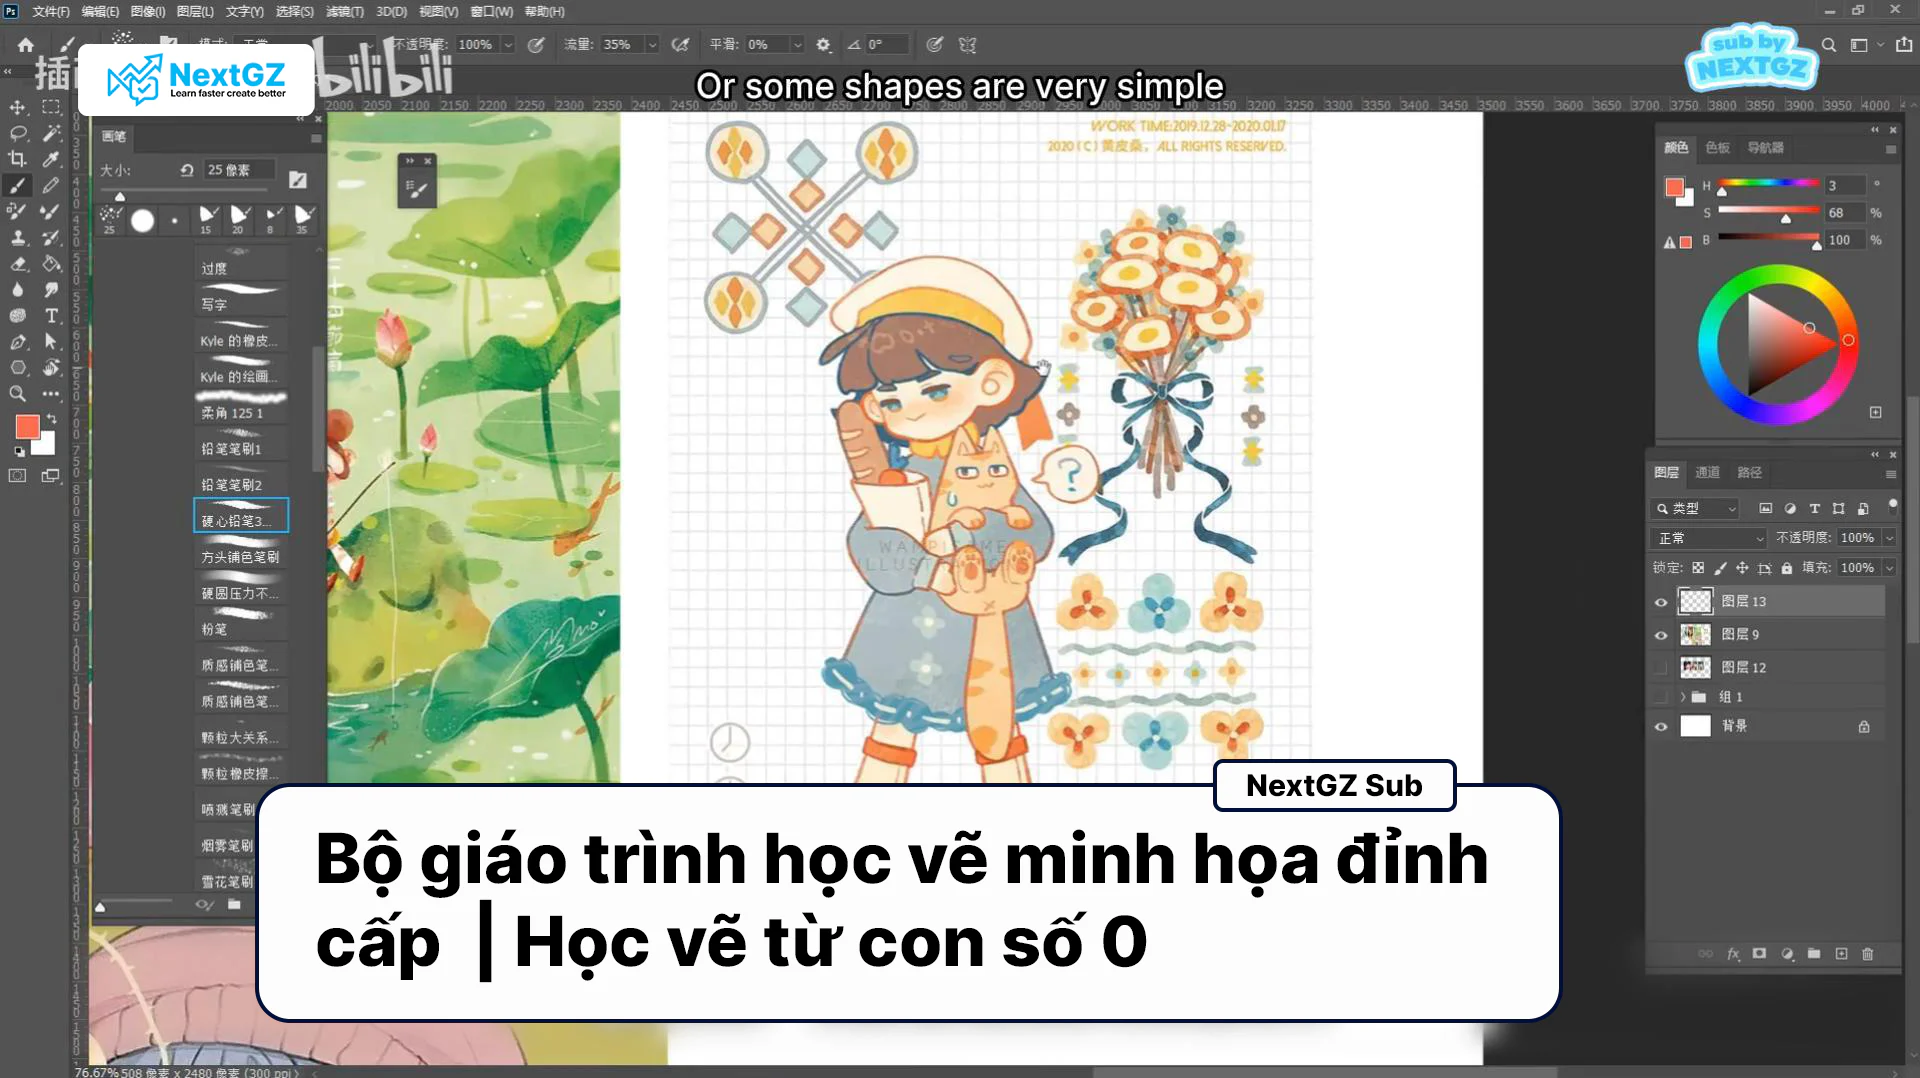
- Go to Brush Studio (usually has a gear icon or a + sign in the brush panel).
- Select New Brush or duplicate an existing brush.
- In the Shape tab, you will see a square box to draw the shape. Use the pen or pencil tool to draw the desired shape (use solid black on a white background for best results).
- Adjust the shape size by dragging the corners. The larger the shape, the more detailed the stroke, but also heavier.
- You can import black and white images from your device (PNG, JPG) as a shape. The higher the contrast of the image, the better.
Tip: To create a shape with a natural fade, use a soft brush to draw the shape with gray instead of solid black. The darker parts will produce higher opacity when drawing. For example: a water droplet shape with a dark black center and a light gray edge will create an ink bleed effect.
1.3. Advanced shape property adjustments
Once you have a shape, you need to fine-tune the parameters in the Shape Properties panel:
- Flip X / Flip Y: Flip the shape horizontally/vertically.
- Rotation: Rotate the shape at a fixed angle or follow the stroke direction.
- Random: Rotate the shape randomly each time you draw – creates a natural effect for grass or leaf brushes.
- Count: The number of shapes appearing in one stroke. For example: Count = 3 means each step will draw 3 shapes simultaneously.
- Scale: The zoom in/out ratio of the shape. Combine with pen pressure to create thin and thick strokes.
2. Texture – Creating realistic materials
2.1. What is texture and its role
Texture is a background image layer overlaid on the stroke, helping to simulate the surface of paper, fabric, stone, or create a grainy effect. In 画世界Pro, texture acts like a 'stamp' that repeats along the stroke. You can use textures from the built-in library or create your own.
2.2. Selecting textures from the library and customizing
Go to the Texture tab in Brush Studio, you will see a list of textures like: Paper, Watercolor, Noise, Canvas… Each texture can be adjusted:
- Scale: Texture scale – larger makes the grain bigger, smaller makes it finer.
- Brightness: Brightness of the texture (affects contrast).
- Contrast: Increase or decrease the clarity of the texture.
- Mode: Blend mode: Multiply, Screen, Overlay,… Usually use Multiply for the texture to overlay naturally on the drawing color.
2.3. Creating custom textures from images or hand-drawn
You can absolutely create your own texture to serve your unique drawing style. Here's how:
- Prepare a black and white image (or a color image that will be converted to grayscale) with the desired texture. For example: take a photo of a wooden tabletop, canvas fabric or use an image from the internet.
- Edit the image in another app (Photoshop, Lightroom) to increase contrast and remove unnecessary details. The image size doesn't need to be too large, 512x512 pixels is enough.
- In 画世界Pro, in the Texture tab, select Import Texture and choose the image from your device's library.
- Name it and save. The texture will appear in the custom texture list.
Compatibility note: Textures that are too large (over 2048x2048) can cause the app to slow down or crash. Use images up to a maximum of 1024x1024. Also, textures with a transparent background (alpha channel) will not display correctly – make sure the image has an opaque white background.
2.4. Combining texture with shape to create realistic brushes
To simulate a real-life brush, you need to combine both shape and texture. For example:
- Pencil brush: Circle shape with soft edges, Noise texture, low spacing (3-5).
- Watercolor brush: Water droplet shape, Canvas or Watercolor edge texture, Spacing 8-12, Rotation following stroke direction.
- Airbrush: Soft round shape, no or very light texture, spacing 1-2.
3. Spacing – The decisive factor for stroke smoothness
3.1. Understanding Spacing in 画世界Pro
Spacing is the distance between each shape 'stamp' when you draw a stroke. The smaller the spacing value, the closer the shapes are, the smoother the stroke. Conversely, large spacing creates a broken or dotted line effect. Spacing is calculated as a percentage (%) relative to the shape size.
3.2. How to adjust Spacing appropriately
In the Spacing (or General) tab, you have a slider from 1% to 200%+.
- Spacing 1-5%: Ultra-smooth stroke, suitable for airbrush, felt-tip pen brushes.
- Spacing 10-20%: Moderate stroke, commonly used for pencils, ballpoint pens.
- Spacing 30-50%: Disconnected strokes, creates polka dot or dry brush effects.
- Spacing >100%: Shapes are far apart, creating a dotted line or dot pattern.
Practical tip: If you want your brush to have a consistent thickness at any drawing speed, enable the Spacing based on speed option. This will automatically decrease spacing when drawing slowly and increase when drawing fast, making the stroke more natural.
3.3. Parameters related to Spacing
- Scatter: The shapes are not aligned on a straight line but offset randomly. For example: a bush brush requires high Scatter.
- Jitter: Makes the shape fluctuate in size, rotation angle, opacity – creating an organic effect.
- Flow: The amount of 'ink' released per shape. Combine with Spacing to control opacity.
4. Common mistakes when creating custom brushes and how to fix them
4.1. Broken stroke with gaps
Cause: Spacing is too large or the shape is too small relative to the stroke size.
Fix: Reduce Spacing below 10%. If the shape is small, increase Scale in Shape Properties. It could also be due to unstable pen pressure – check the pressure settings in Pen Pressure.
4.2. Texture not displaying or distorted
Cause: Texture is too large or the blend mode is not suitable. Many people choose Screen or Overlay mode without noticing the texture disappears on a white background.
Fix: Use Multiply mode. Ensure the texture has good contrast. If the texture displays but is too faint, increase Contrast in the Texture tab. If the texture is distorted, check the aspect ratio of the image – use a square (1:1) ratio.
4.3. Brush not saving or disappearing after closing the app
Cause: Not naming the brush or a memory write permission error.
Fix: Always name the brush before pressing Save. Check your device's available storage. If the brush still disappears, try exporting the brush as a .brush file (Export feature) and back it up. When needed, Import it again.
4.4. Performance issues, lag when drawing with custom brushes
Cause: Shape or texture size is too large (e.g., shape 2000x2000 pixels, texture 4096x4096). It could also be due to a high Count (e.g., Count=50) or large Scatter.
Fix: Reduce shape size to under 500px. Use 512x512 or 256x256 textures. Reduce Count to under 10. Turn off Jitter effects if not needed.
4.5. Brush creates uneven strokes with strange light and dark patches
Cause: The shape has an unbalanced brightness distribution, or lacks optimization at the edges.
Fix: Redraw the shape with a smoother gradient. If using an imported image, check if the image has noise. In Shape Properties, enable Anti-aliasing to smooth the shape edges.
5. Conclusion and final advice
Creating custom brushes in 画世界Pro is an extremely fun and useful skill, helping you not rely on the built-in library and create your own drawing style. Through this article, I hope you have understood the three core elements: Shape, Texture, and Spacing, as well as how to handle common errors.
Don't be afraid to experiment and make mistakes – create the 'craziest' brushes possible, because that's how you learn and improve. If you have any questions, please comment below, and I along with the community will help you answer them. Don't forget to share this article with your friends who share the same passion for digital drawing!
Chinese Reference Sources (end of article)
This article is compiled from practical experience and the following reference materials (reliable sources from the Chinese community):
- Official brush creation guide for 画世界Pro: 画世界Pro Help Center – Brush Studio
- Brush discussions and sharing on 贴吧 (Tieba): 画世界Pro Bar
- Detailed article on texture and shape from a Chinese artist's personal blog: 知乎 – Detailed explanation of 画世界Pro brush parameters
- Bilibili channel with practical tutorials: BV1qz4y1X7aY (custom brush creation video)
Note: All links above are real and active at the time of writing. If there are any changes, please search for relevant keywords on those platforms.
Thank you for reading! Try it out now and don't forget to follow the page for more useful drawing tips!


Bình luận
0 bình luận
Đăng nhập để tham gia thảo luận cùng cộng đồng!
Đăng nhập ngayĐang tải bình luận...