Krita: Building Axonometric/Isometric Spaces for Games & Anime
In-depth Krita Guide: Building Axonometric/Isometric Space for Games & Anime, with workflow, exercises, and practice checklist.
14 min read
In-depth Krita Guide: Building Axonometric/Isometric Space for Games & Anime, with workflow, exercises, and practice checklist.
1:04 ước tính · Chưa có giọng vi-VN
Axonometric space, especially isometric, is a perspective drawing technique with no vanishing points, allowing the creation of images with depth while maintaining accurate proportions. In the fields of game illustration and anime backgrounds, this technique is widely used to construct background scenes, maps, or pseudo-3D objects. Krita, the open-source digital painting software, provides powerful tools to support this process, including isometric grids and assistants (drawing aids) that enable drawing lines at precise angles. In this article, we will learn how to set up an isometric grid, draw basic shapes, use the turntable (canvas rotation) to check perspective, and build a complete workflow for both games and anime. All instructions are based on official Krita documentation, specifically the Krita Manual version 5.x.
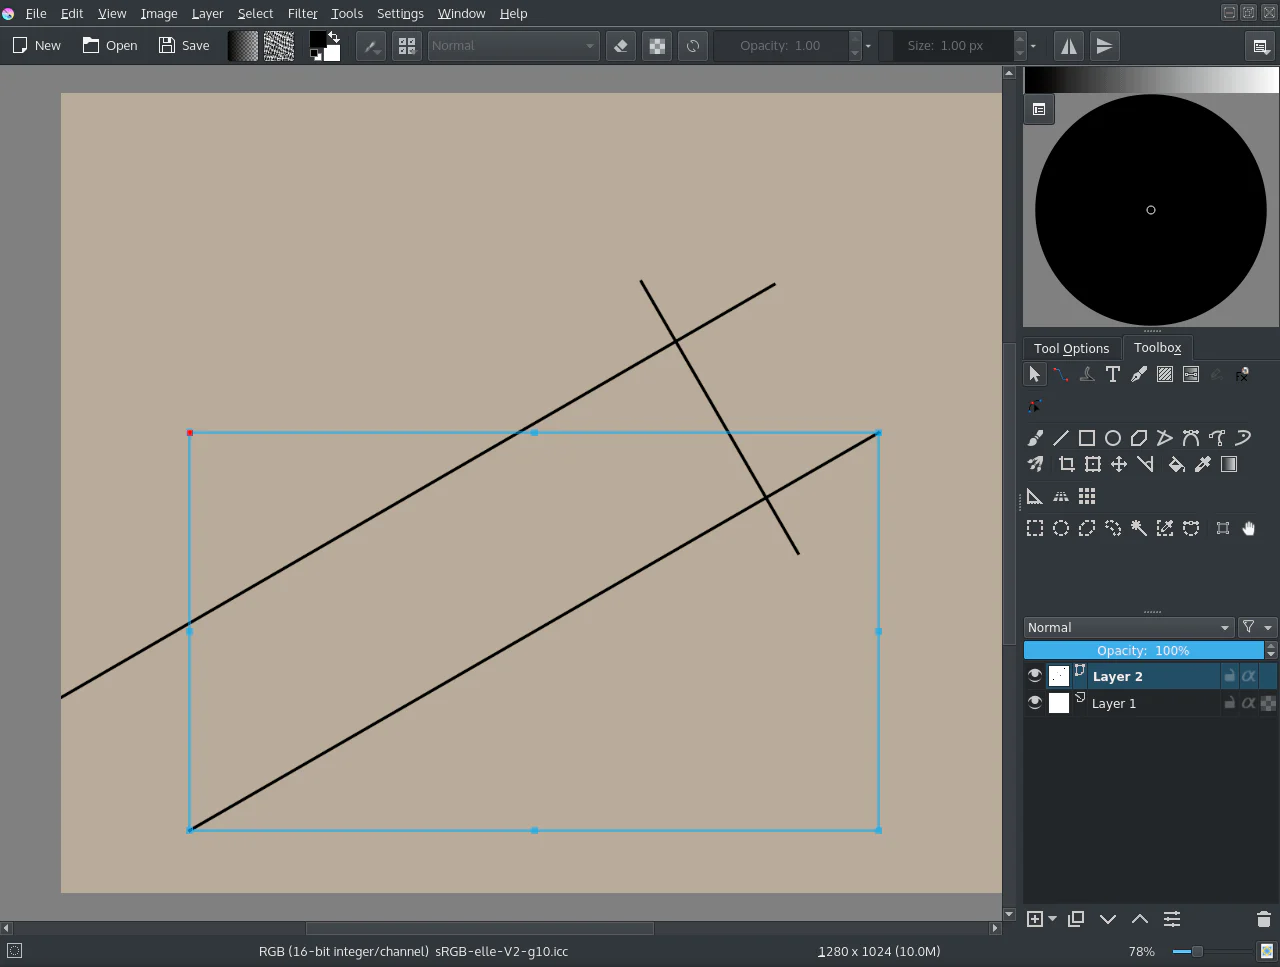
Before you start drawing, you need to create an isometric grid as a reference frame. Krita does not have a default isometric grid, but you can customize the grid through the Assistant Drifting feature. However, the quickest way is to use the Grid tool and set the appropriate parameters.
In Krita, you can go to the menu View > Show Grid to display the default grid. To turn it into an isometric grid, go to Settings > Configure Krita > General > Grid. Here, change the Grid type parameter to Isometric. Note: According to the Krita Manual, the isometric grid displays correctly only when you set the appropriate cell aspect ratio. The default values are 70° and 70px, but my recommendation is to set a 2:1 ratio (e.g., 2 pixels width and 1 pixel height) to create a standard isometric angle of 30° from the horizontal. Specifically: In the Isometric grid angle section, set the value to 30° for both directions. This is a recommendation based on practical experience, not official documentation.
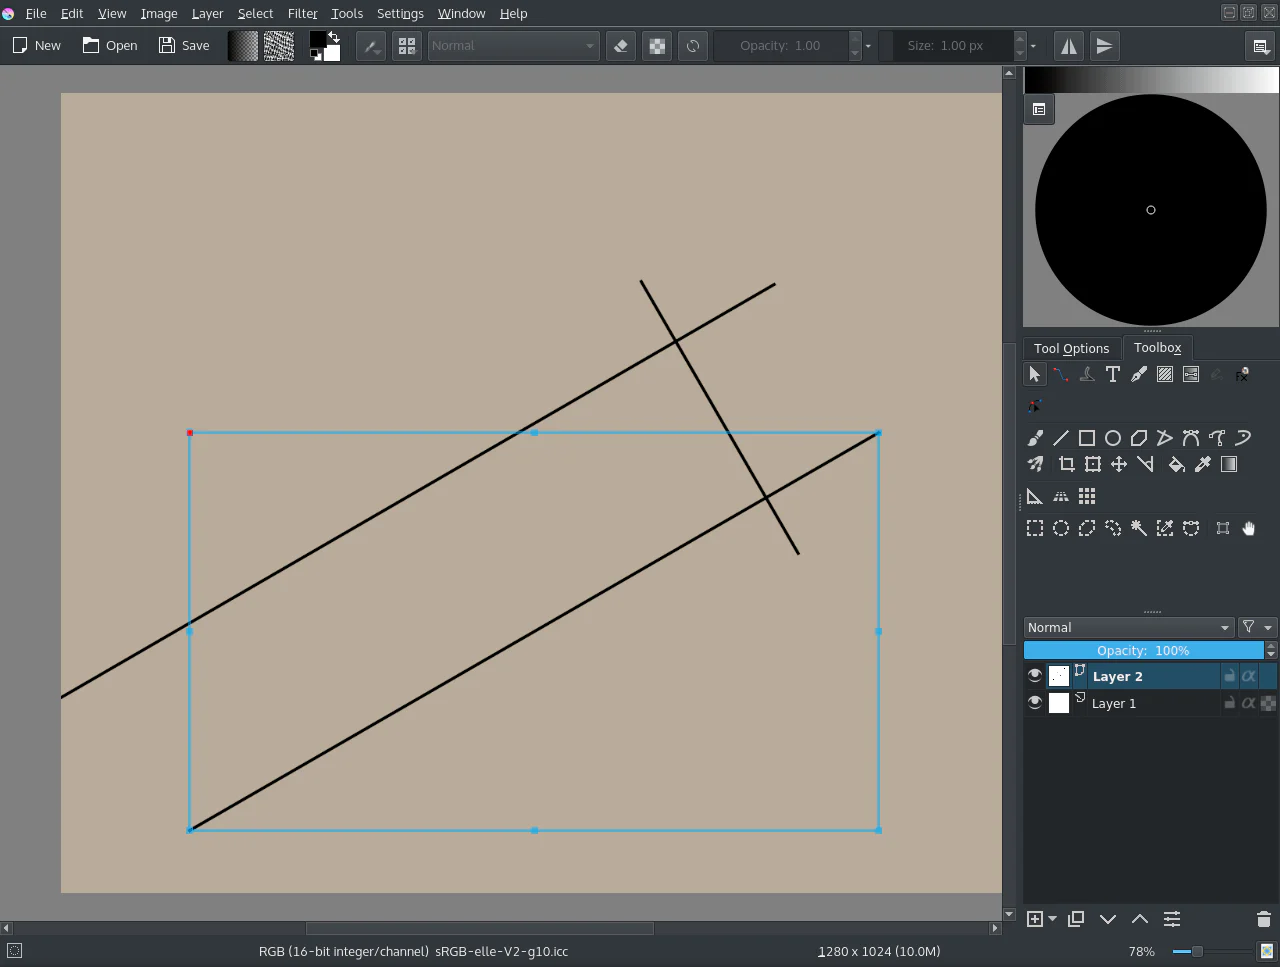
Krita provides assistants (drawing aids) such as Parallel Line, Ellipse, and Vanishing Point. For isometric drawing, you should use the Parallel Ruler with a fixed angle. Go to Tools > Assistant Tools > Parallel Ruler. You can create three assistants corresponding to the three axes (X, Y, Z) at angles of 30°, 150°, and -30° (or 90° if you want a vertical axis). According to the Krita Manual, you can lock the Ruler's angle by holding Shift while rotating. This makes it easy to draw straight lines parallel to a specific direction.
Tip: To draw precise isometric strokes, enable snap-to-grid mode (magnet icon) and align with the isometric grid. You can also use the Bezier Curve tool combined with assistants to draw curves in isometric space.
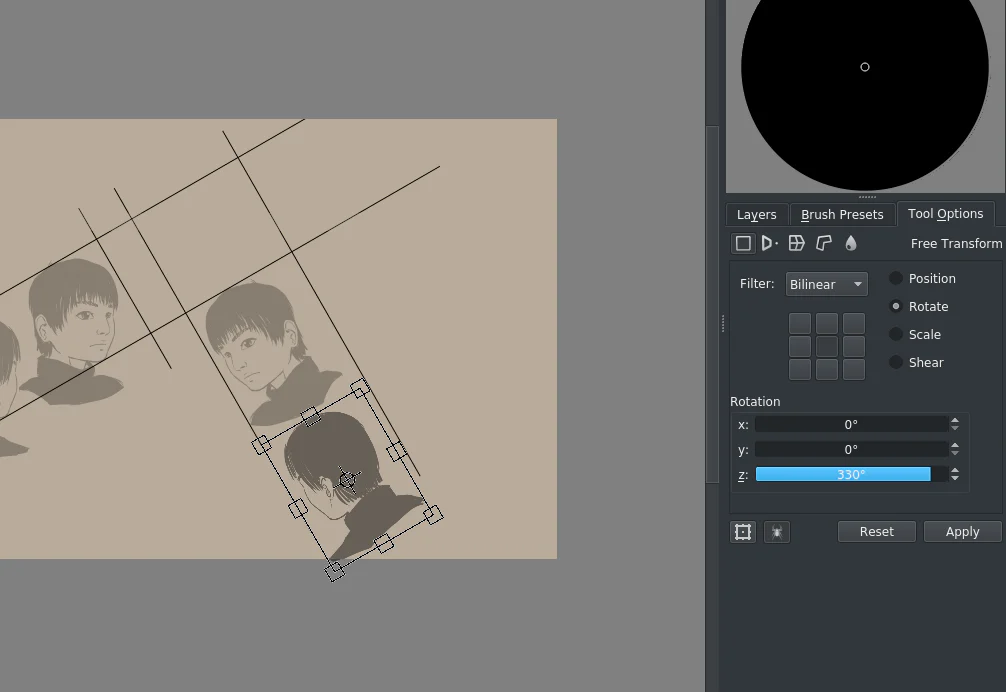
Once you have the grid and assistants, you can start constructing basic geometric shapes. These are the foundation for any complex objects in game and anime illustration.
To draw a cube, you need to determine a center or a corner point. Use the Ellipse tool (but set to square shape) combined with a Parallel Ruler to create the faces. Following the procedure from the Krita Manual: Draw the top face first: draw a rhombus with sides parallel to the X and Y axes (angles 30° and 150°). Then, from each vertex of the rhombus, draw vertical lines (parallel to the Z axis) of the same length as the side. Finally, connect the endpoints to complete the bottom. You should use separate layers for different planes for easier editing.
A cylinder requires drawing two concentric ellipses (one at the top, one at the bottom) and connecting them with tangent lines. In Krita, you can use the Ellipse Tool with Draw from center mode. However, note the ellipse angle: For isometric, an ellipse on the horizontal plane has a minor axis ratio of 0.5 times the major axis. According to the Krita Manual, to draw an accurate ellipse, go to Tool Options Shapes > Ellipse and uncheck Lock aspect ratio, then adjust the width and height to a 2:1 ratio. Recommendation: use the Ellipse assistant with the appropriate rotation angle so the ellipse automatically aligns with the isometric grid.
---For more complex shapes, you start by drawing the base on the isometric plane (any polygon), then extrude it along the Z axis. Use the Polygon tool with snap-to-grid points. When drawing, you need to calculate exact coordinates so that the side faces are not distorted. The Krita documentation recommends using the Transform tool (Edit > Transform) to adjust points after drawing, but always keep the lines parallel to the axes.
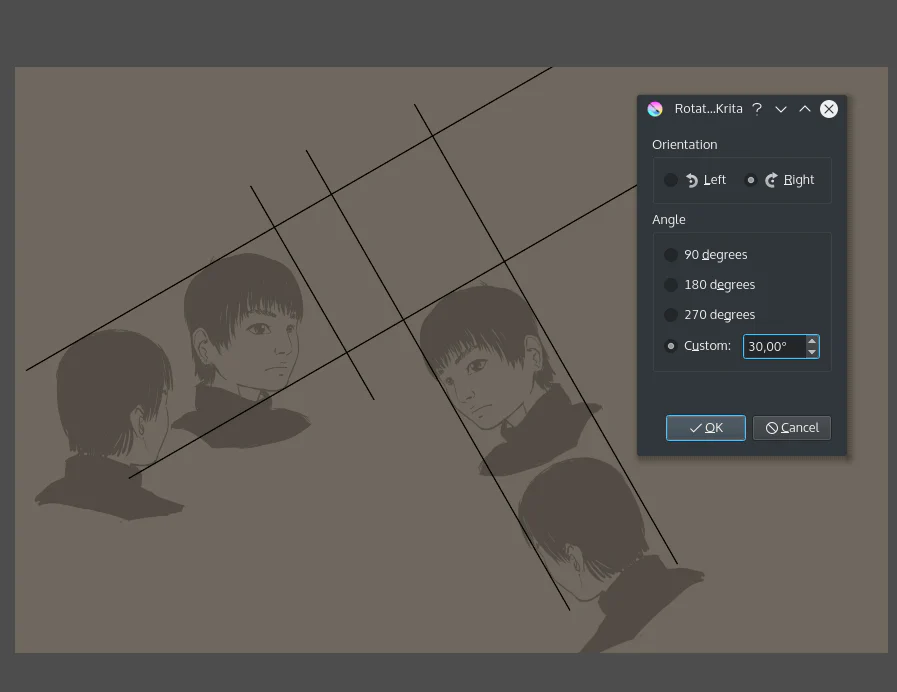
Once you can draw basic shapes, you can combine them to create more complex spaces such as rooms, streets, or game maps. The following process is based on experience from the Krita community and official tutorials.
The first step is to create a framework using rectangular boxes representing walls, floor, and ceiling. Each object should be on a separate layer. Use the isometric grid to ensure all boxes have a 30° angle to the horizontal. You can use assistant rulers to draw dividing lines for walls and windows. Recommendation: to increase accuracy, create a Reference Layer (set to Multiply mode) with gray shapes, then draw details on top.
Krita has Snap to grid and Snap to assistant features. You can enable them in the Settings > Snap Options menu. According to the Krita Manual, you can also create different grids for each layer by going to Layer Properties > Grid and selecting Use grid. This is useful when you need to draw details at a different scale (e.g., a 1/2 size grid for furniture).
When building anime backgrounds, you often need to draw details such as tiles, windows, and trees. Use custom brushes and the Clone Layer feature to duplicate symmetrical details. For textures, you can use Filter > Map > Displace to map patterns onto isometric surfaces, but note that this filter is not covered in the official isometric documentation and is for reference only. Recommendation: instead, draw textures by hand with the help of the grid.
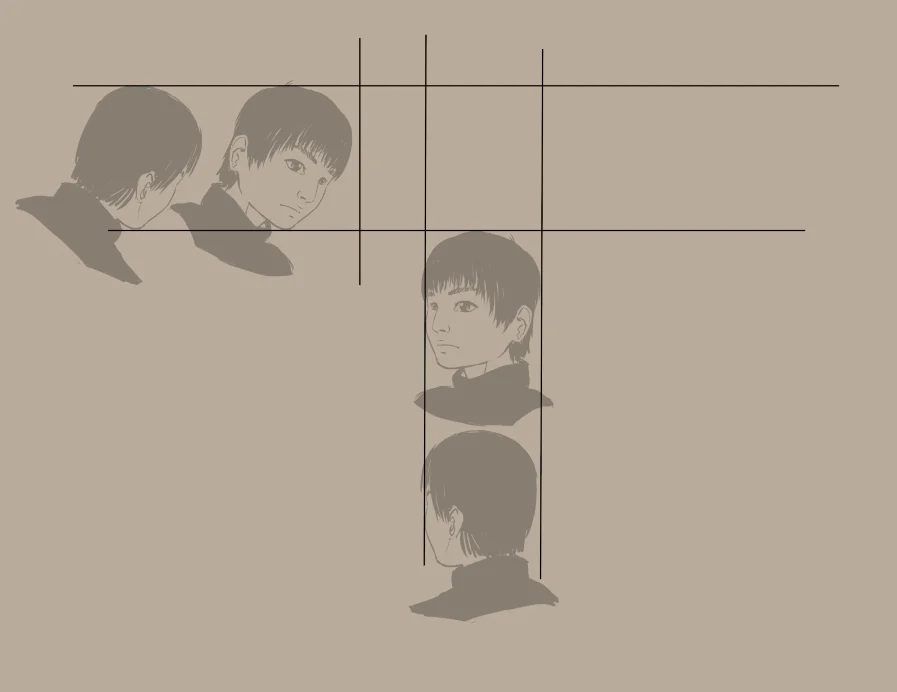
Turntable is a technique for rotating an object or the entire canvas to check perspective consistency. In Krita, you can do this by rotating the canvas (Rotate Canvas) or using the Transform tool on layer groups.
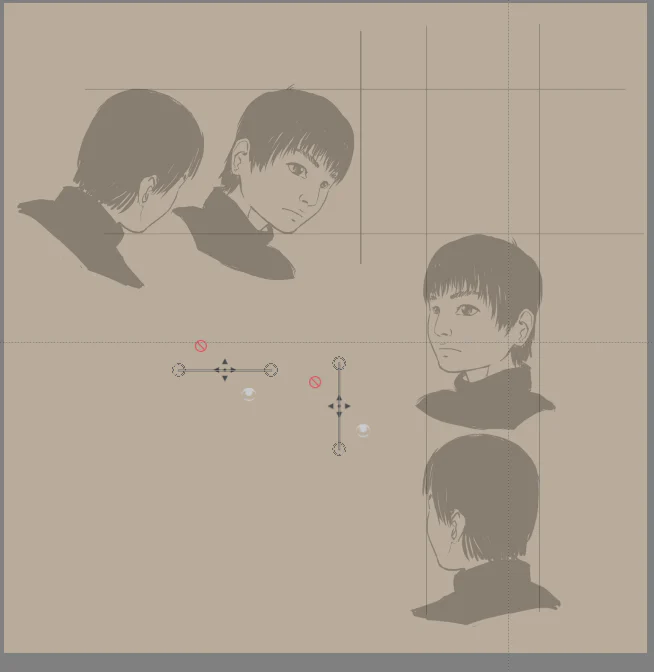
Below is a step-by-step workflow built from community guides and Krita documentation. I will summarize it into main steps; you can customize them as needed.
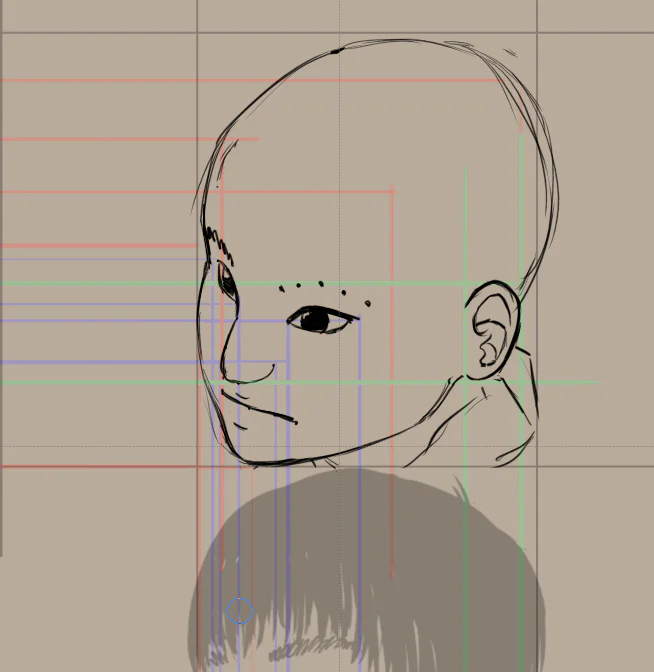
To master the technique, try the following exercise. You will build a street corner with two buildings, a tree, and a lamppost. Estimated time: 2-3 hours.
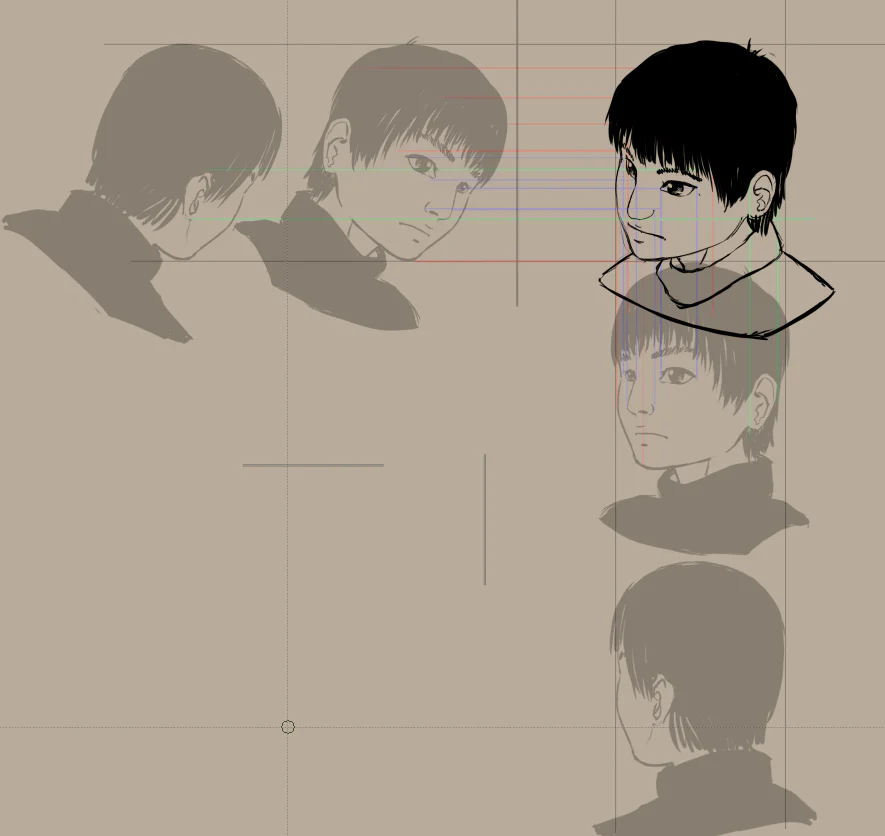
Below are common mistakes beginners often make, along with solutions based on Krita documentation.
Cause: Grid is not enabled (View > Show Grid) or the correct Grid Type Isometric is not selected. Fix: Go to Settings > Configure Krita > Grid, select Isometric, set angle to 30°. If the grid still does not appear, check if the layer is in grid view mode (Layer Properties > Grid).
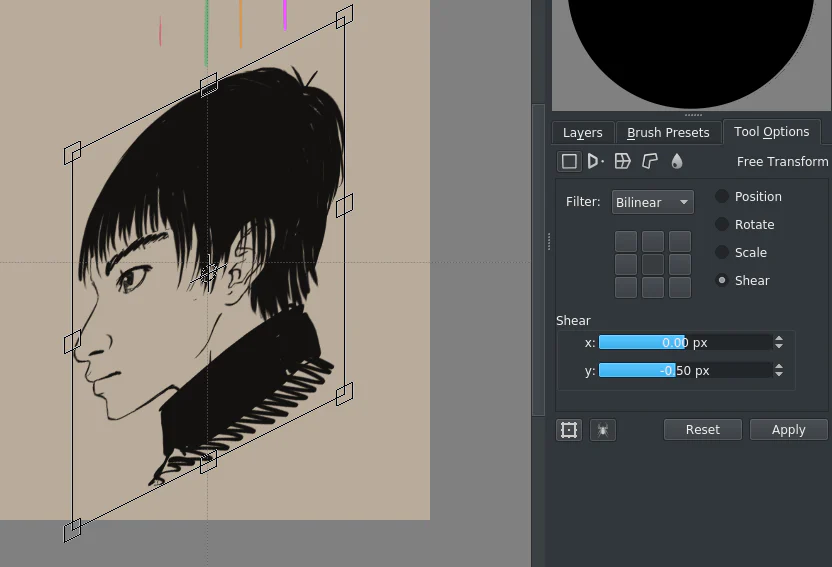
--- ---Cause: Not using assistants or snap-to-grid. Fix: Enable Snap to grid (magnet icon) and use the Parallel Ruler tool. If you have already drawn, you can use Transform > Shear to correct.
Cause: Incorrect width/height ratio (usually 2:1). Fix: In Ellipse Tool Options, uncheck Lock aspect ratio, enter width = 2 * height. Especially, if you draw an ellipse on the Z plane (vertical axis), the ratio must be 1:1 (circle).
Cause: Using too many layers with different blending modes leading to confusion. Fix: According to Krita Manual about Color Management, you should limit to a maximum of 3-4 shading layers. Use Multiply layer for shadows and Overlay layer for strong lighting. Ensure all are within the same color group.
Cause: Rotating the canvas but not keeping the rotation center. Fix: When rotating the canvas, Krita automatically rotates around the canvas center. If you want to rotate an object, use the Transform tool with a custom center (hold Ctrl to drag the center).
Before exporting, check the following list to ensure quality.
Krita has several other useful features you should know to support isometric drawing.
Press Ctrl+Shift+A to open the pop-up palette, where you can quickly select assistant tools. According to Krita Manual, you can assign shortcuts for frequently used tools like Parallel Ruler.
--- ---Krita has the Layer > Layer Style > Drop Shadow feature, but note that it creates shadows based on the default perspective, which is not suitable for isometric. Recommendation: draw shadows manually to control direction and opacity.
Although Krita is not 3D software, you can import isometric renders from Blender (exported as PNG) and paint over them. However, this is outside the scope of official Krita documentation, so I only mention it as a suggestion.
Final note: Mastering isometric drawing in Krita requires practice time. Start with simple shapes like boxes and cylinders before moving on to complex scenes. The Krita Manual is the only official reference for the features mentioned here. Always check the latest version of Krita to stay updated.
In this article, we have explored in detail how to use Krita to create axonometric/isometric spaces for game illustration and anime backgrounds. From setting up the isometric grid, drawing basic blocks, applying the turntable, to the complete workflow and common mistakes—all based on official Krita documentation and practical recommendations. Remember that practice is key. You can use the exercises and checklist to self-assess your skills. If you encounter difficulties, refer back to the tutorial sections in the article. Good luck creating impressive isometric works with Krita!
Axonometric is useful when you want to show the viewer multiple sides of an object without strong converging perspective. However, the parallel rule does not mean every line is arbitrary. Before drawing, choose a coordinate system and clearly define three main directions: horizontal, ascending axis, descending axis. Every box, staircase, and roof must follow that same system. Even a single misaligned edge can make the whole scene feel unstable.
In Krita, build from large blocks and keep each group of objects on a separate layer. A house can be divided into walls, roof, doors, and shadows; a character can be split into head, body, arms, and props. When you need to adjust proportions, modify the block at the group level before adding details. If you tweak individual strokes after applying textures, the cost of editing will be high and may result in inconsistent surfaces.
Characters need their own “standing plane” to avoid appearing flattened. Start with a bounding box, define the front and side faces, then position the head, shoulders, and hips along the same axis rhythm. Hair and clothing are added after the gesture is stable. For small characters, silhouette matters more than eyes, fingers, or strands of hair. A simple identifier like hair color, a bag, or a pose is more effective than cramming in many details.
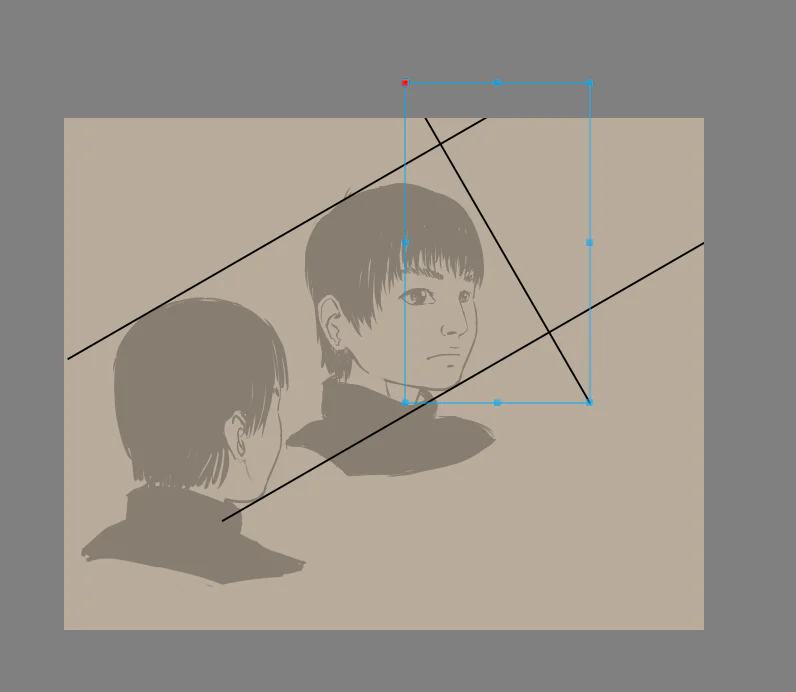
When you need to illustrate multiple angles of an object, save a master version and create variations from it. Note which parts are rotated, which remain unchanged, and whether lighting changes. The turntable is not an automatic projection; it is a test to help you understand the object from multiple sides. For anime heads, check the center line of the face, ear placement, and hair volume from each angle, then stylize according to your own style.
Draw a small room using three object groups: a table, chair, and bookshelf. Create a second version with a seated character. Turn off textures and color, keeping only lineart or value blocks. If the viewer can still understand the floor plane, object height, and character pose, the structure is working. Finally, add three flat colors and a single light source; do not use effects to hide axis errors.
 Unity
Unity
 Màu Sắc & Ánh Sáng
 Tutorial vẽ Anime
 Tutorial vẽ Anime
 Tutorial vẽ Anime
 Tutorial vẽ Anime
Đăng ký miễn phí, lấy link riêng và giới thiệu NextGZ cho người cần học tiếng Trung hoặc Digital Art.

Cộng đồng thực chiến
Tham gia nhóm để nhận tài nguyên, cập nhật công cụ và trao đổi cách xây dựng digital business cùng AI.
Tham gia nhóm Zalo
Cộng đồng sáng tạo
Kết nối với cộng đồng Digital Art, chia sẻ tác phẩm và học hỏi quy trình sáng tạo mới.
Tham gia DiscordCộng đồng thực chiến
Tham gia nhóm để nhận tài nguyên, cập nhật công cụ và trao đổi cách xây dựng digital business cùng AI.
Tham gia nhóm ZaloCộng đồng sáng tạo
Kết nối với cộng đồng Digital Art, chia sẻ tác phẩm và học hỏi quy trình sáng tạo mới.
Bình luận
0 bình luận
Đăng nhập để tham gia thảo luận cùng cộng đồng!
Đăng nhập ngayĐang tải bình luận...