Krita practical perspective setup for anime backgrounds: horizon line, vanishing point, and deviation check
In-depth Krita guide to practical perspective construction for anime backgrounds: horizon line, vanishing points, and deviation checking, with workflow, exercises, and practice checklist.
Official diagram, no additional content. Author/provider: Krita Foundation / Krita Manual; source: https://docs.krita.org/en/general_concepts/projection/perspective.html; credited according to original documentation.
Introduction to perspective in anime backgrounds and the Krita tool
Official diagram, no additional content. Author/provider: Krita Foundation / Krita Manual; source: https://docs.krita.org/en/general_concepts/projection/perspective.html; credited according to original documentation.
Krita is a powerful open-source digital painting software favored by the manga and anime drawing community. One of the most important skills when drawing anime backgrounds is mastering perspective. Perspective helps create depth and realistic space for a scene. In this article, we will focus on how to use the perspective tools available in Krita to build anime backgrounds in a practical way, including setting up the horizon line, vanishing points, and checking for errors.
According to Krita's official documentation, the software provides perspective support tools such as Perspective Grid and Vanishing Point. These tools help you easily create accurate viewpoints without complex manual calculations. This article will guide you step by step from basic to advanced, along with common mistakes and practice exercises.
Understanding perspective: horizon line and vanishing points
Official diagram, no additional content. Author/provider: Krita Foundation / Krita Manual; source: https://docs.krita.org/en/general_concepts/projection/perspective.html; credited according to original documentation.
What is the Horizon Line?
The horizon line is a horizontal line representing the viewer's eye level. In perspective, all parallel lines receding into depth converge at one or more points on the horizon line. When drawing anime backgrounds, the horizon line is often placed at 1/3 or 2/3 of the frame height to create a pleasing composition.
Vanishing Point
A vanishing point is a point on the horizon line where parallel lines meet. There are three main types of perspective: one-point perspective, two-point perspective, and three-point perspective. In anime backgrounds, one-point and two-point perspective are most commonly used. Krita supports up to three vanishing points through the Perspective Grid tool.
Note: According to Krita documentation, you can activate the perspective grid from the menu View > Show Grid and select the appropriate grid type. However, to use vanishing points accurately, you need to use the Perspective Grid Tool (grid icon) available in the toolbar.
Setting up perspective in Krita: from horizon line to vanishing points
Official image/diagram. Author/provider: Krita Foundation / Krita Manual; source: https://docs.krita.org/en/general_concepts/projection/perspective.html; credited according to original documentation.
How to create a horizon line in Krita
To draw a horizon line, you can use the Line Tool (shortcut Shift+L) and draw a horizontal line. However, a more professional way is to use the Perspective Grid. When you enable the perspective grid, Krita automatically draws the horizon line based on the vanishing points you set.
Select Layer > Add > Paint Layer to create a new layer.
Select the Perspective Grid Tool from the toolbar (or press W).
In the Tool Options bar, choose the number of vanishing points (e.g., 2 Vanishing Points).
Click and drag on the canvas to create the grid. The red line is the horizon line, the blue lines are perspective lines.
Adjust the position of the vanishing points by dragging the yellow circular handles.
Adjusting vanishing points precisely
When you drag a vanishing point, you will see the perspective lines change. To place the vanishing point correctly, you should base it on the desired composition. For example, if drawing a room in a frontal view, the vanishing point is usually at the center of the horizon line. If drawing a street corner, two vanishing points lie on either side of the frame.
Recommendation: According to experience from the Krita community, you should sketch a rough background before activating the perspective grid. This helps you estimate the appropriate position for vanishing points. Then enable the grid and adjust it to match the sketch.
Practical perspective building workflow for anime backgrounds
Official image/diagram. Author/provider: Krita Foundation / Krita Manual; source: https://docs.krita.org/en/general_concepts/projection/perspective.html; credited according to original documentation.
Step 1: Determine the viewpoint and perspective type
Before drawing, decide the viewpoint: bird's-eye view, worm's-eye view, or eye-level. This affects the position of the horizon line and the number of vanishing points. For anime, one-point perspective is often used for hallways or train tracks; two-point perspective for street corners or buildings; three-point perspective for high or low angle shots.
Step 2: Set up the perspective grid in Krita
Use the Perspective Grid Tool as instructed. Make sure you have selected the correct number of vanishing points. Place the horizon line at the desired position by dragging the entire grid (drag the red line). Adjust the vanishing points by dragging the yellow handles.
Step 3: Draw basic shapes based on the grid
Create a new layer (Layer > Add > Paint Layer). Use the Brush or Line Tool to draw lines following the grid direction. To draw accurately, you can enable snapping to the grid: select View > Snap... > Snap to Grid or press Shift+S and choose Snap to Perspective Grid. Then your strokes will automatically adhere to the perspective lines.
Step 4: Check for perspective errors
After drawing the main shapes, you need to check whether the lines converge correctly to the vanishing points. Krita provides a Vanishing Point tool in the menu Filter > Distort > Vanishing Point (for images), but to check hand-drawn lines, you can create a new layer and draw test lines from the vanishing points outward. If the edges of objects are not parallel to the test lines, there is an error.
Important note: According to Krita's user guide, there is no automatic perspective error-checking function for hand-drawn strokes. Therefore, you must check manually. An effective method is to draw additional guide lines from the vanishing points to the corners of objects and then compare.
Step 5: Correct and finalize
After identifying errors, you can correct them by using Liquify (Filter > Distort > Liquify) or by redrawing the incorrect lines. For anime backgrounds, perfect perspective accuracy is not as critical as in architecture, but it must still be visually comfortable for the viewer. Use separate layers for sketches, lineart, and colors.
Common perspective errors in Krita and how to fix them
Official image/diagram. Author/provider: Krita Foundation / Krita Manual; source: https://docs.krita.org/en/general_concepts/projection/perspective.html; credited according to original documentation.
Error 1: Vanishing points placed too far or too close
If vanishing points are too close to the center, the perspective lines become too compressed, creating a cramped feeling. If too far, the lines become almost parallel, losing the depth effect. To fix: move the vanishing points farther or closer depending on the desired effect. Krita allows continuous dragging of vanishing points, so you can try multiple positions.
Error 2: Horizon line not level
A tilted horizon line will make the background unbalanced. In Krita, if you draw the horizon line manually, hold Shift while drawing to ensure a straight line. If using the perspective grid, check the angle of the red line – if it is not horizontal, you can rotate the grid by dragging a vanishing point up/down (this will tilt the horizon line accordingly). To fix, reset the grid and redraw.
Error 3: Objects not following the same perspective system
When drawing multiple objects, you might inadvertently use different vanishing points for each object, causing contradictions. Solution: always use the same perspective grid for the entire drawing. If you need to change the viewpoint, create a separate layer with a new grid and ensure they harmonize.
Error 4: Overusing fish-eye effect
Some anime artists intentionally use curved perspective for stylistic effect, but if unintentional, it will distort the space. In Krita, the perspective grid only supports linear perspective (straight lines), not curved perspective. Therefore, to avoid this error, ensure you are not drawing curves instead of straight lines when aiming for standard perspective.
Practice exercises for building anime background perspective
Official image/diagram. Author/provider: Krita Foundation / Krita Manual; source: https://docs.krita.org/en/general_concepts/projection/perspective.html; credited according to original documentation.
Exercise 1: Draw a school hallway (one-point perspective)
Open Krita, create a 1920x1080 canvas. Enable a one-point perspective grid. Place the vanishing point at the center of the horizon line. Draw the wall, floor, and ceiling lines following the grid. Then add details like doors and bulletin boards. Requirements: all horizontal and vertical lines must be parallel to each other; all receding lines must converge at the vanishing point.
Exercise 2: Draw a street corner (two-point perspective)
Create a two-point perspective grid, placing the two vanishing points on either side of the canvas. Draw a building at the street corner: vertical lines remain vertical; horizontal lines of the facade converge to the left or right vanishing point depending on the direction. Add windows and eaves. Check by drawing guide lines from the vanishing points to the corners.
Exercise 3: Draw a bird's-eye view scene (three-point perspective)
In Krita, a three-point grid allows you to simulate a top-down or bottom-up view. Set up three vanishing points: two on the horizon line and one above or below. Draw a square with buildings. Note that vertical lines now also converge to the third vanishing point (above or below). This is a difficult exercise but very useful for anime action scenes.
Recommendation: According to Krita training materials, you should practice drawing simple boxes before drawing complex backgrounds. Start with one box, then add more boxes around it. This helps you understand how objects interact in perspective space.
Perspective checklist before finalizing
Official image/diagram. Author/provider: Krita Foundation / Krita Manual; source: https://docs.krita.org/en/general_concepts/projection/perspective.html; credited according to original documentation.
Before coloring and finishing your anime background, use this checklist to ensure accuracy:
Is the horizon line horizontal and in the desired position?
Are the vanishing points set to the correct number and position? (One, two, or three points)
Are all vertical lines truly vertical? (Except in three-point perspective)
Do the horizontal lines (receding in depth) converge accurately to the vanishing points?
Are diagonal lines (if any) going in the right direction?
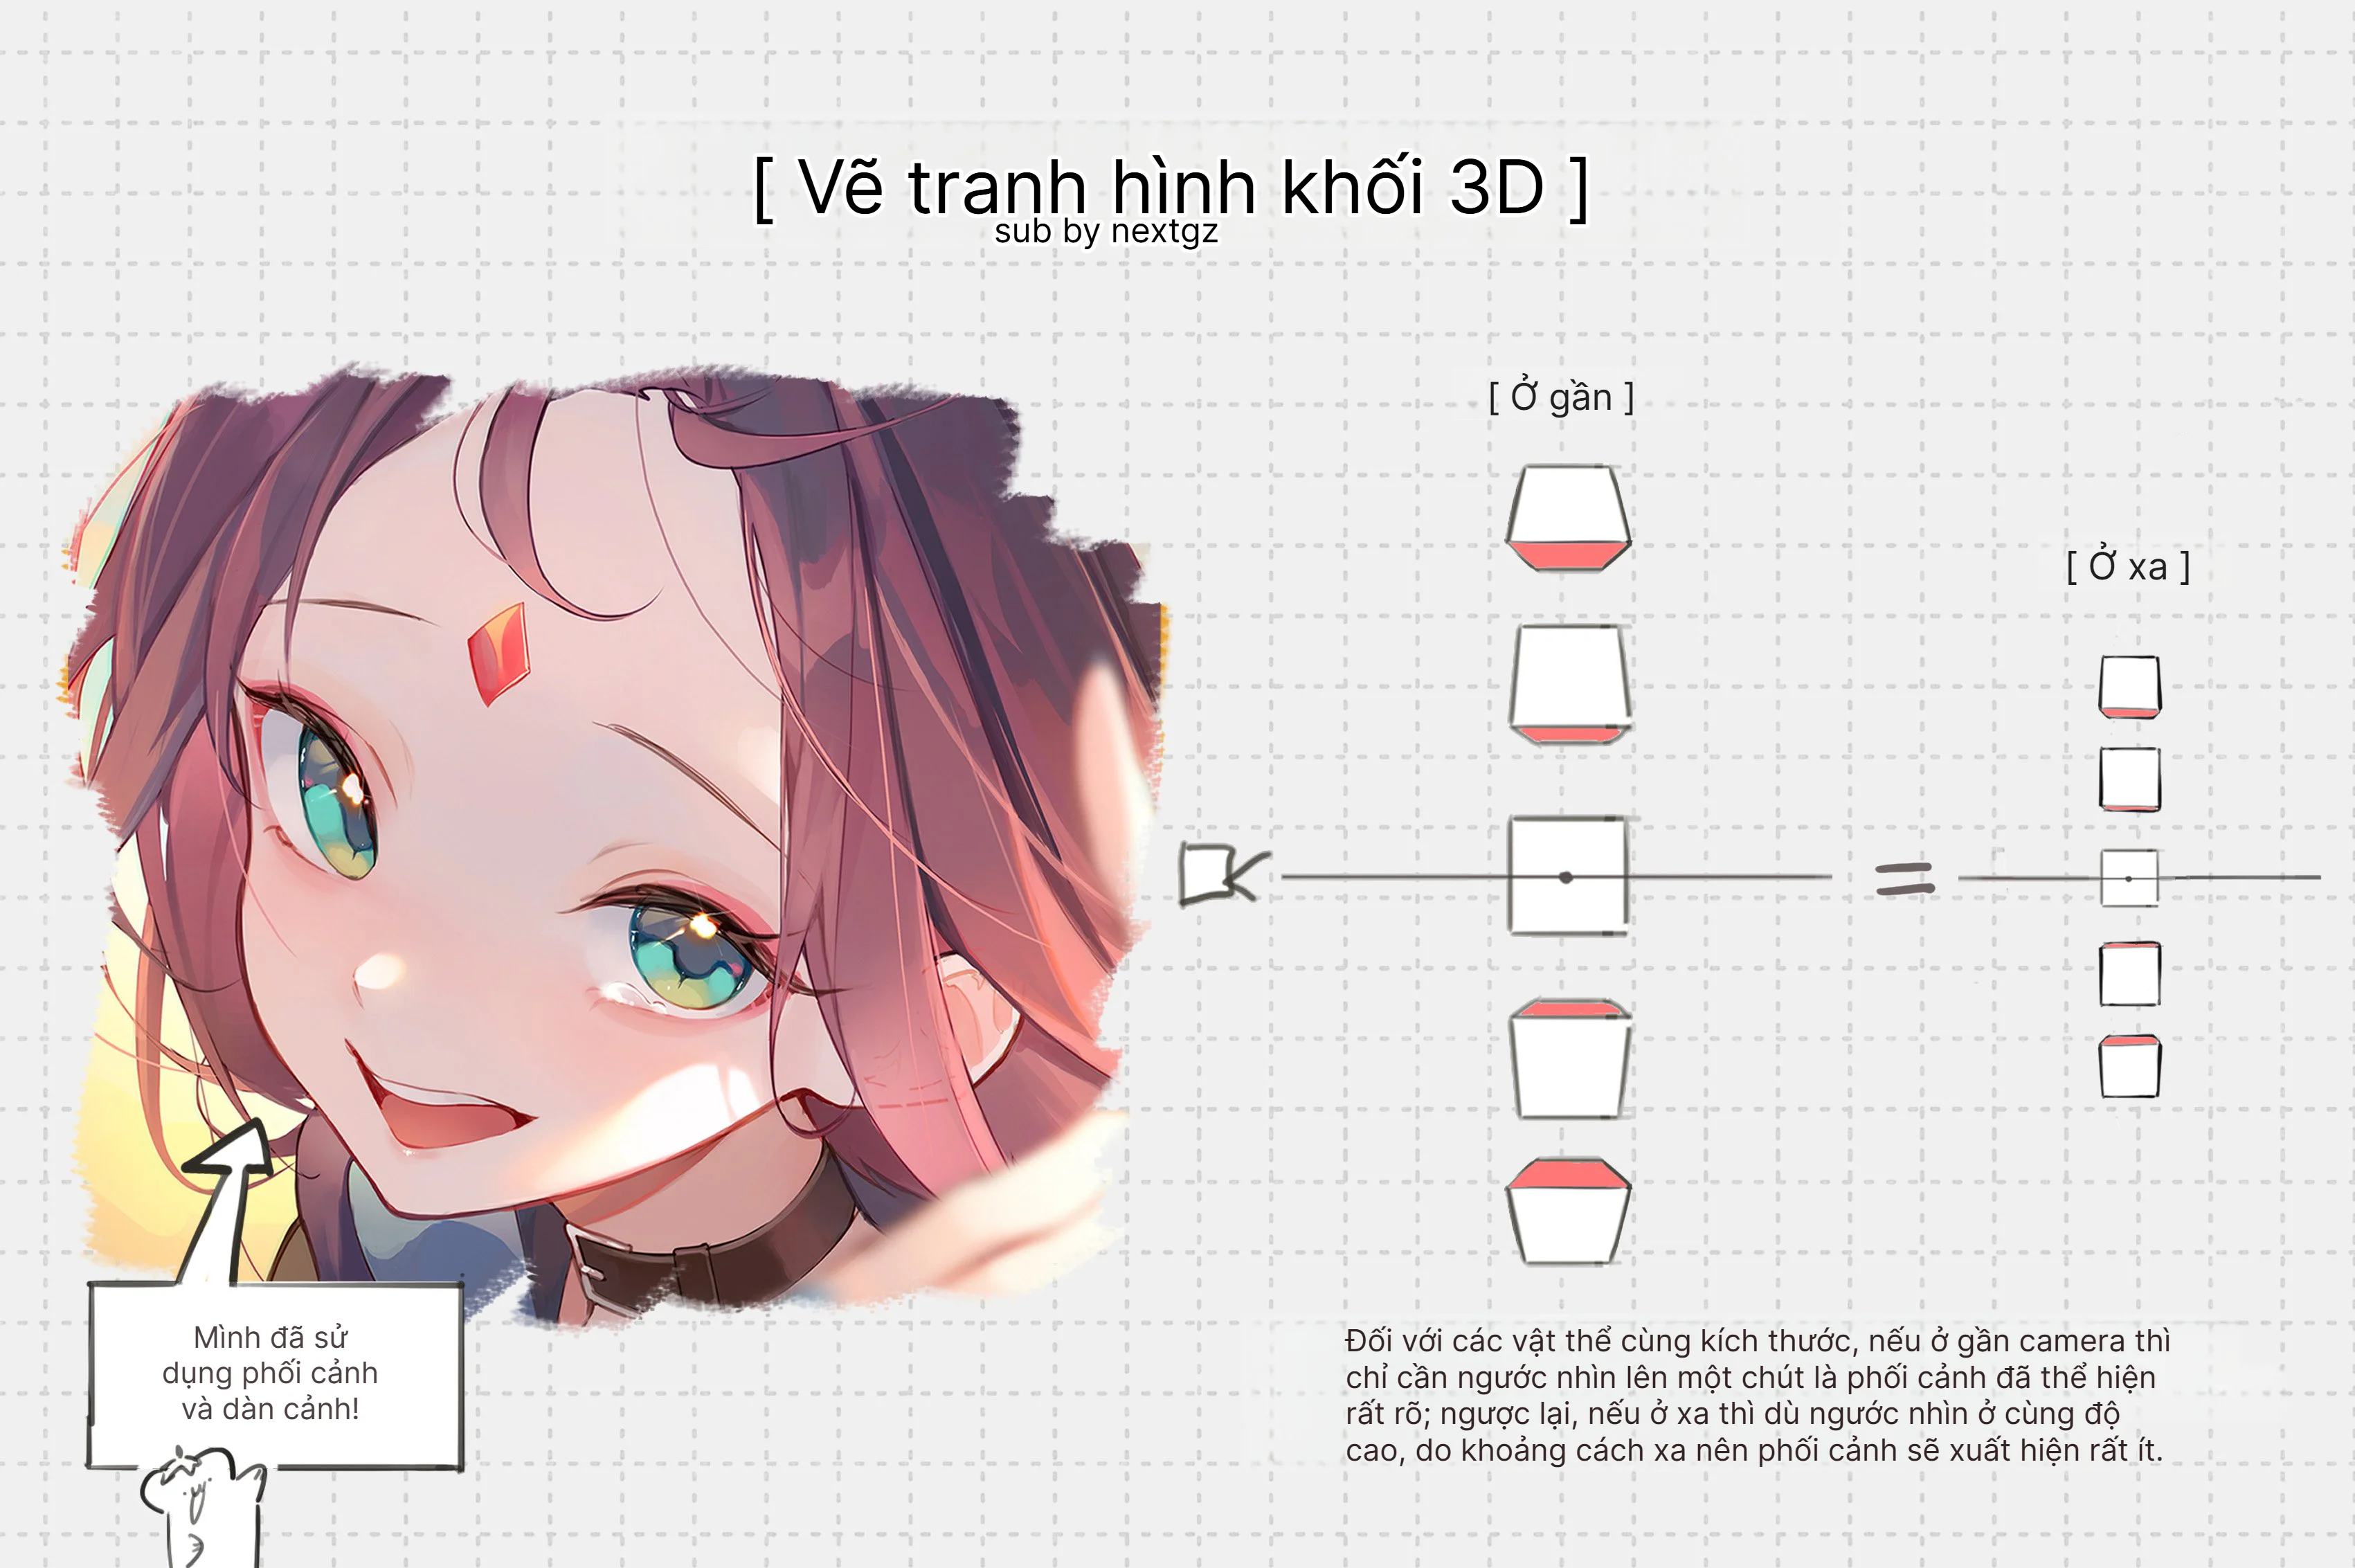
Are the proportions between objects reasonable? (Near objects larger, far objects smaller according to perspective)
Have you checked using guide lines from the vanishing points?
Was the perspective grid accidentally moved while drawing? (Lock the grid after setting it up)








Bình luận
0 bình luận
Đăng nhập để tham gia thảo luận cùng cộng đồng!
Đăng nhập ngayĐang tải bình luận...