Analysis of the back muscle structure of an adult male: skeleton, muscles, and light-dark shading
 Free
Free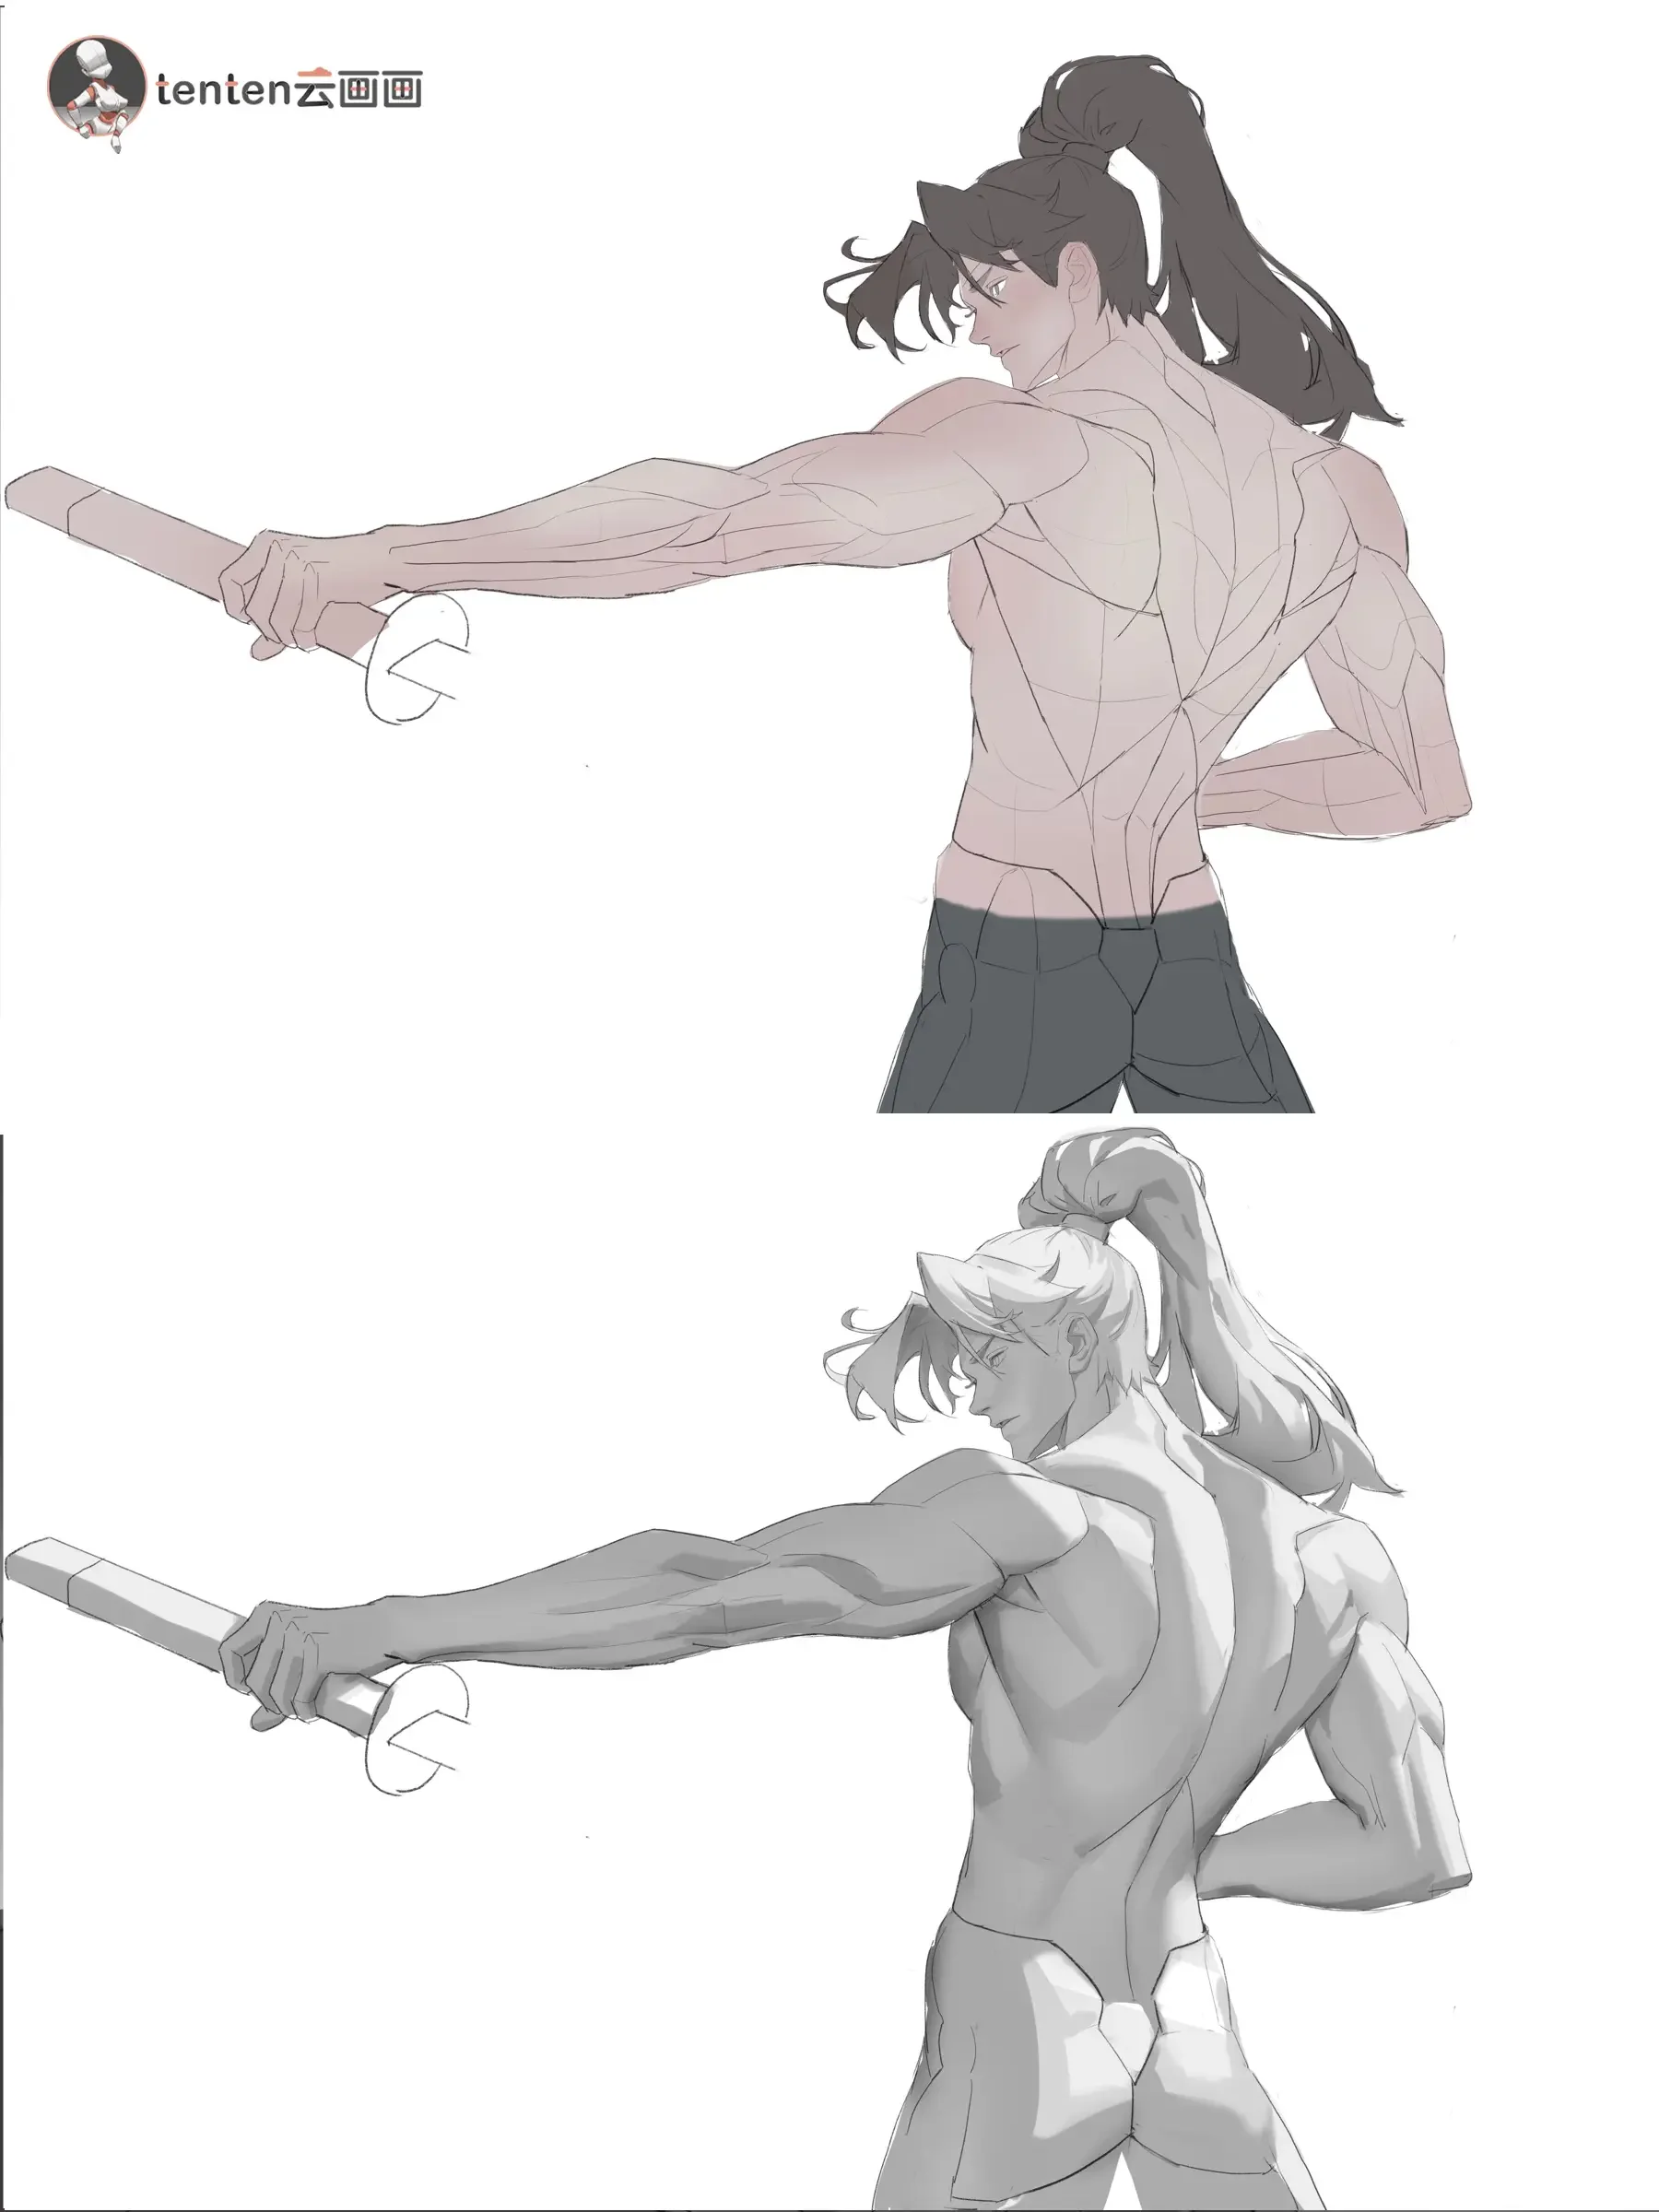
Drawing an adult male back is one of the parts that can confuse anatomy learners the most. At first glance, you only see many muscle layers overlapping, but when you actually start drawing, you easily run into three mistakes: the back looks flat, muscles appear pasted on like a map, or the shoulders and arms don't connect with the torso. This tutorial series is well worth learning because it doesn't start directly with muscles, but begins with the skeleton, then breaks down each muscle layer, and finally applies it to the finished artwork.
The main spirit of this article is: to draw a beautiful back, you must first understand that the back is a layered system of masses. The skeleton determines the direction, the muscles determine the volume, and the lighting determines whether the viewer can read those masses or not.

Why learn the back from the skeleton first?
The back is not a flat plane at the rear of the body. It is formed by the spine, ribcage, shoulder blades, pelvis, and two arms that constantly pull – rotate – compress the surrounding muscle groups.
In the tutorial's pose, the character twists and extends one arm forward to hold a sword. This single action already changes the position of the shoulder blades, shoulders, ribcage, waist, and arm. Without building the skeleton first, the back muscles can easily be drawn in the wrong direction.
When learning from the image, first look at three major landmarks: the shoulder blades, the spine, and the pelvis. These three points prevent the entire back from being misaligned.
Trapezius: the large mass connecting the neck, shoulders, and upper back
The trapezius is a large sheet located in the upper back, stretching from the neck down to the mid-back and spreading out to both shoulders. In artwork, the trapezius helps create the feeling of a thick neck, solid shoulders, and a powerful upper back.
When drawing the trapezius, don't just draw two raised lines at the shoulders. Think of it as a large mantle covering the neck – shoulder – upper back area. The upper part connects to the neck, the middle part pulls down toward the spine, and the outer part opens toward the shoulder blades.
In a twisted pose, the trapezius on each side is not symmetrical. The side with the extended arm will be pulled in the direction of the arm, while the side with the bent arm will compress and be darker. This asymmetry is what makes the pose lively.
Latissimus dorsi: the fan-shaped sheet that creates width for the torso
The latissimus dorsi is one of the most important areas when drawing the male back. It spreads from the lower back and waist up to the sides of the torso, then connects toward the arm. In character design, this muscle gives the back a sense of width, strength, and robustness.
When drawing, think of the latissimus dorsi as a thin fan-like sheet wrapping around the lower back, not a thick, bulky muscle. For a sword-wielding character, the latissimus dorsi on the extended arm side will be stretched along the arm's direction, creating a very pleasing diagonal line from the waist to the armpit.
If you draw every single bundle of muscle in this area too clearly, the artwork will easily look dry. A better approach is to use large light and shadow areas to suggest the mass, then only emphasize a few lines where the muscle changes direction.
Erector spinae: the vertical axis creating depth for the back
The erector spinae runs along both sides of the spine. In back drawings, this muscle group creates the feeling that the back has a groove, an axis, and a curve.
For the pose in the tutorial, the erector spinae should not be drawn as two evenly straight lines. Because the torso is twisting, one side will catch the light more clearly, while the other side is partially covered by the latissimus dorsi and shadow. Let it appear through light and shadow rather than overly strong outlines.
This is the secret to making the back look more natural: not every real muscle needs a clear line. Some muscles should only be suggested through light and shadow areas.

Shoulders and arms: back muscles must connect with the action
In the image, the arm extended forward is the main force-generating part of the pose. Therefore, the shoulder, deltoid, arm, elbow, and forearm must link together in a clear chain.
The deltoid covers the shoulder head like a cap. From there, the arm muscles and forearm muscle group extend toward the hand holding the sword. If you only draw a beautiful back but the arm lacks strength, the entire action will feel weak.
When drawing an extended arm, remember: the force line goes from the shoulder blade to the shoulder, from the shoulder down to the elbow, from the elbow to the wrist, and finally to the hand. Muscles are just the outer covering of that force line.
Waist, glutes, and pelvis: the foundation supporting the entire back
Many people learning to draw the back focus only on the shoulders and neglect the waist, hips, and glutes. But this area is what locks the pose. In the tutorial, the author marks the external obliques, gluteus medius, gluteus maximus, and the outer thigh area. This helps the back connect naturally down to the hips.
For an adult male, the back typically widens at the shoulders, narrows at the waist, and then widens slightly at the pelvis. If you grasp this rhythm, the character's posture will be strong without being stiff.
How to apply base colors and two-value lighting
After understanding the structure, the coloring step should begin with base colors. Base colors are the fundamental colors of the skin, hair, pants, sword, and background before they are heavily influenced by lighting.
Next, divide the entire body into two areas: light and shadow. This is a very important step when drawing muscles. If you jump straight into drawing small muscle grooves, the artwork will look fragmented. Conversely, if you establish the large light and shadow areas first, the body will gain mass very quickly.
For the finished piece in the tutorial, the light source from the left makes the sword hand, shoulder, upper back, and some skin catch strong light. The right half of the body is more submerged in shadow. Thanks to this, the muscles stand out clearly but without being messy.

Process for drawing the male back according to the tutorial
First, build the skeleton. Determine the head, neck, spine, shoulder blades, ribcage, pelvis, and arm direction.
Next, place the major muscle groups. Start with the trapezius, latissimus dorsi, erector spinae, deltoid, arm muscles, forearm muscle group, then move down to the waist and glutes.
After that, check the force lines. Where is the arm extended, in which direction is the shoulder pulled, how is the back twisted, what is the tilt of the waist.
Next, apply base colors. Don't rush into rendering; just set the base colors for the skin and main objects.
Then, divide into two light and shadow areas according to the light source. This is the step that gives the back volume.
Finally, add muscle grooves, highlights, reflected light, and small details. Only emphasize important areas like the spine line, shoulders, arms, latissimus dorsi, and waist area.
Common mistakes when drawing the male back
The first mistake is drawing muscles too symmetrically on both sides. A body in motion is rarely perfectly symmetrical.
The second mistake is ignoring the shoulder blades. Without shoulder blades, the back loses logic when the arms move.
The third mistake is drawing the latissimus dorsi too thick. This muscle is wide but relatively thin, so it should be suggested through large areas rather than built up as a hard block.
The fourth mistake is outlining too many muscle grooves. In illustration, many muscle grooves should be expressed through light and shadow, not with lines.
The fifth mistake is not establishing the large light and shadow areas first. Without clear two-value lighting, the muscles will look fragmented and lack volume.
Conclusion
This tutorial series is worth learning because it shows the correct order for drawing the adult male back: skeleton first, muscles second, base colors next, then finally light-and-shadow division and finishing. This is a very solid workflow for digital artists, especially when drawing strong male characters, warriors, swordsmen, or action characters.
To draw a beautiful back, don't memorize individual muscles by rote. Learn how they attach to bones, overlap each other, and change with movement. Once you understand that, the back muscles will no longer be a tangle of confusing lines, but will become a system of masses with force, direction, and feeling.
Frequently Asked Questions
Where should beginners start learning back muscles?
Start with the skeleton: the spine, shoulder blades, ribcage, and pelvis. Then learn the trapezius, latissimus dorsi, and erector spinae.
Which muscles are most important when drawing the male back?
For character illustration, three groups are very important: the trapezius, latissimus dorsi, and erector spinae. They create the large mass, width, and central axis of the back.
Is it necessary to draw every single muscle bundle?
No. In illustration, prioritize large areas and light-and-shadow. Only emphasize muscles that clearly affect the pose and lighting.
How to make the back not look flat?
Build the spine, shoulder blades, and ribcage first. Then clearly divide into two light and shadow areas, and only then add small muscle details.
Where should I start when coloring muscles?
Start with base colors and large light-and-shadow areas. Don't go into muscle grooves too early. If the large areas are correct, the small details will look beautiful.
© Copyright Notice
Copyright of this article belongs to the author. Please do not repost without permission.
Đánh giá bài viết
More from author
Cách vẽ nếp gấp váy áo trong digital art: tô vải xanh trắng mềm, có khối và bắt sáng
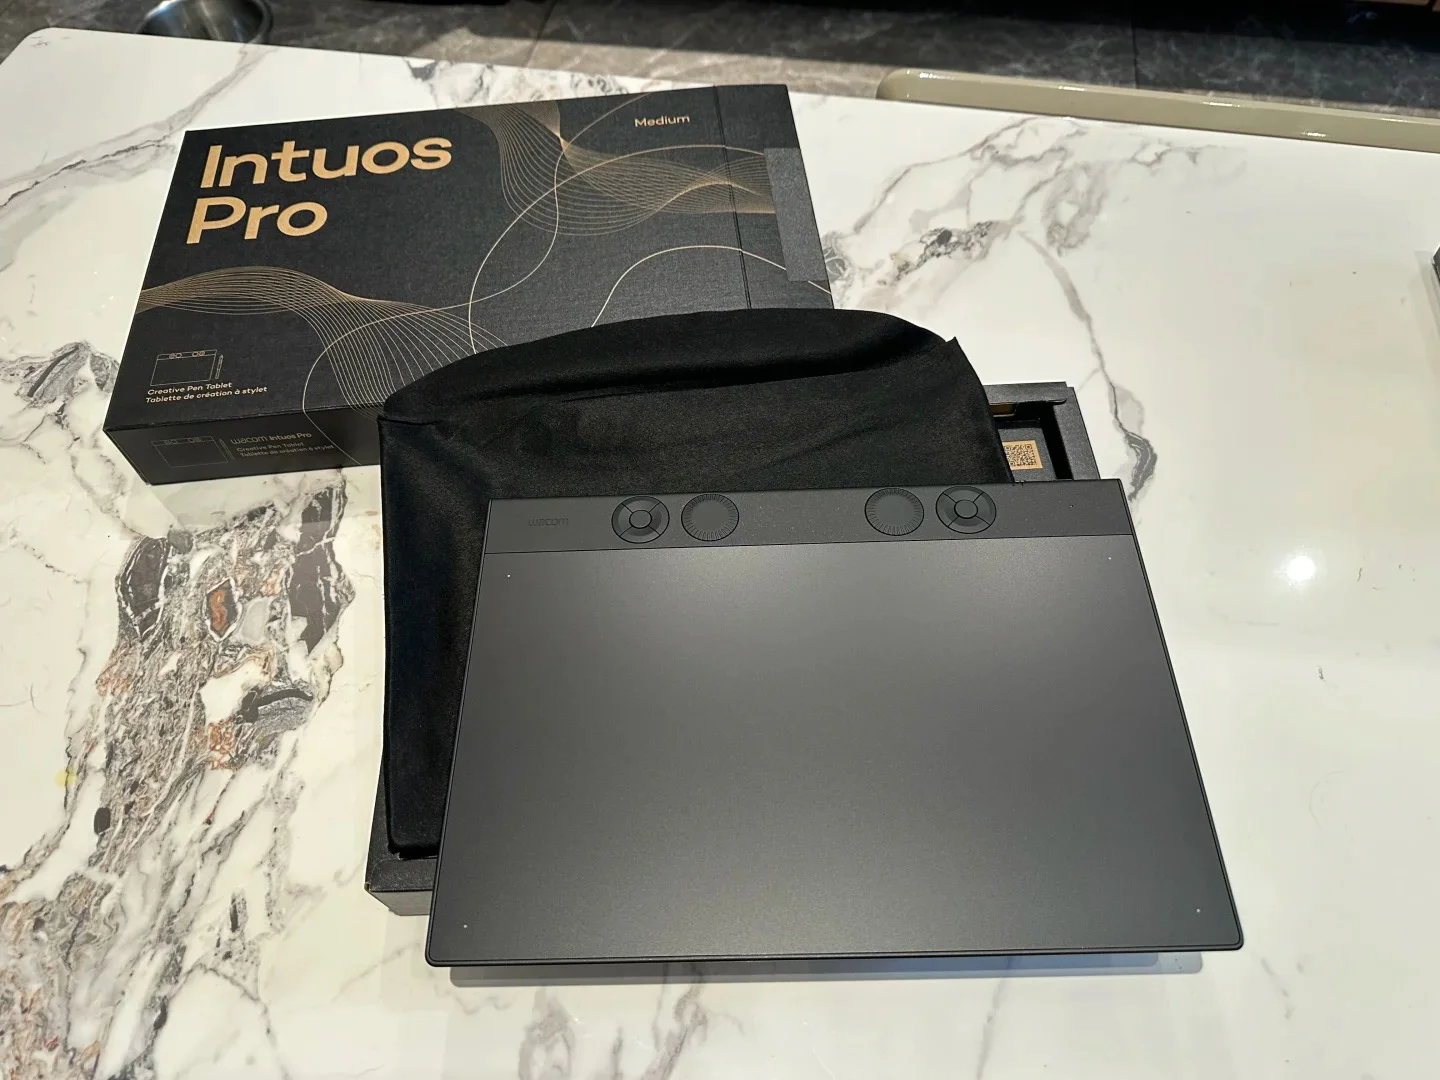
Top 5 Bảng Vẽ Wacom Dưới 2 Triệu Năm 2026: Đánh Giá Chi Tiết Và Lời Khuyên

Bỏ Phố Về Quê: Hành Trình Cải Tạo Nhà Vườn 4 Mùa Bình Yên & Bài Học Tiếng Trung Chữa Lành

Khám Phá "Ao Monet" Tuyệt Mỹ Dưới Mưa & Bài Học Tiếng Trung Về Sự Bất Ngờ
You might also like

Tự Học Clip Studio Paint Cơ Bản: Hướng Dẫn Toàn Diện Cho Người Mới Bắt Đầu

Cách tô màu tóc bạc anime: quy trình đổ bóng, hòa màu và hoàn thiện tóc xám đẹp hơn

Cách bố trí ánh sáng trong nhà khi vẽ anime: tăng tương phản, chiều sâu và chất liệu

Bình luận
0 bình luận
Đăng nhập để tham gia thảo luận cùng cộng đồng!
Đăng nhập ngayĐang tải bình luận...