1:04 ước tính · Chưa có giọng vi-VN
To self-study basic Clip Studio Paint, you need to start by downloading the software, familiarizing yourself with the interface, finding learning resources, and practicing regularly. Clip Studio Paint is a professional drawing software with a 30-day trial, allowing you to explore all its features without interruption.
Download Clip Studio Paint from the official website (free 30-day trial). No need to watch ads to unlock features like some other apps (e.g., ibis Paint X requires watching ads to use brushes for 18 hours).
Get familiar with the interface and basic tools. You can refer to courses on Procreate (like the Drawing with Procreate Course) to grasp digital drawing principles, as they share many similarities in layers, brushes, etc.
Find supporting resources: websites offering free fonts like FontSpace, Dribbble, UrbanFont... to add text to your work.
Overview of Clip Studio Paint and Benefits of Self-Study
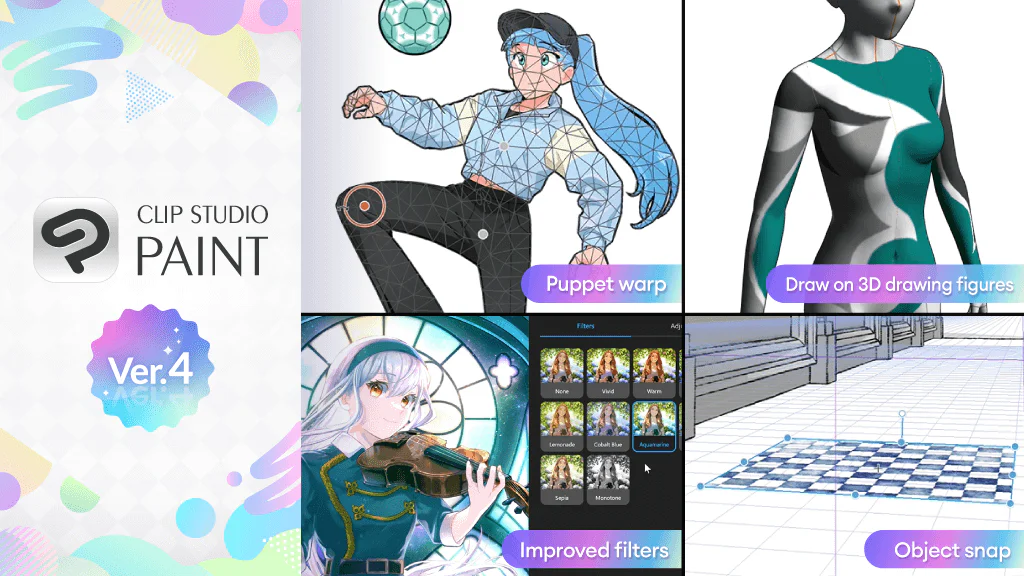
Clip Studio Paint (CSP) is professional digital drawing software, distinct from Photoshop due to its focus on illustration and comics, with vector tools, in-depth layer management, and a rich brush library. Below is a comparison table of CSP with Photoshop and Procreate to help you choose easily.
CSP has a lower one-time cost than Photoshop and is strong for lineart drawing, especially with vector layers and stroke stabilization tools.
Procreate is only for iPad, suitable for quick sketches but lacks in-depth publishing features.
CSP has two versions: Pro (sufficient for basic drawing) and EX (adds multi-page, animation, and publishing features). Beginners should start with Pro.
Self-studying basic CSP usually takes 3 months with regular practice. Suggested roadmap: Month 1 – get familiar with the interface, draw basic strokes and pen pressure; Month 2 – practice clean lineart and coloring with the fill tool; Month 3 – explore layers, blend modes, and effects. This roadmap helps you master the foundation for creative freedom.
Comparing Clip Studio Paint with Other Drawing Software (Photoshop, Procreate)
When choosing digital drawing software, comparing Clip Studio Paint (CSP) with Photoshop and Procreate helps you make a decision suited to your needs. CSP is specialized software for manga and comics, while Photoshop is powerful for versatile photo editing, and Procreate is optimized for iPad with intuitive controls.
CSP is the optimal choice for drawing comics thanks to its vector tools and Auto Action.
Photoshop is suitable for photo editing and multimedia design, but its cost is higher.
Procreate is ideal for drawing on iPad with a natural experience and a low one-time purchase price.
Self-Study Roadmap from Basic to Advanced in 3 Months
The self-study roadmap for Clip Studio Paint in 3 months is divided into three clear stages, helping you progress from a complete beginner to mastering advanced techniques. The first month focuses on getting familiar with the interface, basic drawing tools, and practicing lineart with Vector layers. Specific goal: complete 10 simple lineart drawings, proficiently use the Pen Tool and basic brushes. The second month delves into coloring, layer masks, and blend modes. You will practice coloring with the Fill Tool and Gradient, while exploring common blend modes like Multiply, Overlay, and Screen to create lighting effects. The third month is dedicated to automation with Auto Action, detailed drawing, and finishing works.
Month 1: Get familiar with pens, brushes, and pen pressure (refer to drawing tool guides on the ibis Paint X app).
Month 2: Color using the Fill Tool and Gradient, combining layer masks and blend modes.
Month 3: Use Auto Action to create repetitive actions, draw details, and apply fonts from free websites like FontSpace.
For example, after month 1, you can draw a complete heart-shaped lineart. After month 2, color it and add lighting effects using the Overlay blend mode. After month 3, create a complete work with at least 10 layers and use Auto Action to save time.
Installation and Setting Up an Optimal Work Environment
Visit the official Clip Studio Paint website (clipstudio.net) and download the free 30-day trial version or purchase a license. For Windows, choose the .exe file; for macOS, choose the .dmg file. After downloading, run the installation file and follow the on-screen instructions.
Once installation is complete, launch CSP. The first time, you will be asked to log in or create an account (if using the trial). After logging in, select "Start Trial" or enter your activation code.
Customize the interface: Go to the "Window" menu > "Workspace" > choose a preset layout like "Illustration" or "Comic". You can also drag and drop panels (Palettes) to arrange them as desired. To save the layout, go to "Window" > "Workspace" > "Save Workspace".
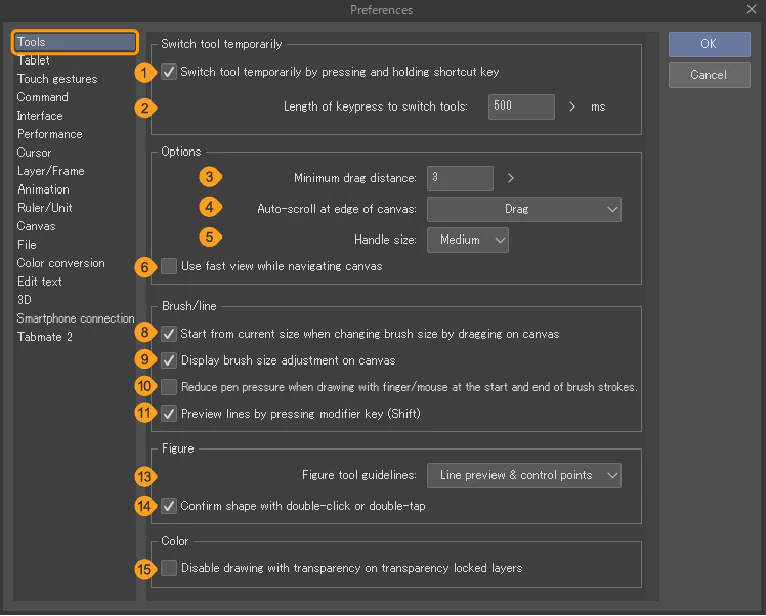
Set up shortcuts: Go to "File" > "Shortcut Settings". Here, you can customize shortcuts for frequently used tools like Pen (P), Eraser (E), Color Picker (I). You can export/import shortcut settings to sync between machines.
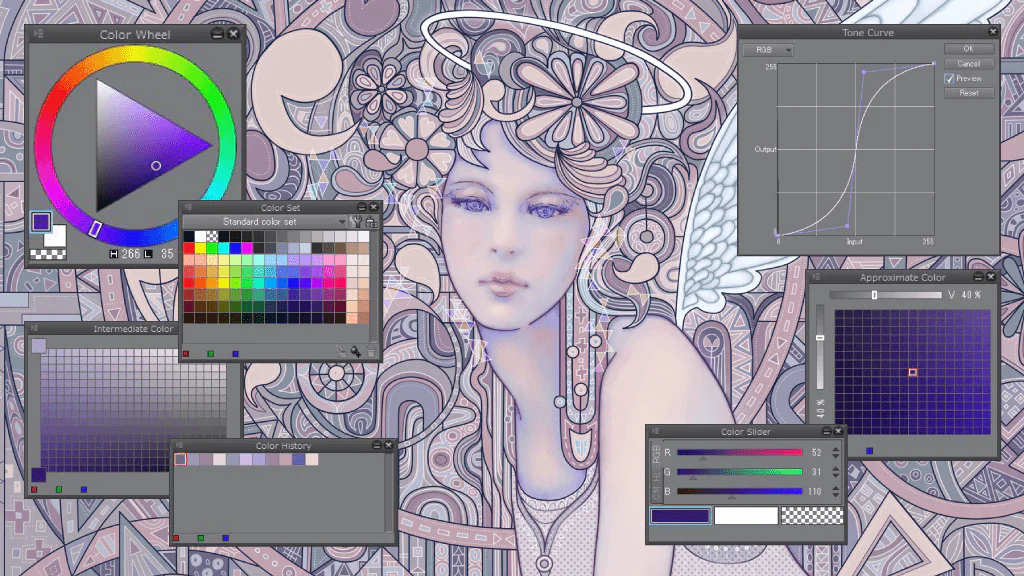
Personalize the color palette: Open the "Color" panel from the "Window" menu. You can add favorite colors to the "Color Set" by clicking the "Add to Color Set" button. To create a new color set, click "New Color Set" and name it.
Computer configuration: CSP requires a minimum of an Intel Core i3 or equivalent AMD CPU, 4GB RAM (8GB recommended), and a graphics card supporting OpenGL 2.0. If you experience lag while drawing, reduce the canvas resolution (File > New > set a lower Resolution) or turn off dynamic effects (View > Uncheck "High Quality Processing").
The steps above will help you set up an optimal work environment to start your self-study journey with Clip Studio Paint effectively.
Guide to Downloading and Installing Clip Studio Paint on Windows/Mac
Visit the official Clip Studio Paint website at clipstudio.net and click the "Download" button.
Choose the version that suits your needs: Clip Studio Paint PRO (for illustration and comics) or EX (for professional production with multiple pages and advanced features).
On the download page, select your operating system: Windows (requires Windows 8.1/10/11 64-bit) or macOS (requires macOS 10.13 or later). A free 30-day full-feature trial version is also available.
Click the corresponding download button, your browser will download the installation file to your computer (usually .exe for Windows or .dmg for Mac).
After downloading, open the installation file:
On Windows: Double-click the .exe file, if a security warning appears, select "Run" or "Yes" to continue. On Mac: Double-click the .dmg file, drag the Clip Studio Paint icon into the Applications folder. During installation, follow the on-screen instructions: choose the language, read and accept the license agreement, select the destination folder (you can keep the default), and click "Install".
After installation is complete, you can open the software from the Start Menu (Windows) or Launchpad (Mac) and log in to your Celsys account or start the trial.
Customizing the Interface, Shortcuts, and Personalized Color Palette
Customizing the interface, shortcuts, and color palette in Clip Studio Paint helps optimize your workflow, allowing quick access to frequently used tools and maintaining focus. According to guides from digital drawing apps, you can adjust brush tip size and color palette to suit personal habits (E6). Similarly, in CSP, rearranging the toolbar and assigning shortcuts to common functions like switching layers or adjusting pen pressure will significantly increase drawing speed.
The color palette is an important element for maintaining color consistency. You can create your own palette by saving colors from the color wheel or entering hex codes, similar to saving palettes in other applications (E2). CSP allows creating multiple palettes and switching between them quickly, supporting different projects.
Below is a comparison table between the default interface and a customized interface:
Customizing the interface reduces tool search time, increasing drawing efficiency.
Personalized shortcuts enable faster operations, especially for repetitive commands.
A personal palette ensures color consistency throughout the entire work.
Recommended Computer Configuration for Smooth CSP Performance
For smooth drawing in Clip Studio Paint (CSP), you need a computer configuration that meets the recommendations from the developer Celsys. Below are the detailed specifications:
Minimum configuration: Windows: Intel Core i3 or AMD A4 CPU, 4 GB RAM (8 GB recommended), graphics card supporting OpenGL 3.0, 3 GB free hard drive space. macOS: Intel Core i3 CPU, 4 GB RAM, macOS 10.12 or later.
Recommended configuration: Intel Core i5 (8th generation or later) or AMD Ryzen 5 CPU, 16 GB RAM, dedicated NVIDIA GTX 1050 or AMD RX 560 graphics card, NVMe SSD.
iPad: iPad Air (3rd generation or later) or iPad Pro (2017+) with A12X Bionic or M1 chip.
Real-world example: my personal computer uses a Ryzen 5 3600 CPU, 16 GB RAM, NVMe SSD, and GTX 1660 Super graphics card—CSP runs very smoothly, even when rotating/zooming an A3 drawing with over 20 layers.
Getting Familiar with the Interface and Basic Drawing Tools
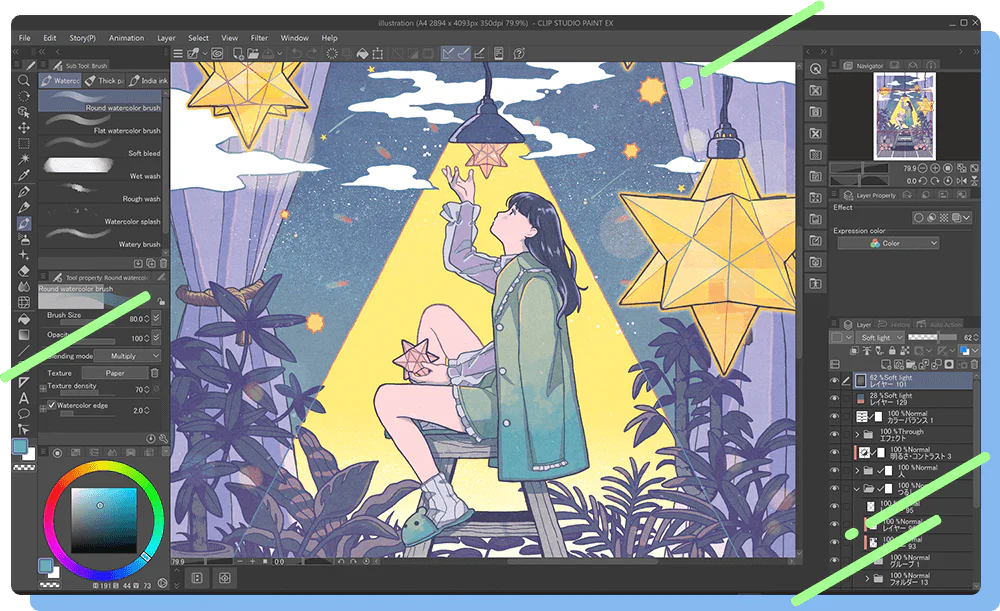
When you first start self-studying Clip Studio Paint, you need to understand the interface consisting of three main panels: Tool, Sub Tool, and Color. The Tool panel contains basic drawing tools like pencils, brushes, erasers; the Sub Tool panel allows fine-tuning the parameters of each tool; the Color panel helps select colors. To draw smooth strokes, enable the stabilization feature with a slider from 0–100. Below are specific practice steps:
Get familiar with the Tool and Sub Tool panels: Click the pen icon on the left toolbar to open the Tool panel. Select a tool, e.g., "Pen", then see the Sub Tool panel appear below. Here, you can change the brush size from 1 px to hundreds of px, adjust opacity from 0% to 100% (reference source: basic tools like creating a canvas, brush tip size, opacity – E2).
Select and fine-tune the drawing pen: In the Sub Tool panel, you see different brush tips. For example, choose the "G-Pen" tip for thin strokes, "Maple" for soft strokes. To change the size, drag the slider or enter the pixel value directly. You can also enable pen pressure so that the stroke thickness changes according to hand pressure.
Adjust colors via the Color panel: Click the color circle in the Color panel on the right to open the color palette. You can select a color directly from the color wheel or enter a hex code. Note that CSP supports saving favorite colors to a personal palette for quick use (similar to the color selection feature from the color wheel – E3).
Draw smooth strokes with the Stabilization feature: On the toolbar, find the "Stabilization" icon (usually an 'S' shape). Drag the slider to a value of 50–70 to reduce hand shake, making strokes more even and smoother. For curved strokes, set stabilization higher (70–90).
Practice exercise drawing straight and curved lines: Open a new file with a size of 900x900 pixels (similar to the setup in ibis Paint X – E5). Using the Pen tool, draw a straight line from point A to B by clicking and holding Shift. Next, draw a curved line by dragging the mouse or pen with even pressure. Repeat 10 times to get used to it. Then, try combining straight and curved lines to create simple shapes like a circle or a heart.
After completing the exercise, you will feel more confident with the Clip Studio Paint interface and basic drawing tools.
Practicing Basic Strokes and Adjusting Pen Pressure
To practice basic strokes in Clip Studio Paint, you first need to understand how to adjust pen pressure - the factor that determines the thickness and thinness of strokes. Similar to ibis Paint X, you can change the brush tip size and opacity to control the stroke. In CSP, go to the "Pen Pressure" section in the tool settings panel to fine-tune sensitivity. Start with basic straight and curved lines with even pressure, then practice pressure strokes to create variations in thickness. A small tip: use a pre-saved color palette (like the palette in ibis Paint X) to quickly select colors, helping you focus on stroke technique. Additionally, the blending tool can help create smooth effects, but use it in moderation.
Below are the specific practice steps:
Create a new file with a size of 900x900 pixels (standard square) for easy focus.
Select the Pen tool with a basic tip, set pressure sensitivity to medium level (50%).
Draw horizontal, vertical, and diagonal straight lines at an even speed, keeping your wrist flexible.
Try drawing circles and spirals, emphasizing the start of the stroke and ending gently.
Once comfortable, move on to drawing strokes with varying pressure: thick in the middle, tapering at both ends.
Each exercise should be repeated 10-15 times to build muscle memory. You can also use the symmetry ruler in CSP to draw balanced strokes on both sides, saving time and creating high precision.
Basic Lineart and Coloring Techniques in CSP
To draw clean lineart in CSP, use Vector Layers and the Pen tool for smooth strokes, then color with the Fill Tool and Gradient, while utilizing Auto Action to automate file-saving tasks – saving up to 70% of repetitive processing time.
- p
Đánh giá bài viết
More from author

Photoshop Mixer Brush: Trộn Màu Digital Painting Bằng Wet, Load, Mix Và Flow

Inkscape Calligraphy Tool: Angle, Thinning, Tremor Và Nét Vector
GitHub Agentic Workflows Thực Chiến: Viết AI Automation Bằng Markdown Và Chạy Trong GitHub Actions
Giải Phẫu Vai Cho Character Design: Xương Đòn, Bả Vai, Deltoid Và Rotator Cuff
You might also like
Cách Vẽ Nếp Nhăn Quần Áo Trong Digital Art: 12 Kiểu Nếp Gấp Cần Biết Khi Vẽ Trang Phục

Cách tô màu tóc bạc anime: quy trình đổ bóng, hòa màu và hoàn thiện tóc xám đẹp hơn

Cách tô màu tóc anime trong ibisPaint X theo quy trình 12 bước, lên khối đẹp mà không bị bệt


Bình luận
0 bình luận
Đăng nhập để tham gia thảo luận cùng cộng đồng!
Đăng nhập ngayĐang tải bình luận...