

Complete the following requirements to unlock:
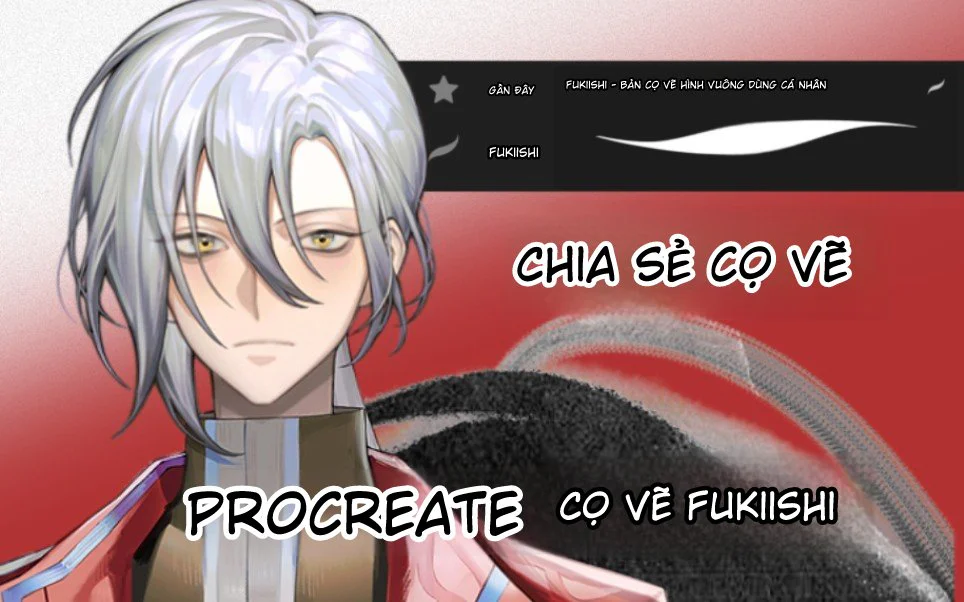
Hello everyone! If you're looking for powerful tools to level up your Procreate drawing skills without spending a lot of money, then this post is for you. Today, we'll explore a completely free brush set, including the amazing default brushes from the latest Procreate update and some unique brushes shared by the art community.
Beyond just sharing resources, this post will provide a detailed guide on how to apply each type of brush for sketching, coloring lips, and detailing hair strands to make them lively and full of depth. Let's open the app and get started!
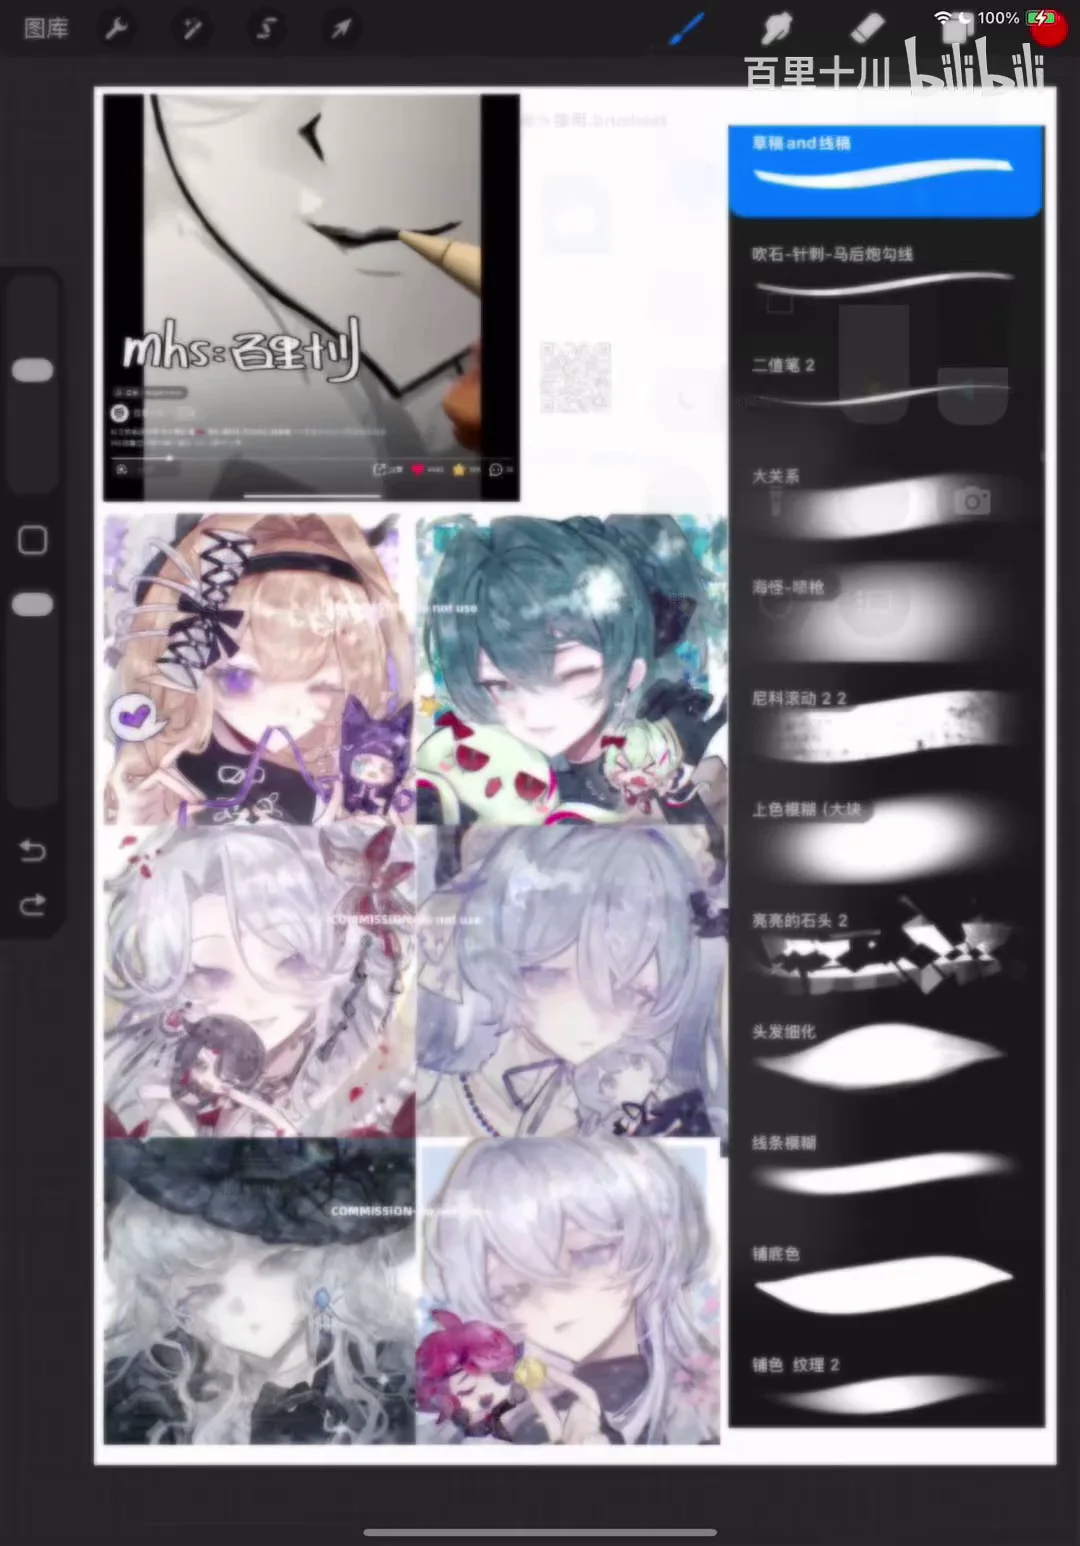
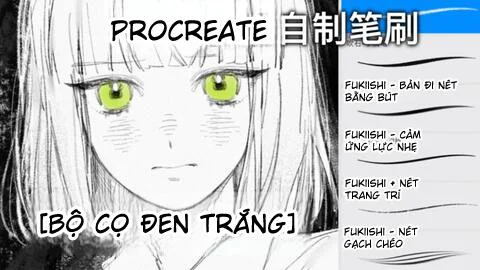
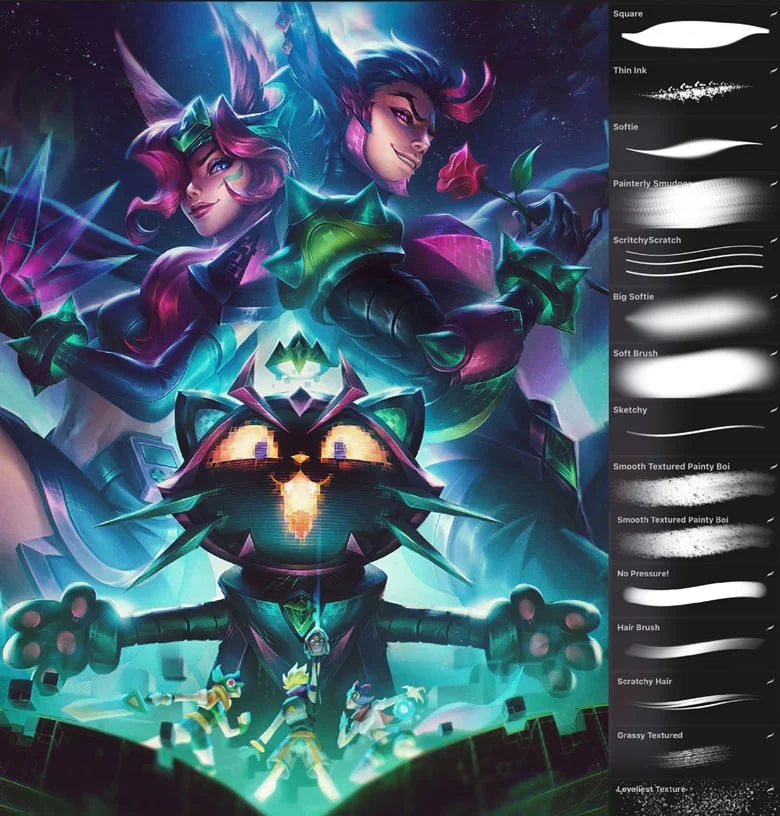
1. Free Procreate Brush Library: Starting with the Basics
Many beginners in digital painting often think they need to buy expensive brush sets to make their art look good. However, Procreate itself comes with a very rich built-in brush library.
Combined with a few brushes collected from free sharing sources, you can handle every step from sketching, base coloring, to shading and highlighting. The best advantage is that you can confidently use them for personal projects or freelance work without worrying about copyright or costs.
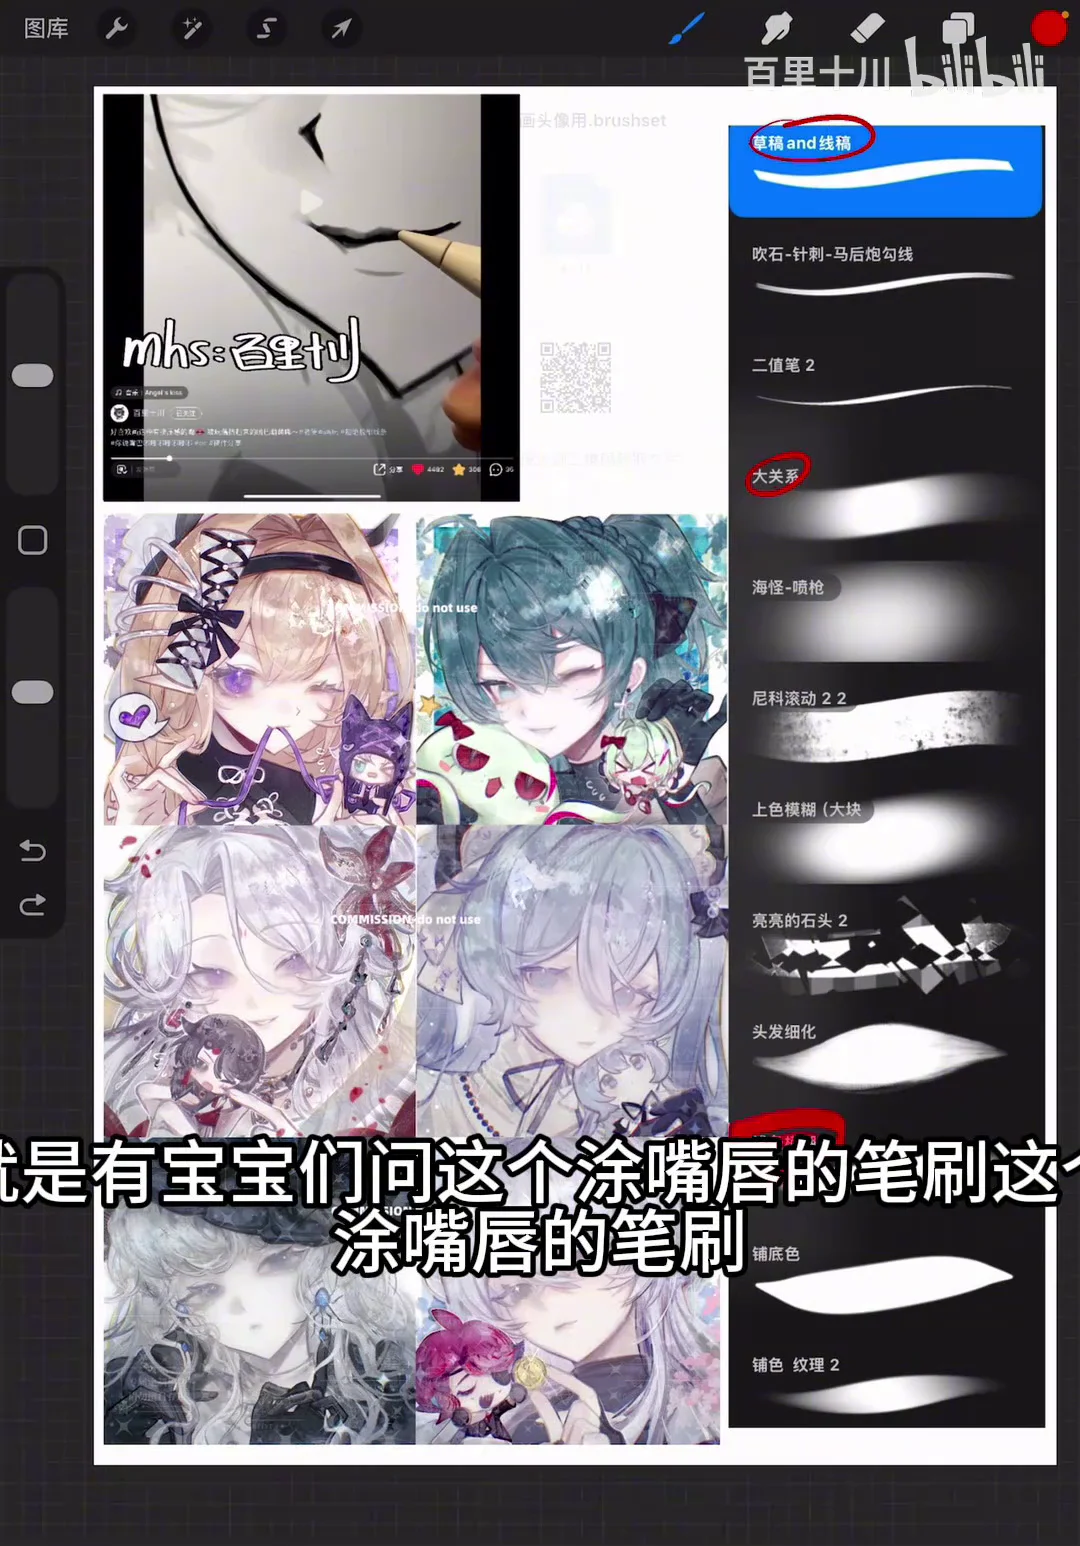
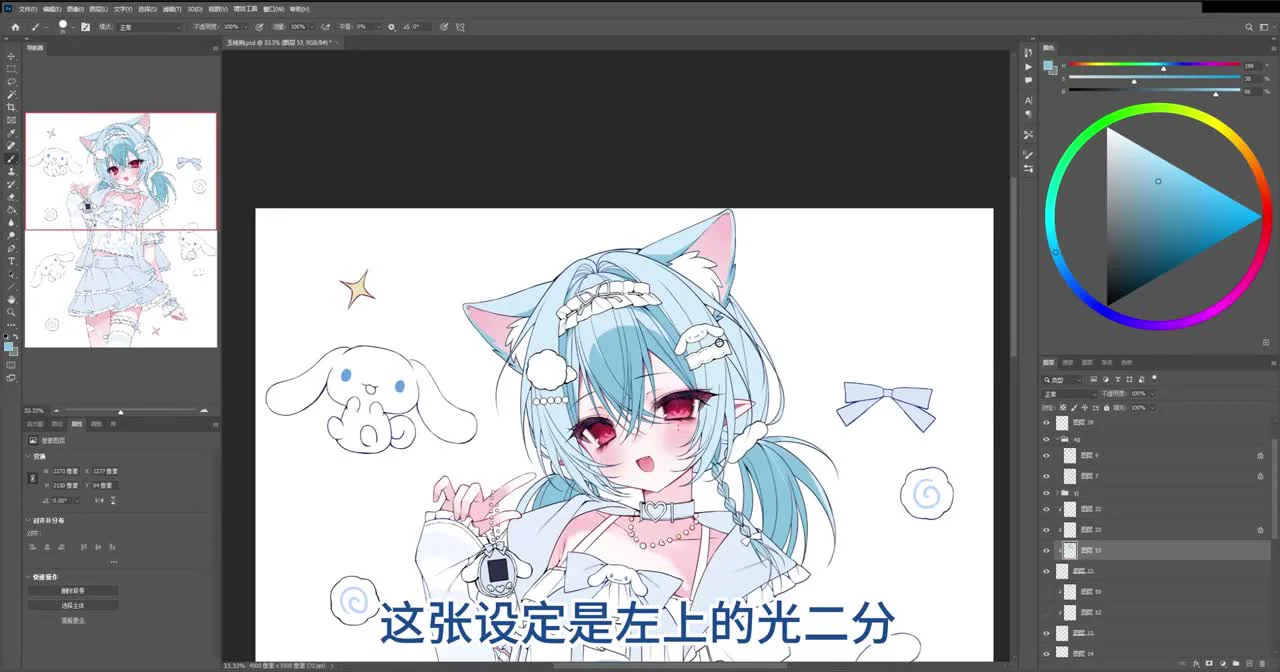
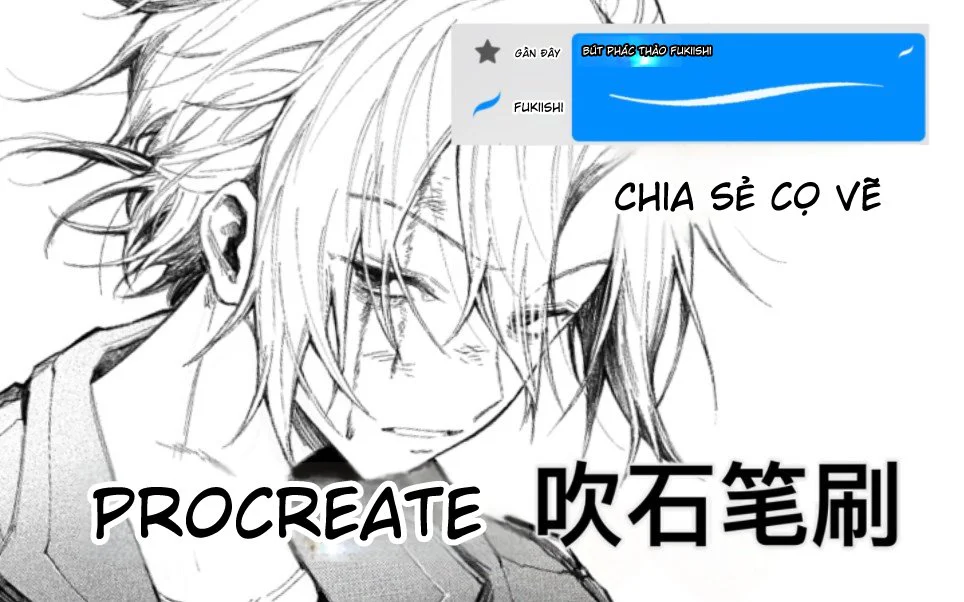
A small tip for those who have a free-flowing drawing style is to try merging the sketch layer and the line art layer together. This combination can sometimes create a very unique art style, saving time and avoiding the feeling of being constrained by rigid outlines.
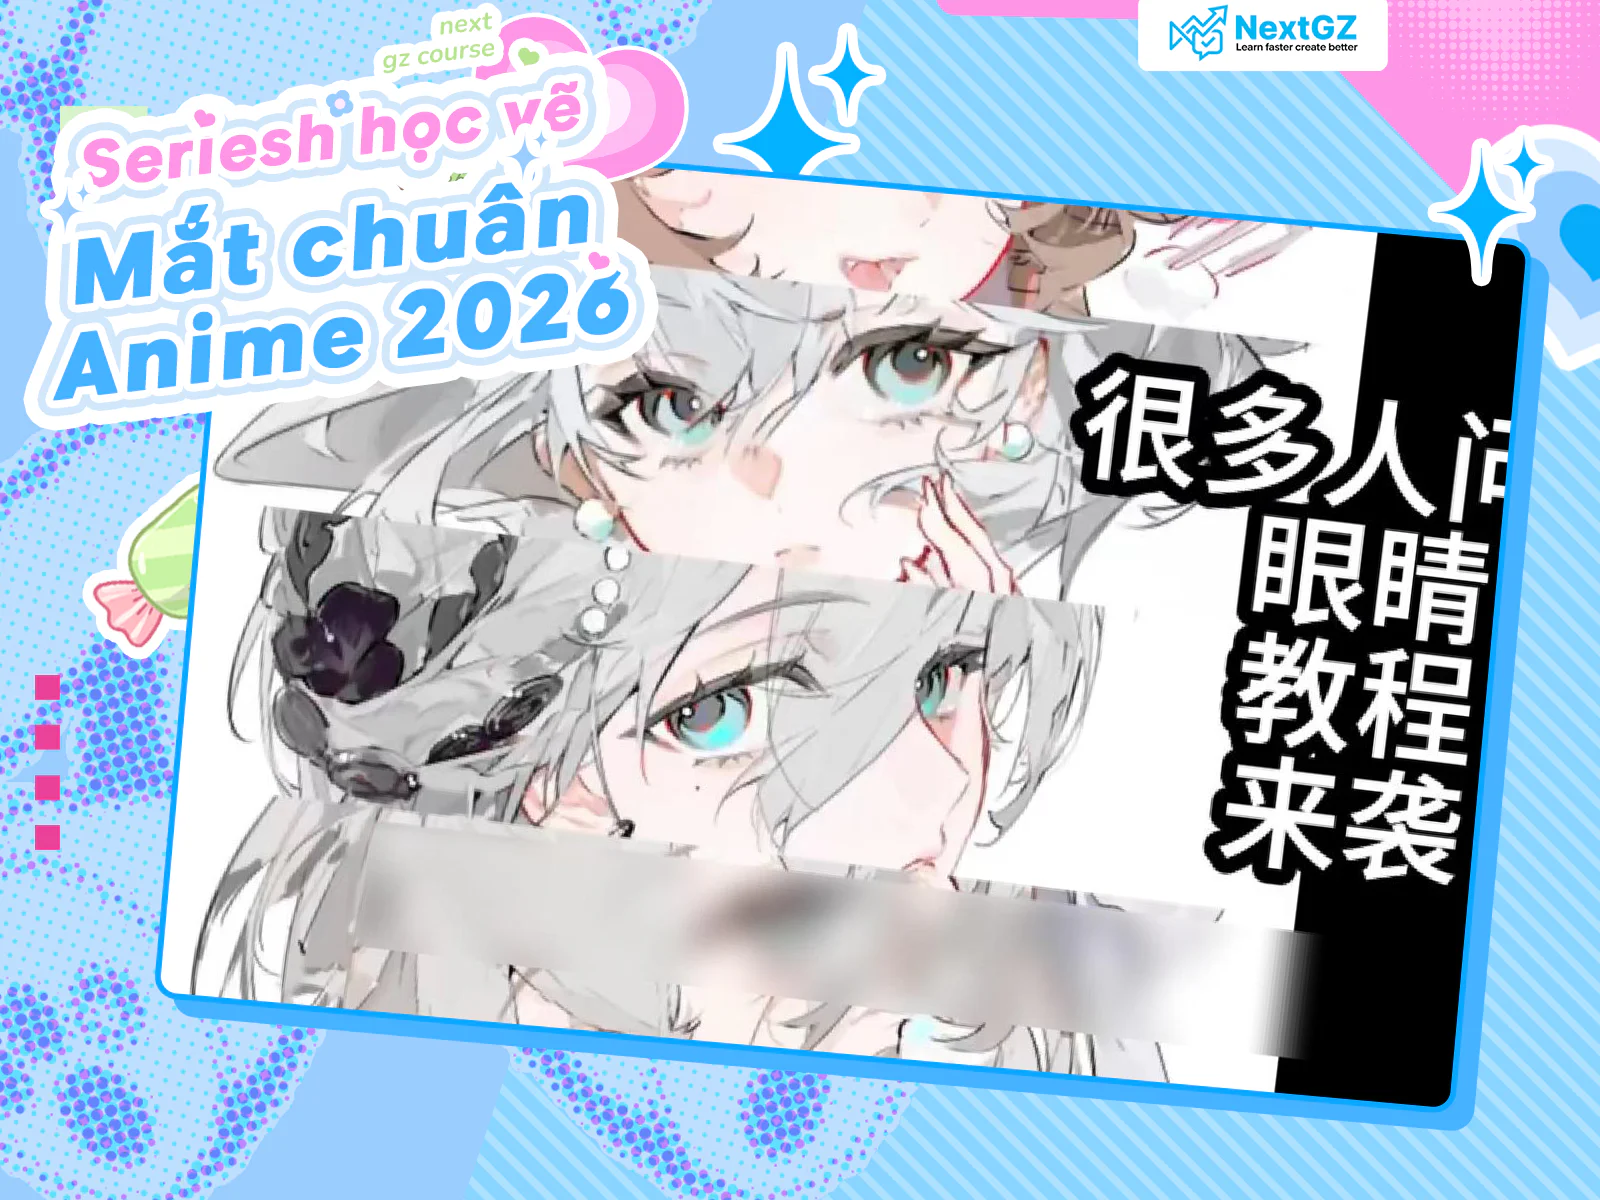
2. Guide to Using Soft Brushes for Drawing Soft Lips
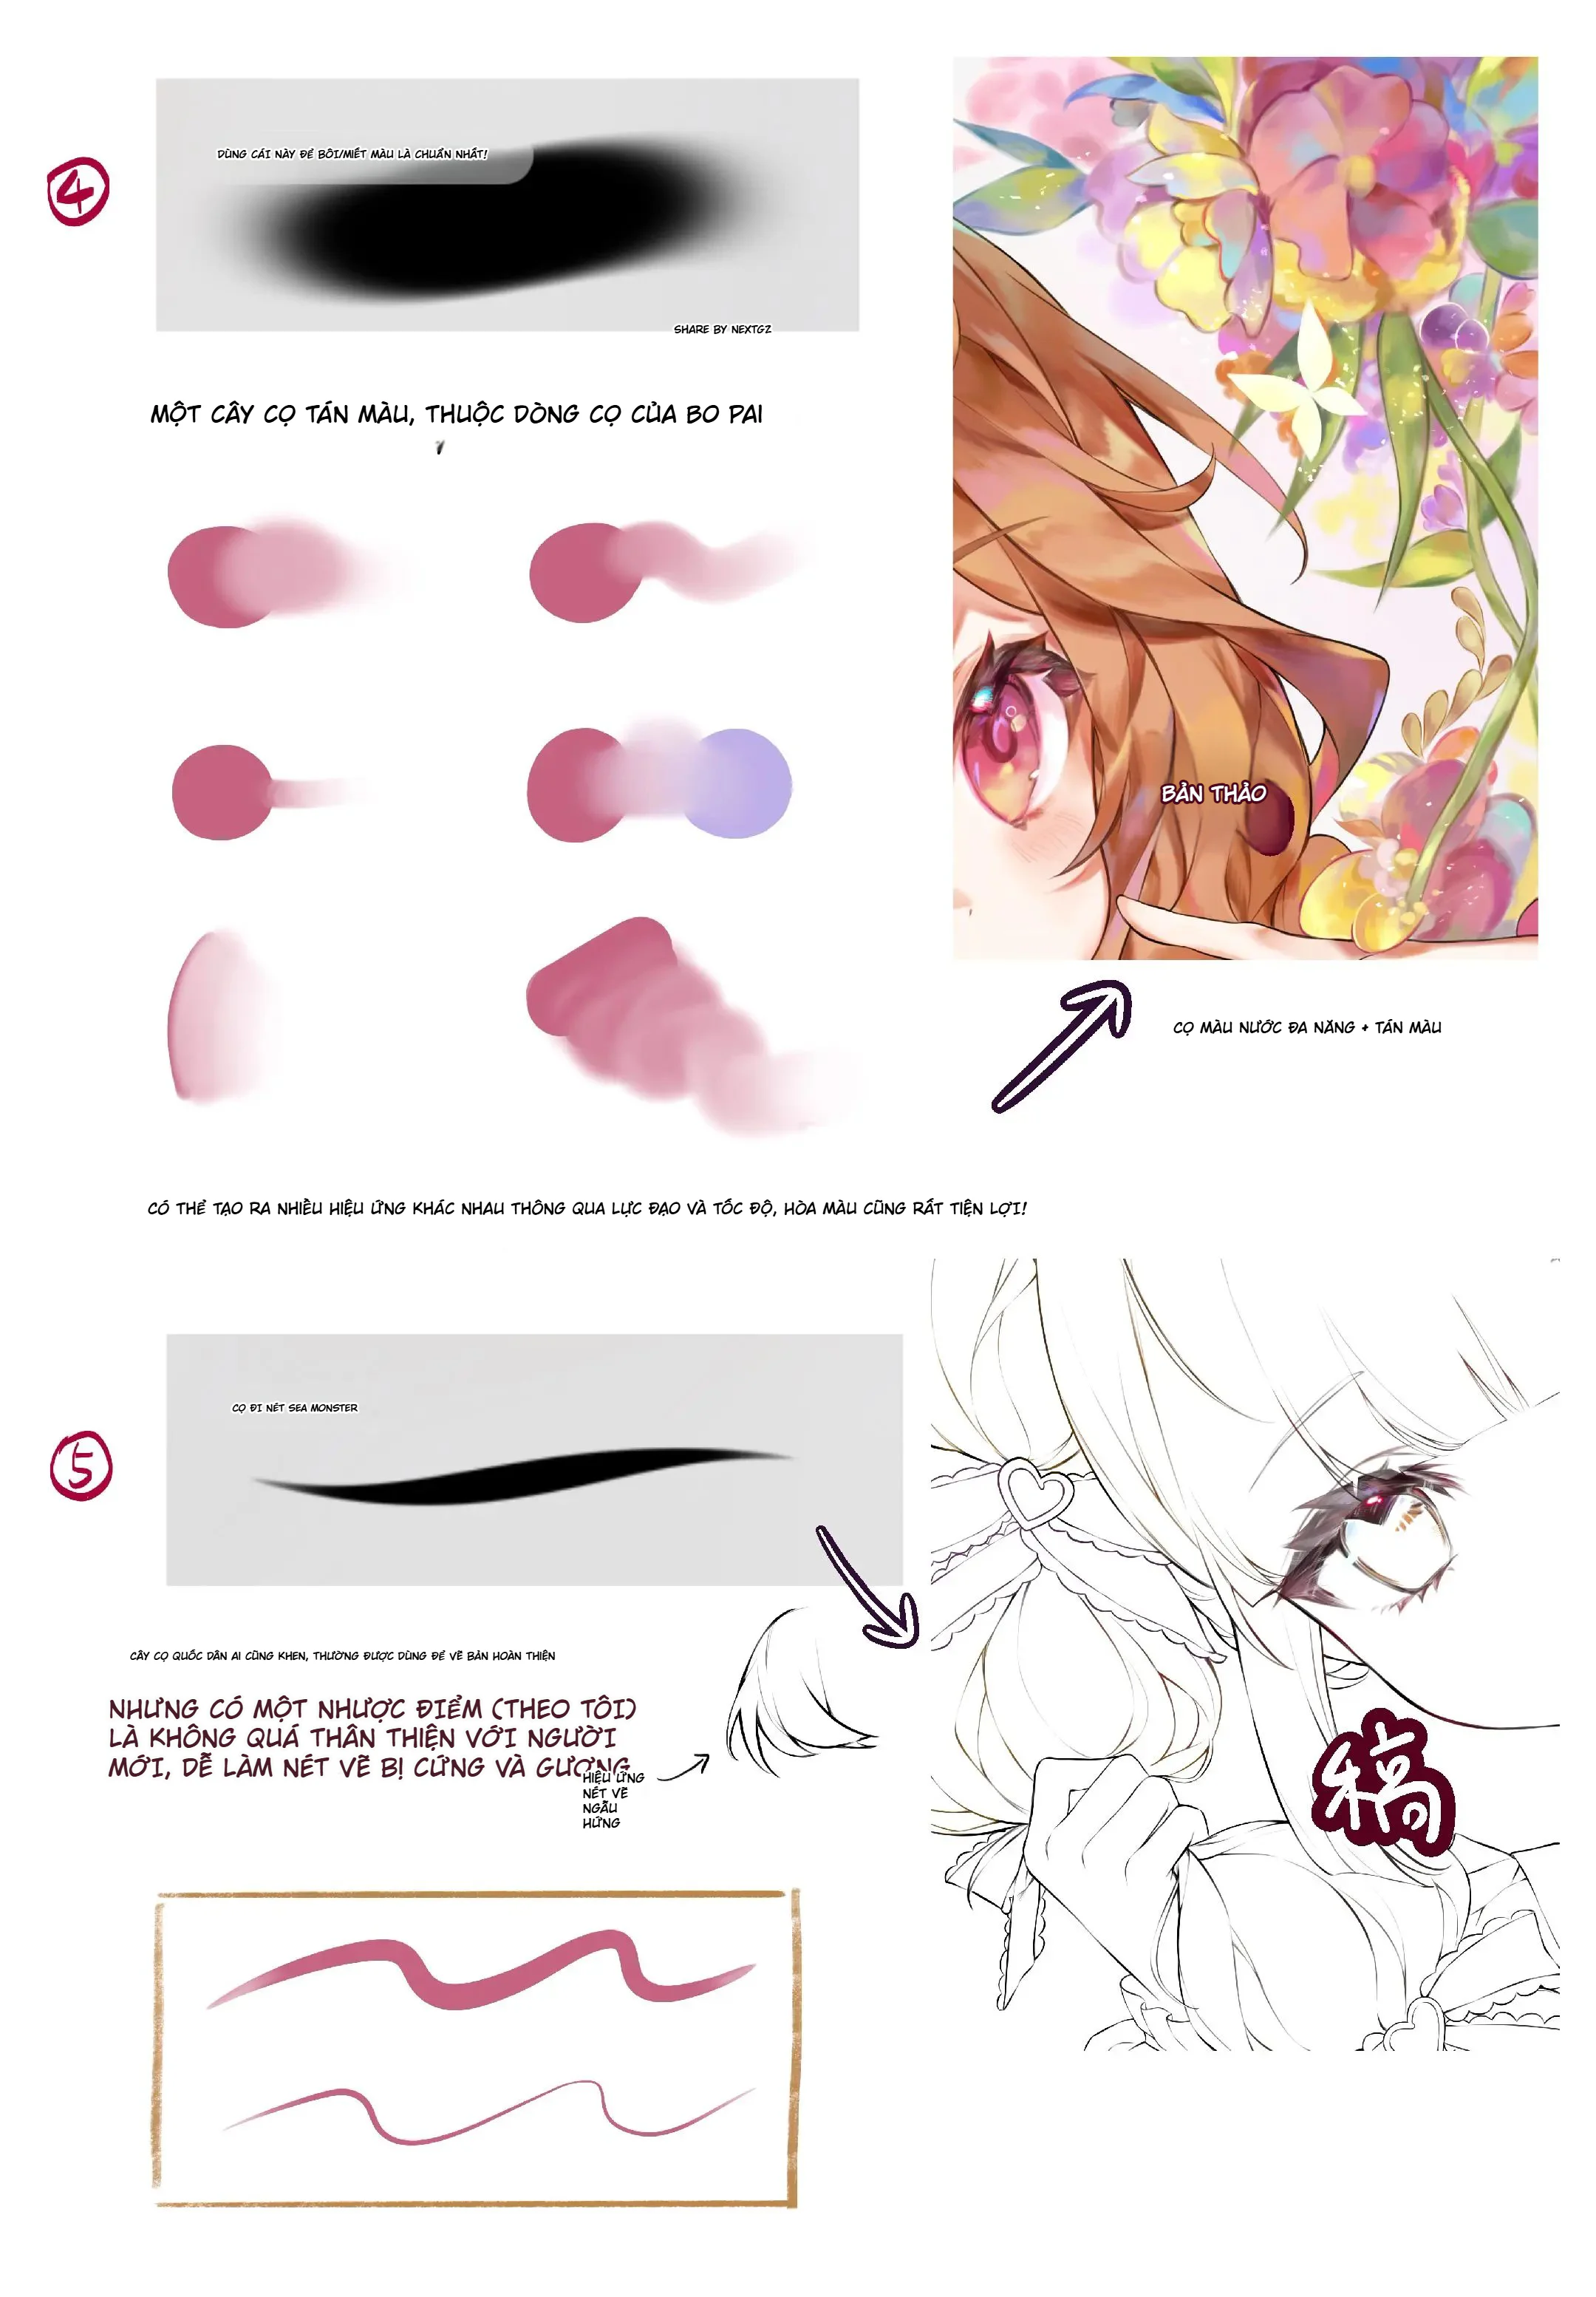
Drawing lips is always an interesting challenge. To make lips look natural and plump, the secret lies in using a soft brush.
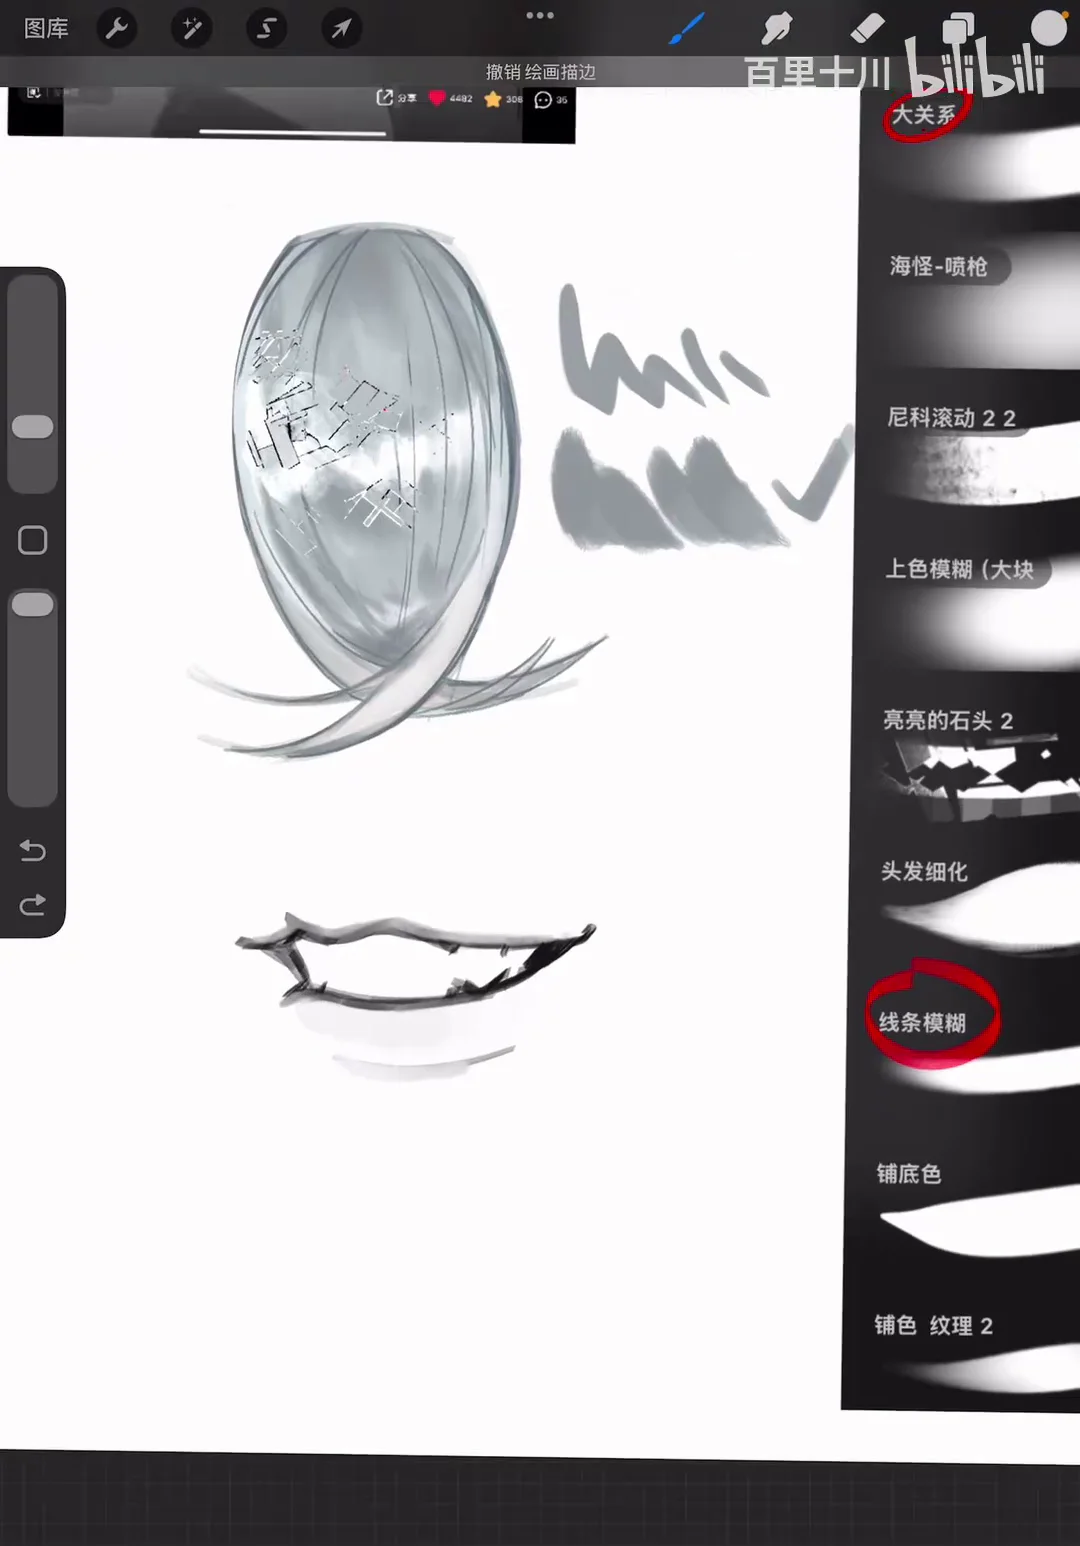
Instead of drawing overly sharp lines, start by drawing a simple mouth shape. Then, use a soft brush to gently blend around the lip edges, especially the corners and the lower lip line. This tool helps create smooth color transitions, making the lips less stiff and much more realistic. You can also use this same brush when sketching hair to soften large blocks before moving into details.
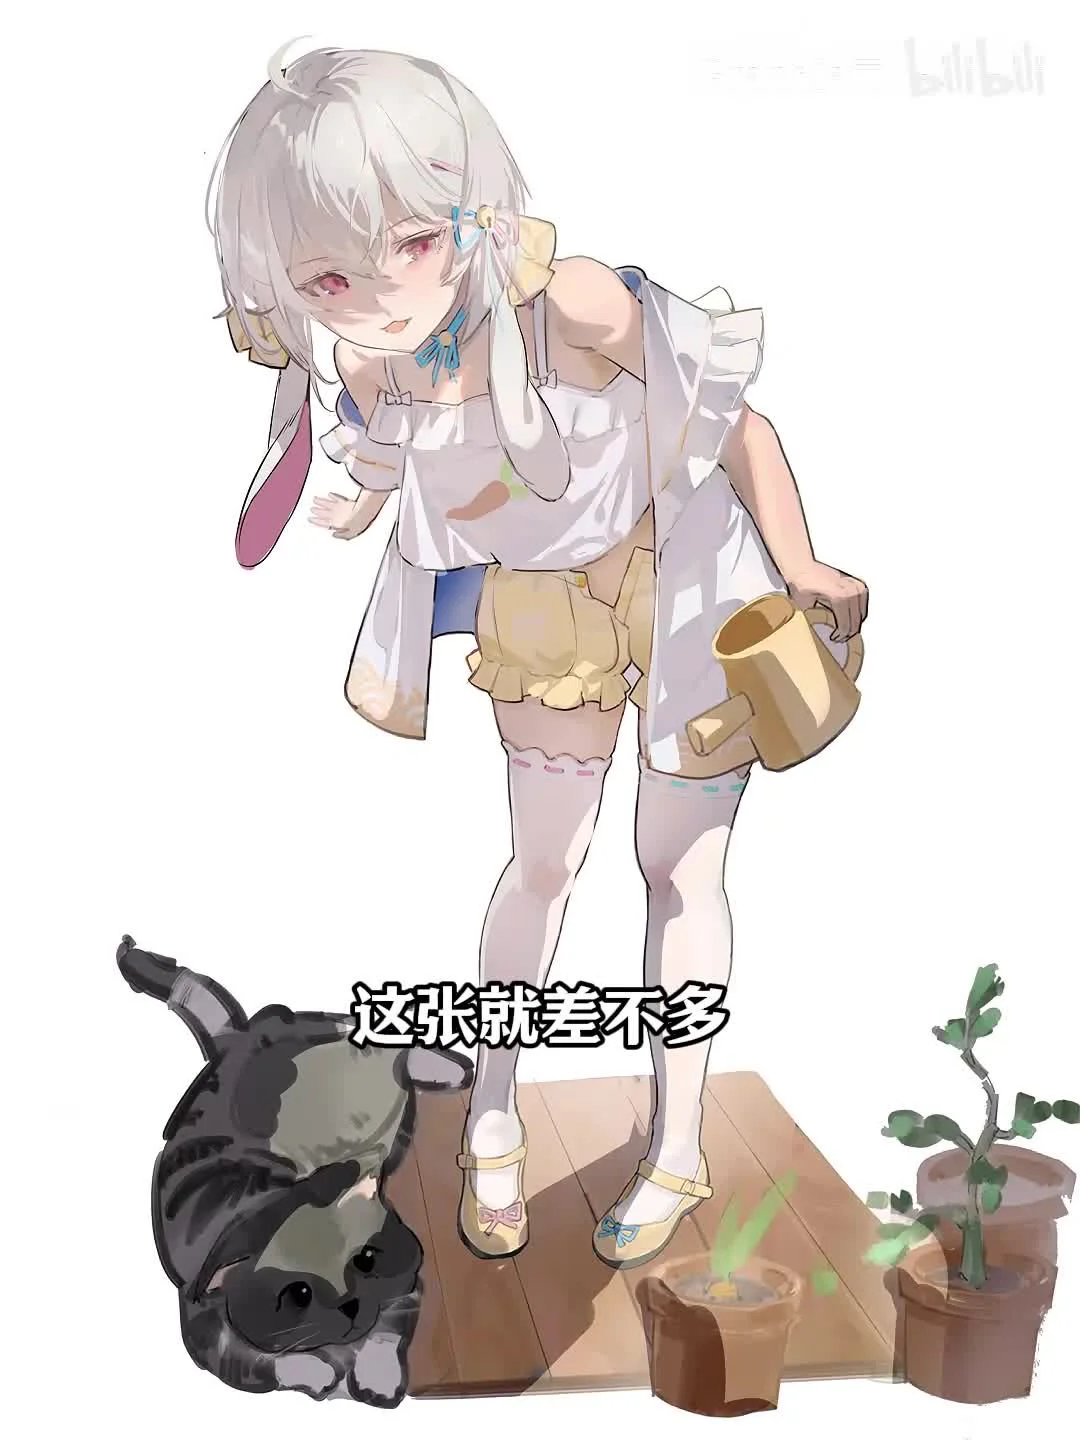
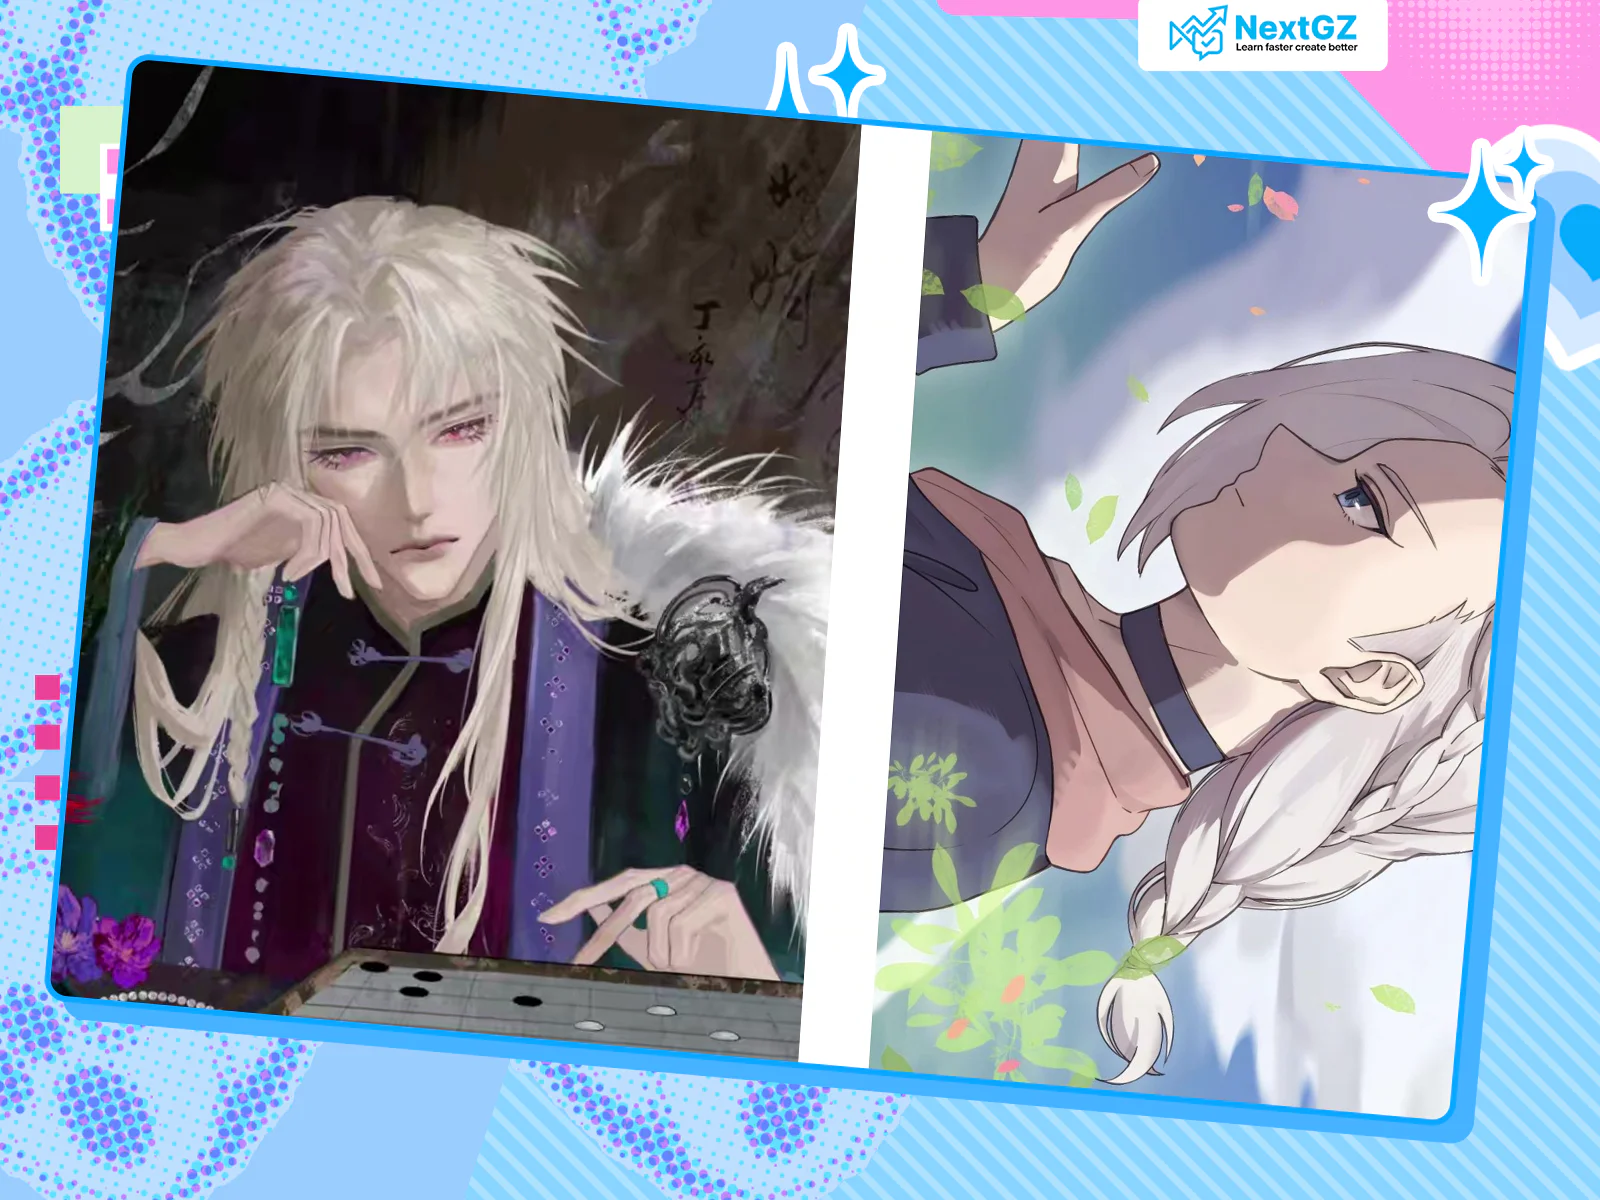
3. Steps to Draw Lively and Deep Hair
Hair is a part that requires patience and the skill of combining different brushes. Here is a step-by-step process to help you handle hair effectively:
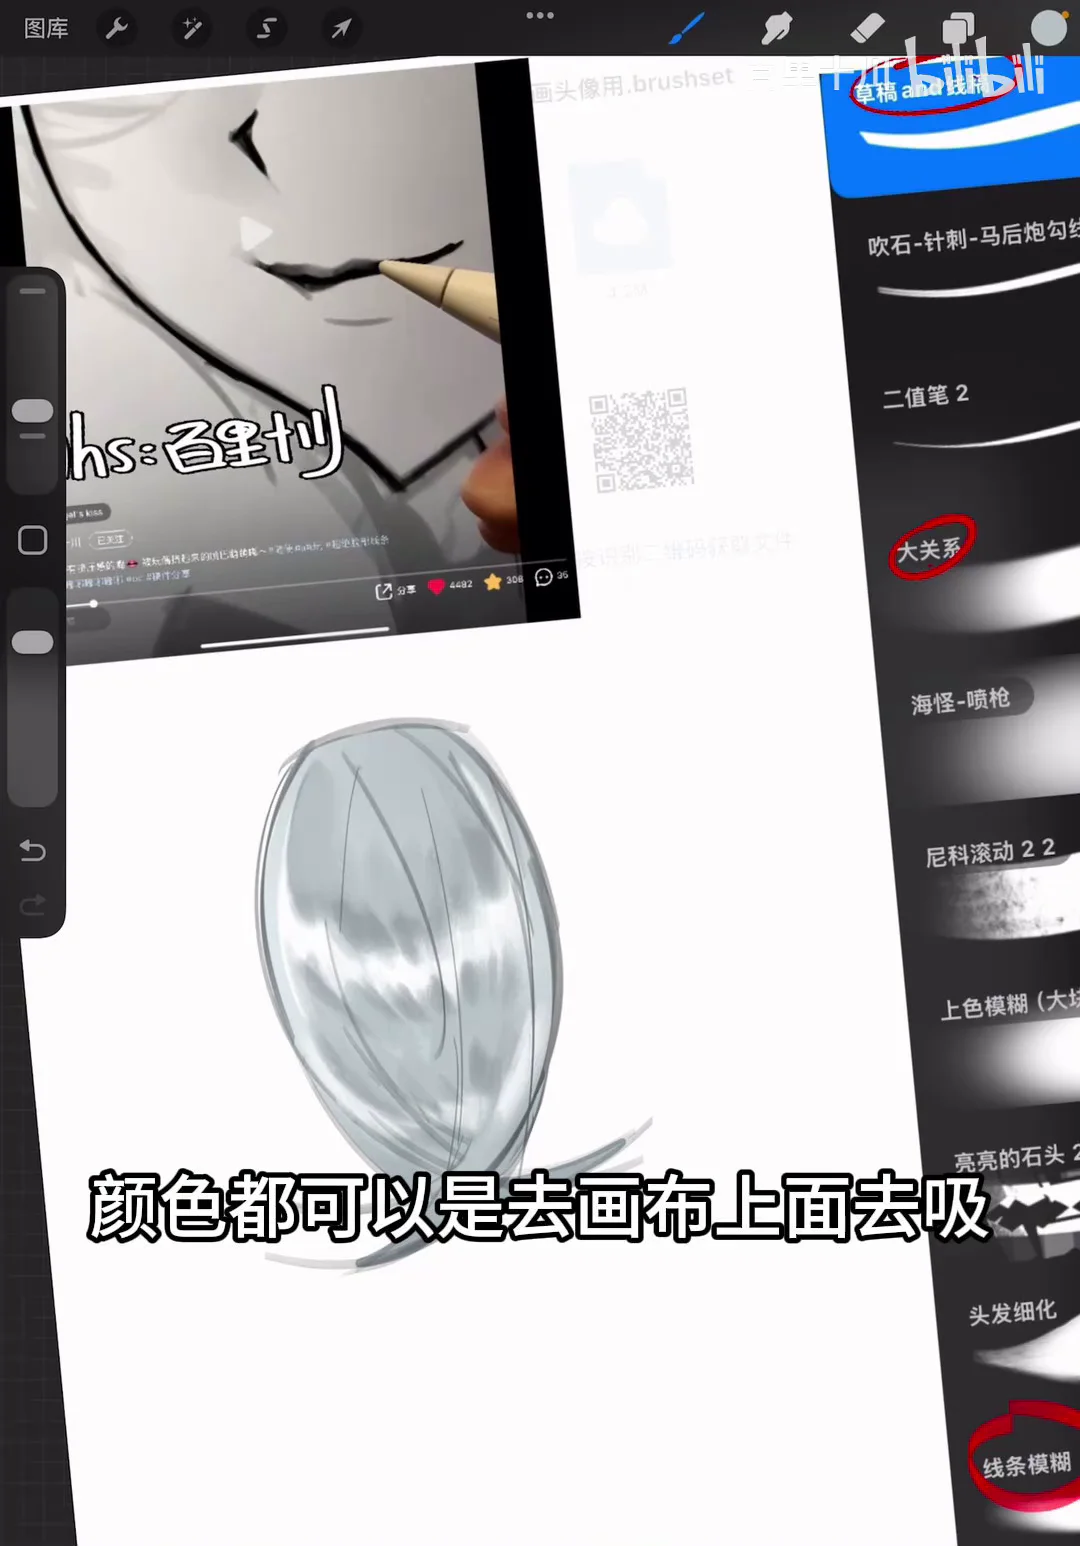
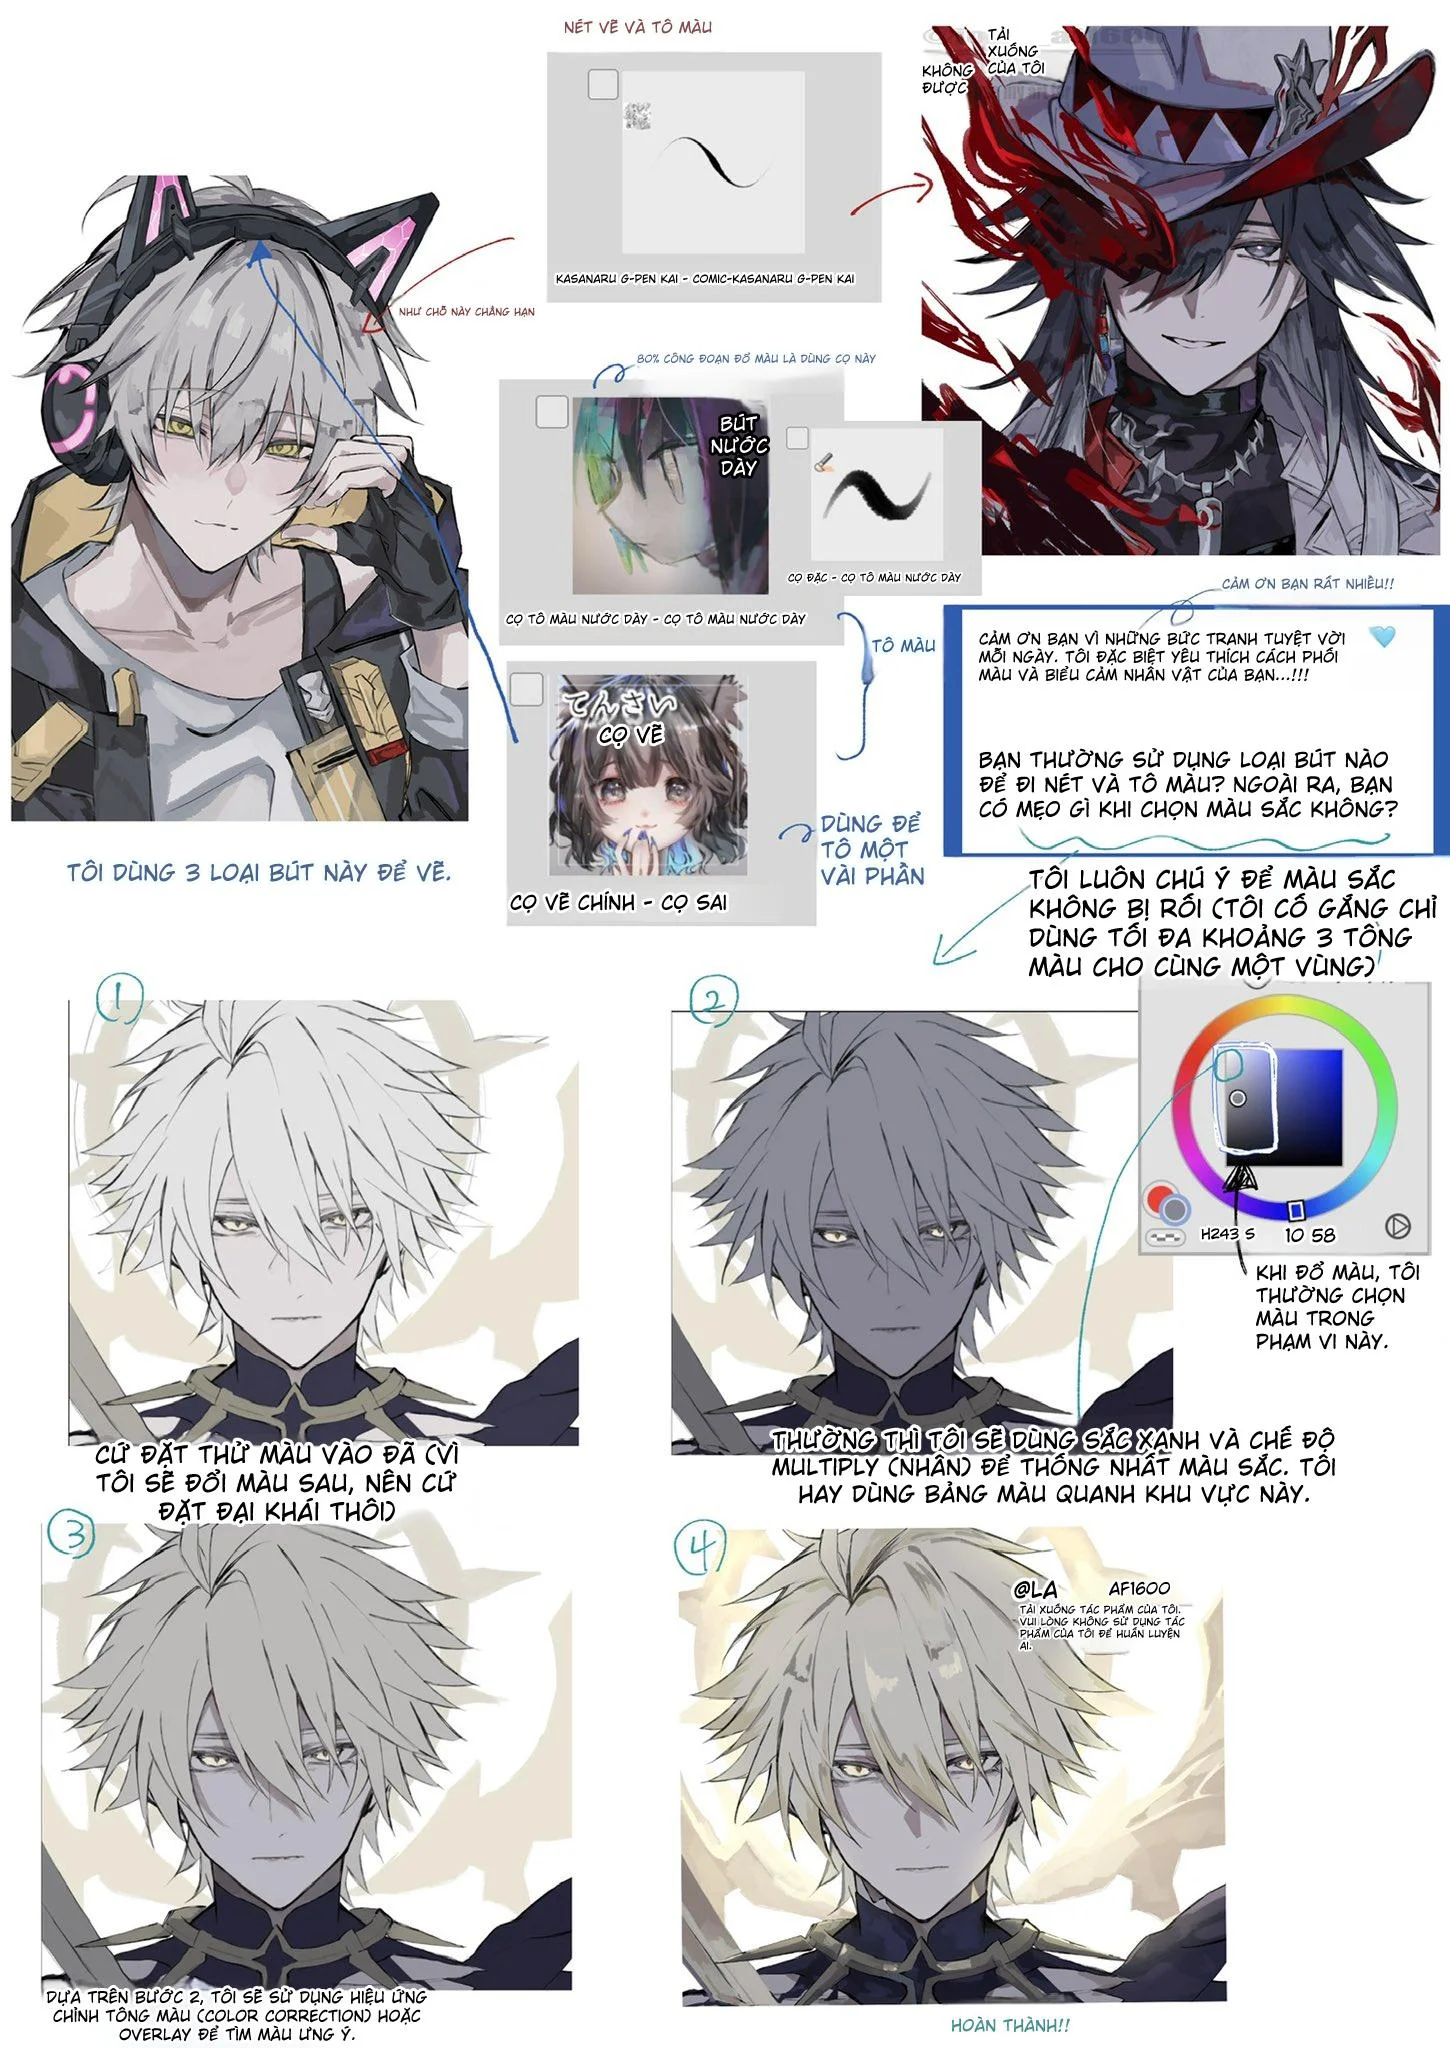
Base Color and Gradient Effects
First, use a hard brush to lay down a solid base color for the entire hair. Next, use an airbrush to create a gradient effect in areas where light is blocked or at the hair ends.
To make the colors blend more naturally with the strokes, you can change the blend mode of the stroke layer to Linear Burn and slightly reduce the Opacity.
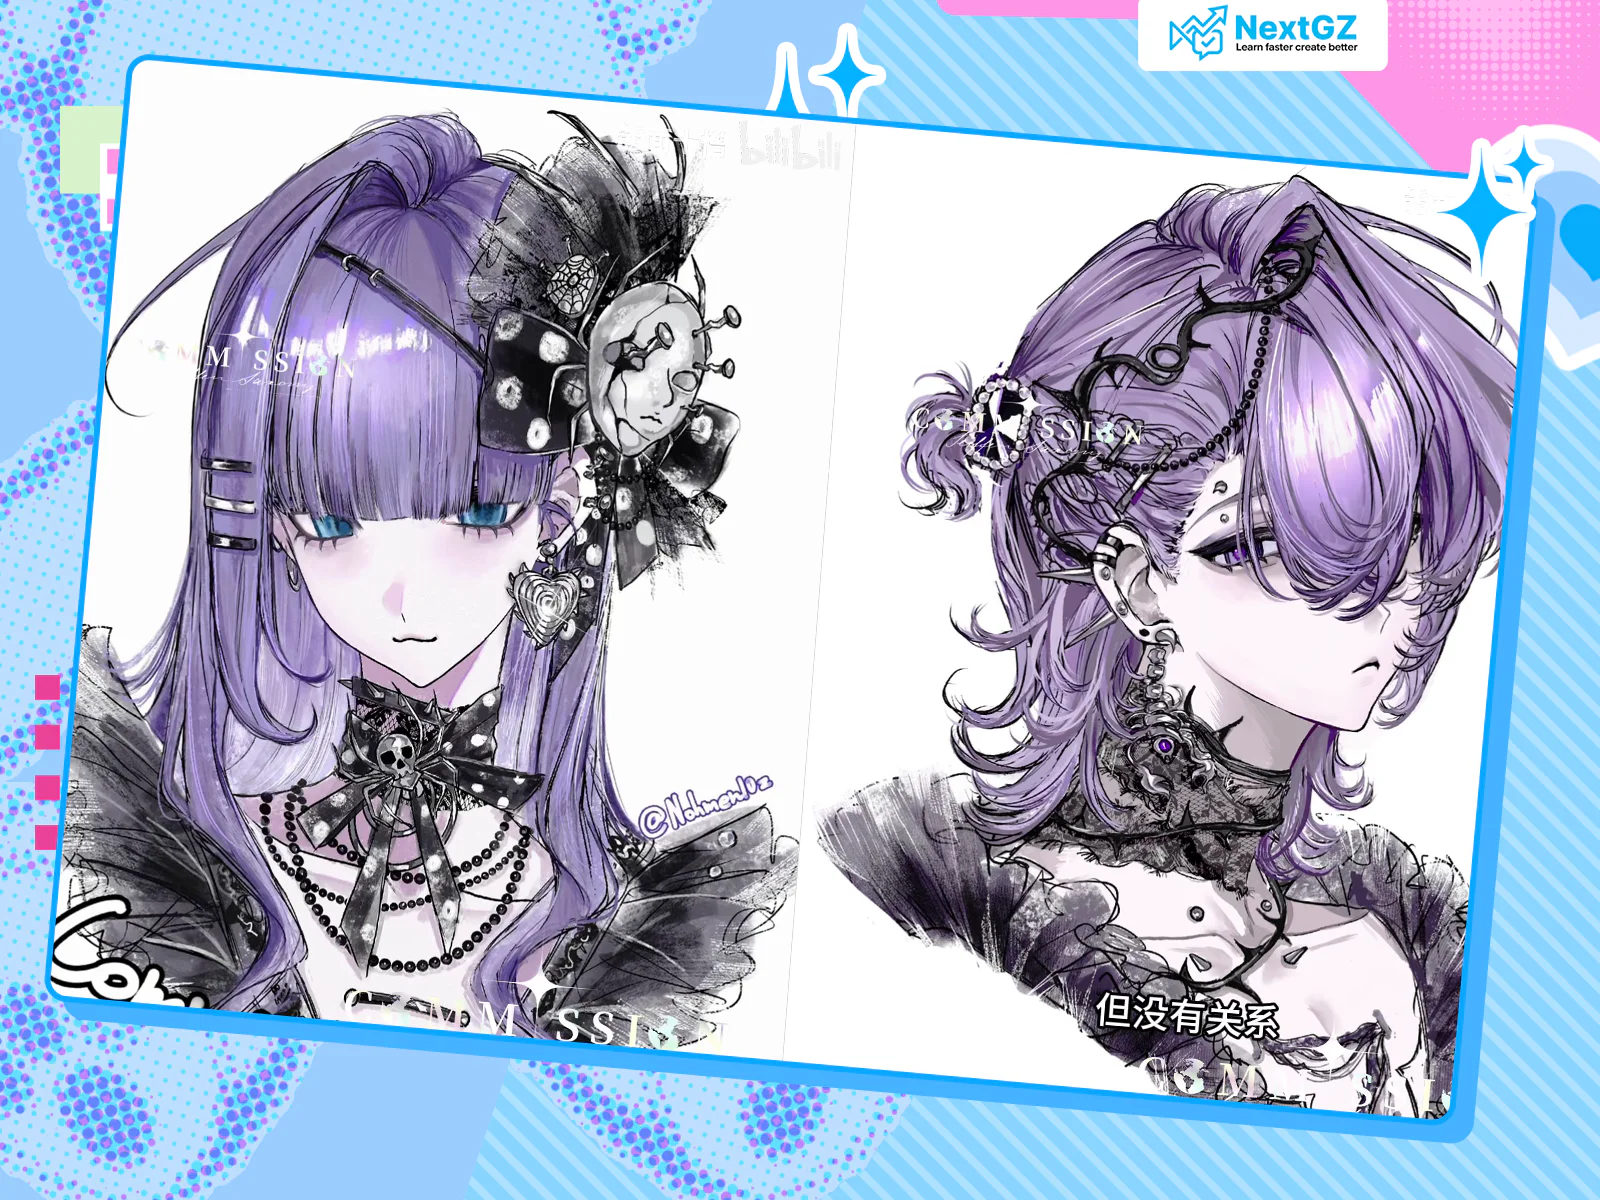
Detailing Hair Strands
When detailing hair, instead of using overly sharp brushes, prioritize brushes with slightly rough or soft edges. This helps the strands look fluffy and airy.
Highlighting
This step determines the glossiness of the hair. You can use a soft blending brush to paint an arched stroke where the light hits the most. Then, pick the base hair color, use a darker shade to press in on both sides of the light area. This highlight compression technique will make the light area pop significantly.
Another great tool for highlights is the Nico Roll brush. Just sweep a gentle curve, change the blend mode to Add, and reduce the opacity. The highlight will blend perfectly into the hair.
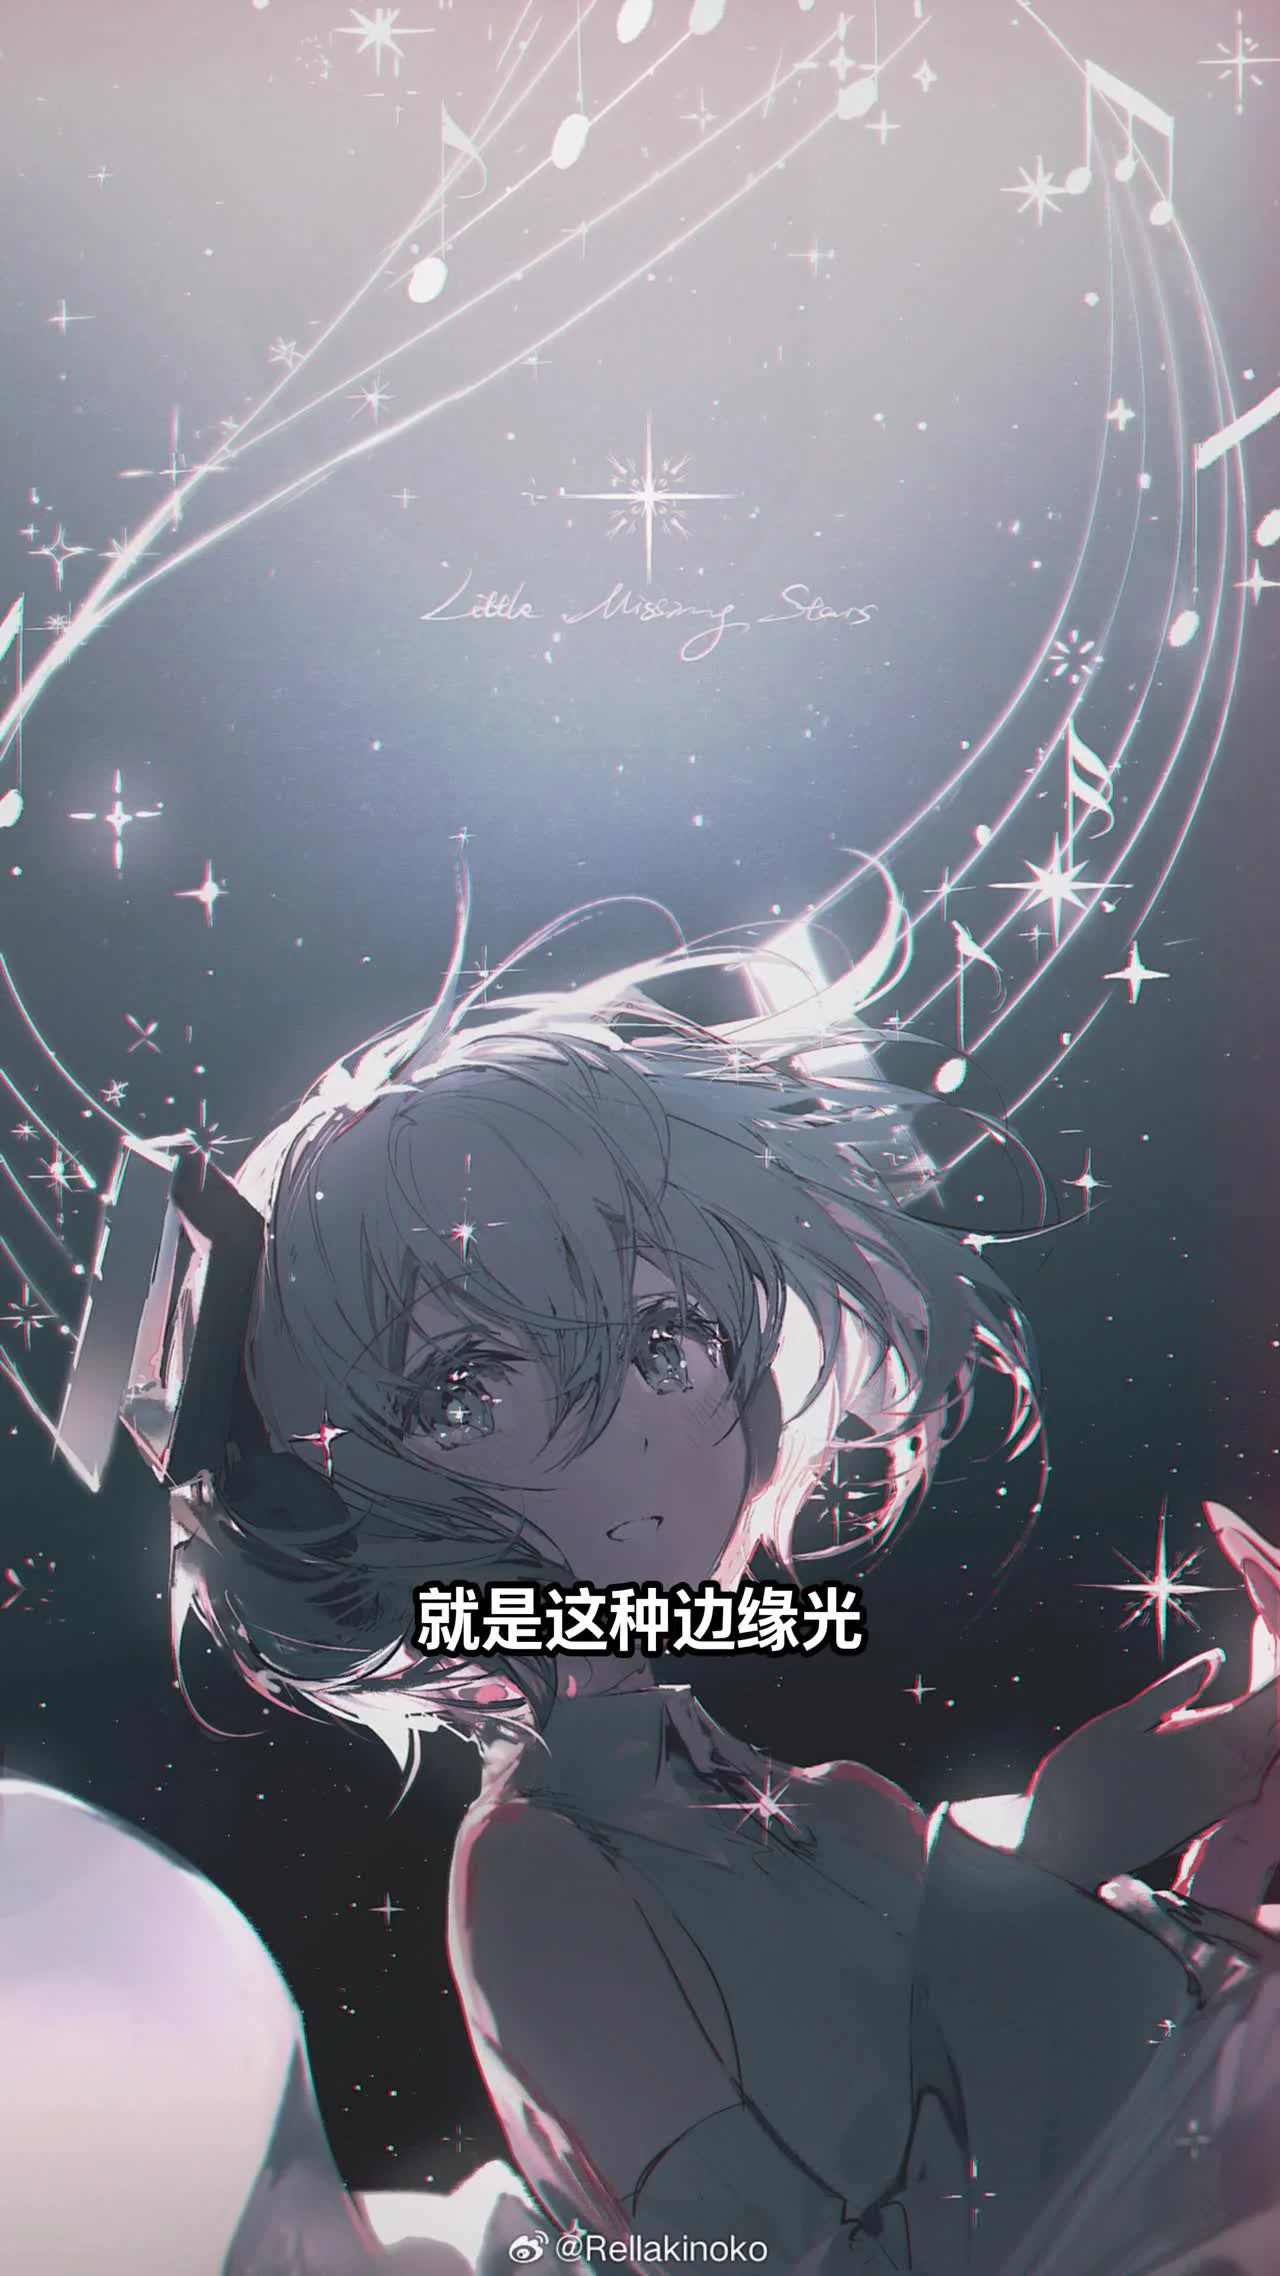
4. Adding Sparkling Accents and Finishing Touches
To make the artwork more eye-catching, don't forget to add some small sparkling effects. You can use a gem brush or hard accent brushes (often a two-finger brush) to dot a few sparkles onto the hair or jewelry. This method is extremely quick but delivers a high visual impact.
Finally, use a large block brush or a soft blending brush to review the overall piece, smooth out any harsh color areas, or add a thin color tone layer over the top to create cohesion in the lighting.
Conclusion
Understanding and mastering the available tools will make your creative process much easier and more enjoyable. I hope these shares about the free Procreate brush set and basic drawing techniques will be helpful for your upcoming projects.
If you want to learn more about other techniques like color correction guides or composition analysis, feel free to leave a comment below. Wishing you productive and fun drawing sessions!
Bình luận
0 bình luận
Đăng nhập để tham gia thảo luận cùng cộng đồng!
Đăng nhập ngayĐang tải bình luận...