How to Color Soft, Silky Anime Blonde Hair: A 4-Step Process from Base Color to Detailed Finish
Guide to painting soft, smooth anime blonde hair in 4 steps: base color, first layer of shading, second layer of shading, increasing saturation at boundaries, highlights, and finishing with clean, fine hair strands—easy to apply.
 Free
Free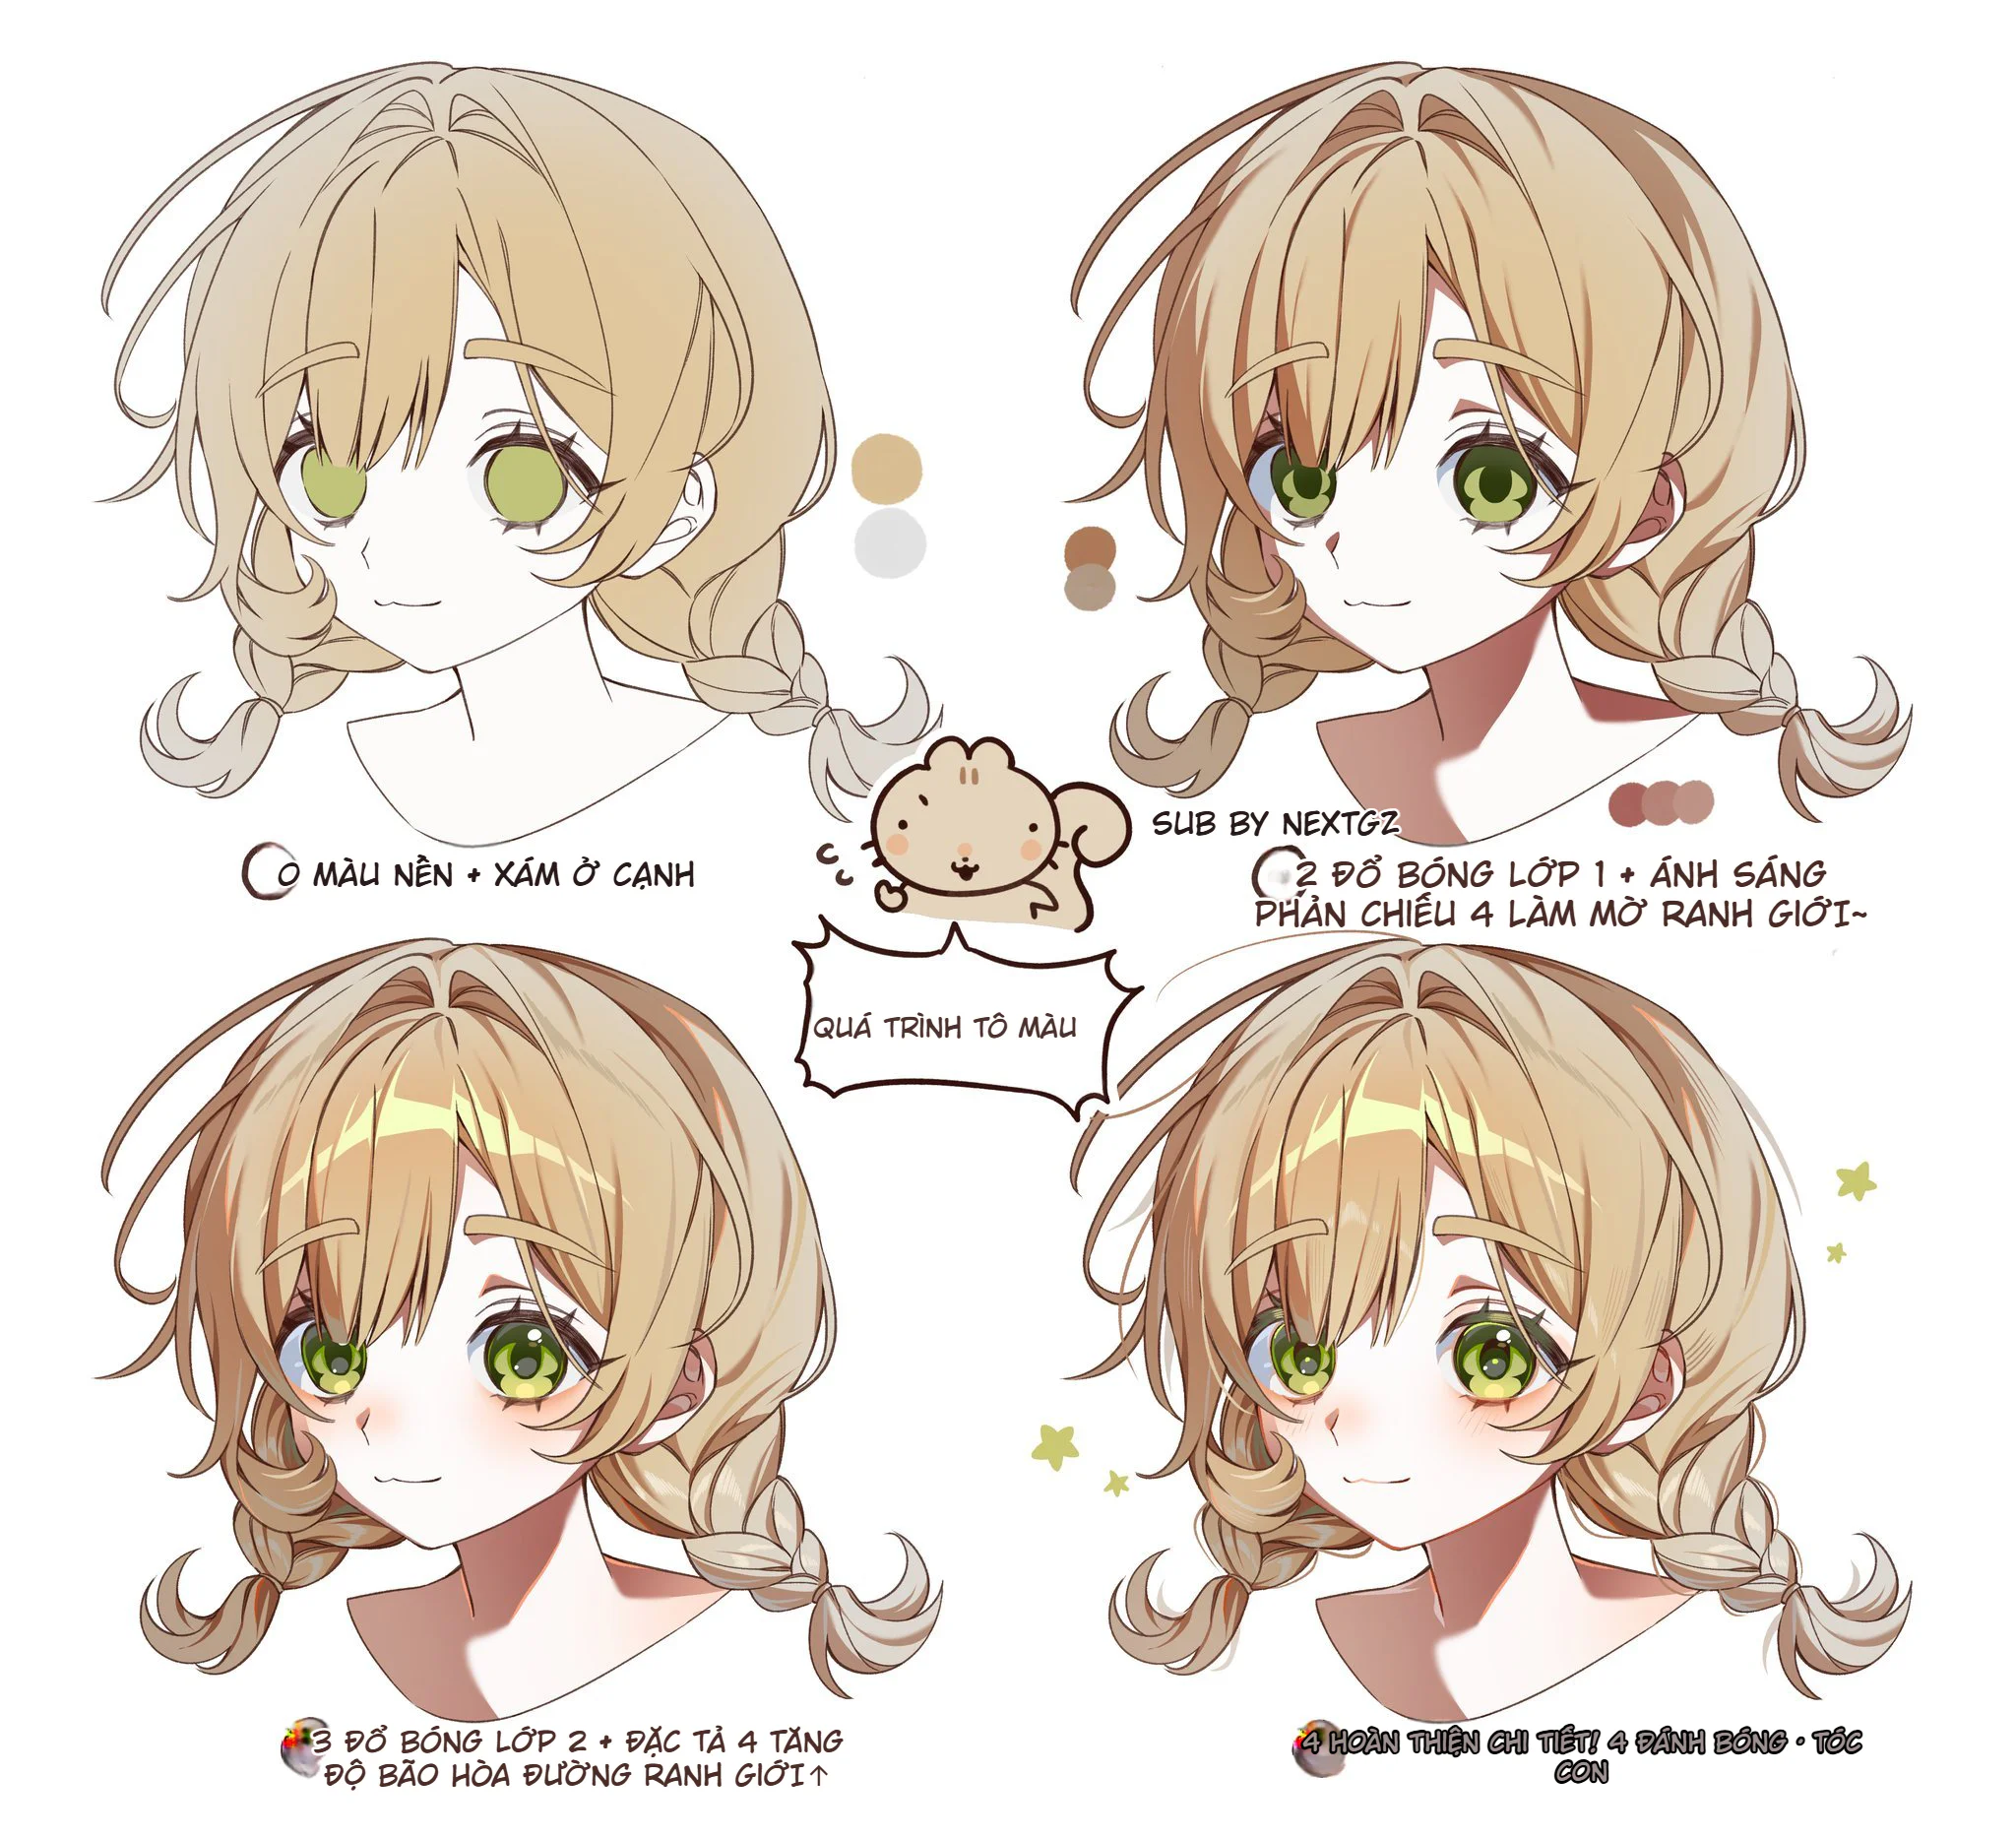
Author: @Bamg00N__
This new image illustrates a very neat yet extremely stable workflow for the style of bright-colored, soft, clean anime hair with a subtle shine reminiscent of modern illustrations. The great thing is that it doesn't try to render the hair heavily, nor does it overuse too many complex layers. Instead, the entire process is condensed into 4 very clear stages: base color + edge gray, first shadow layer + reflected light to soften boundaries, second shadow layer + increased saturation at contact lines, and finally detailing, polishing, and adding flyaway hairs. This breakdown aligns well with many hair coloring tutorials on Clip Studio TIPS, where artists often start with a flat color, add a main shadow layer, then increase depth with a second dark layer, a differently-toned reflected light, and finishing details at the end.
The most valuable lesson from this image is that it proves a very real point: beautiful hair doesn't necessarily need to have too many individual strands from the start. What makes hair look more "premium" is often clear large shapes, correctly placed shadows, appropriately softened edges, and well-controlled highlights. Clip Studio TIPS also repeatedly emphasizes that hair coloring should start with large shapes, hair clump flow, and color transitions based on form first, before adding reflected light and small details later.
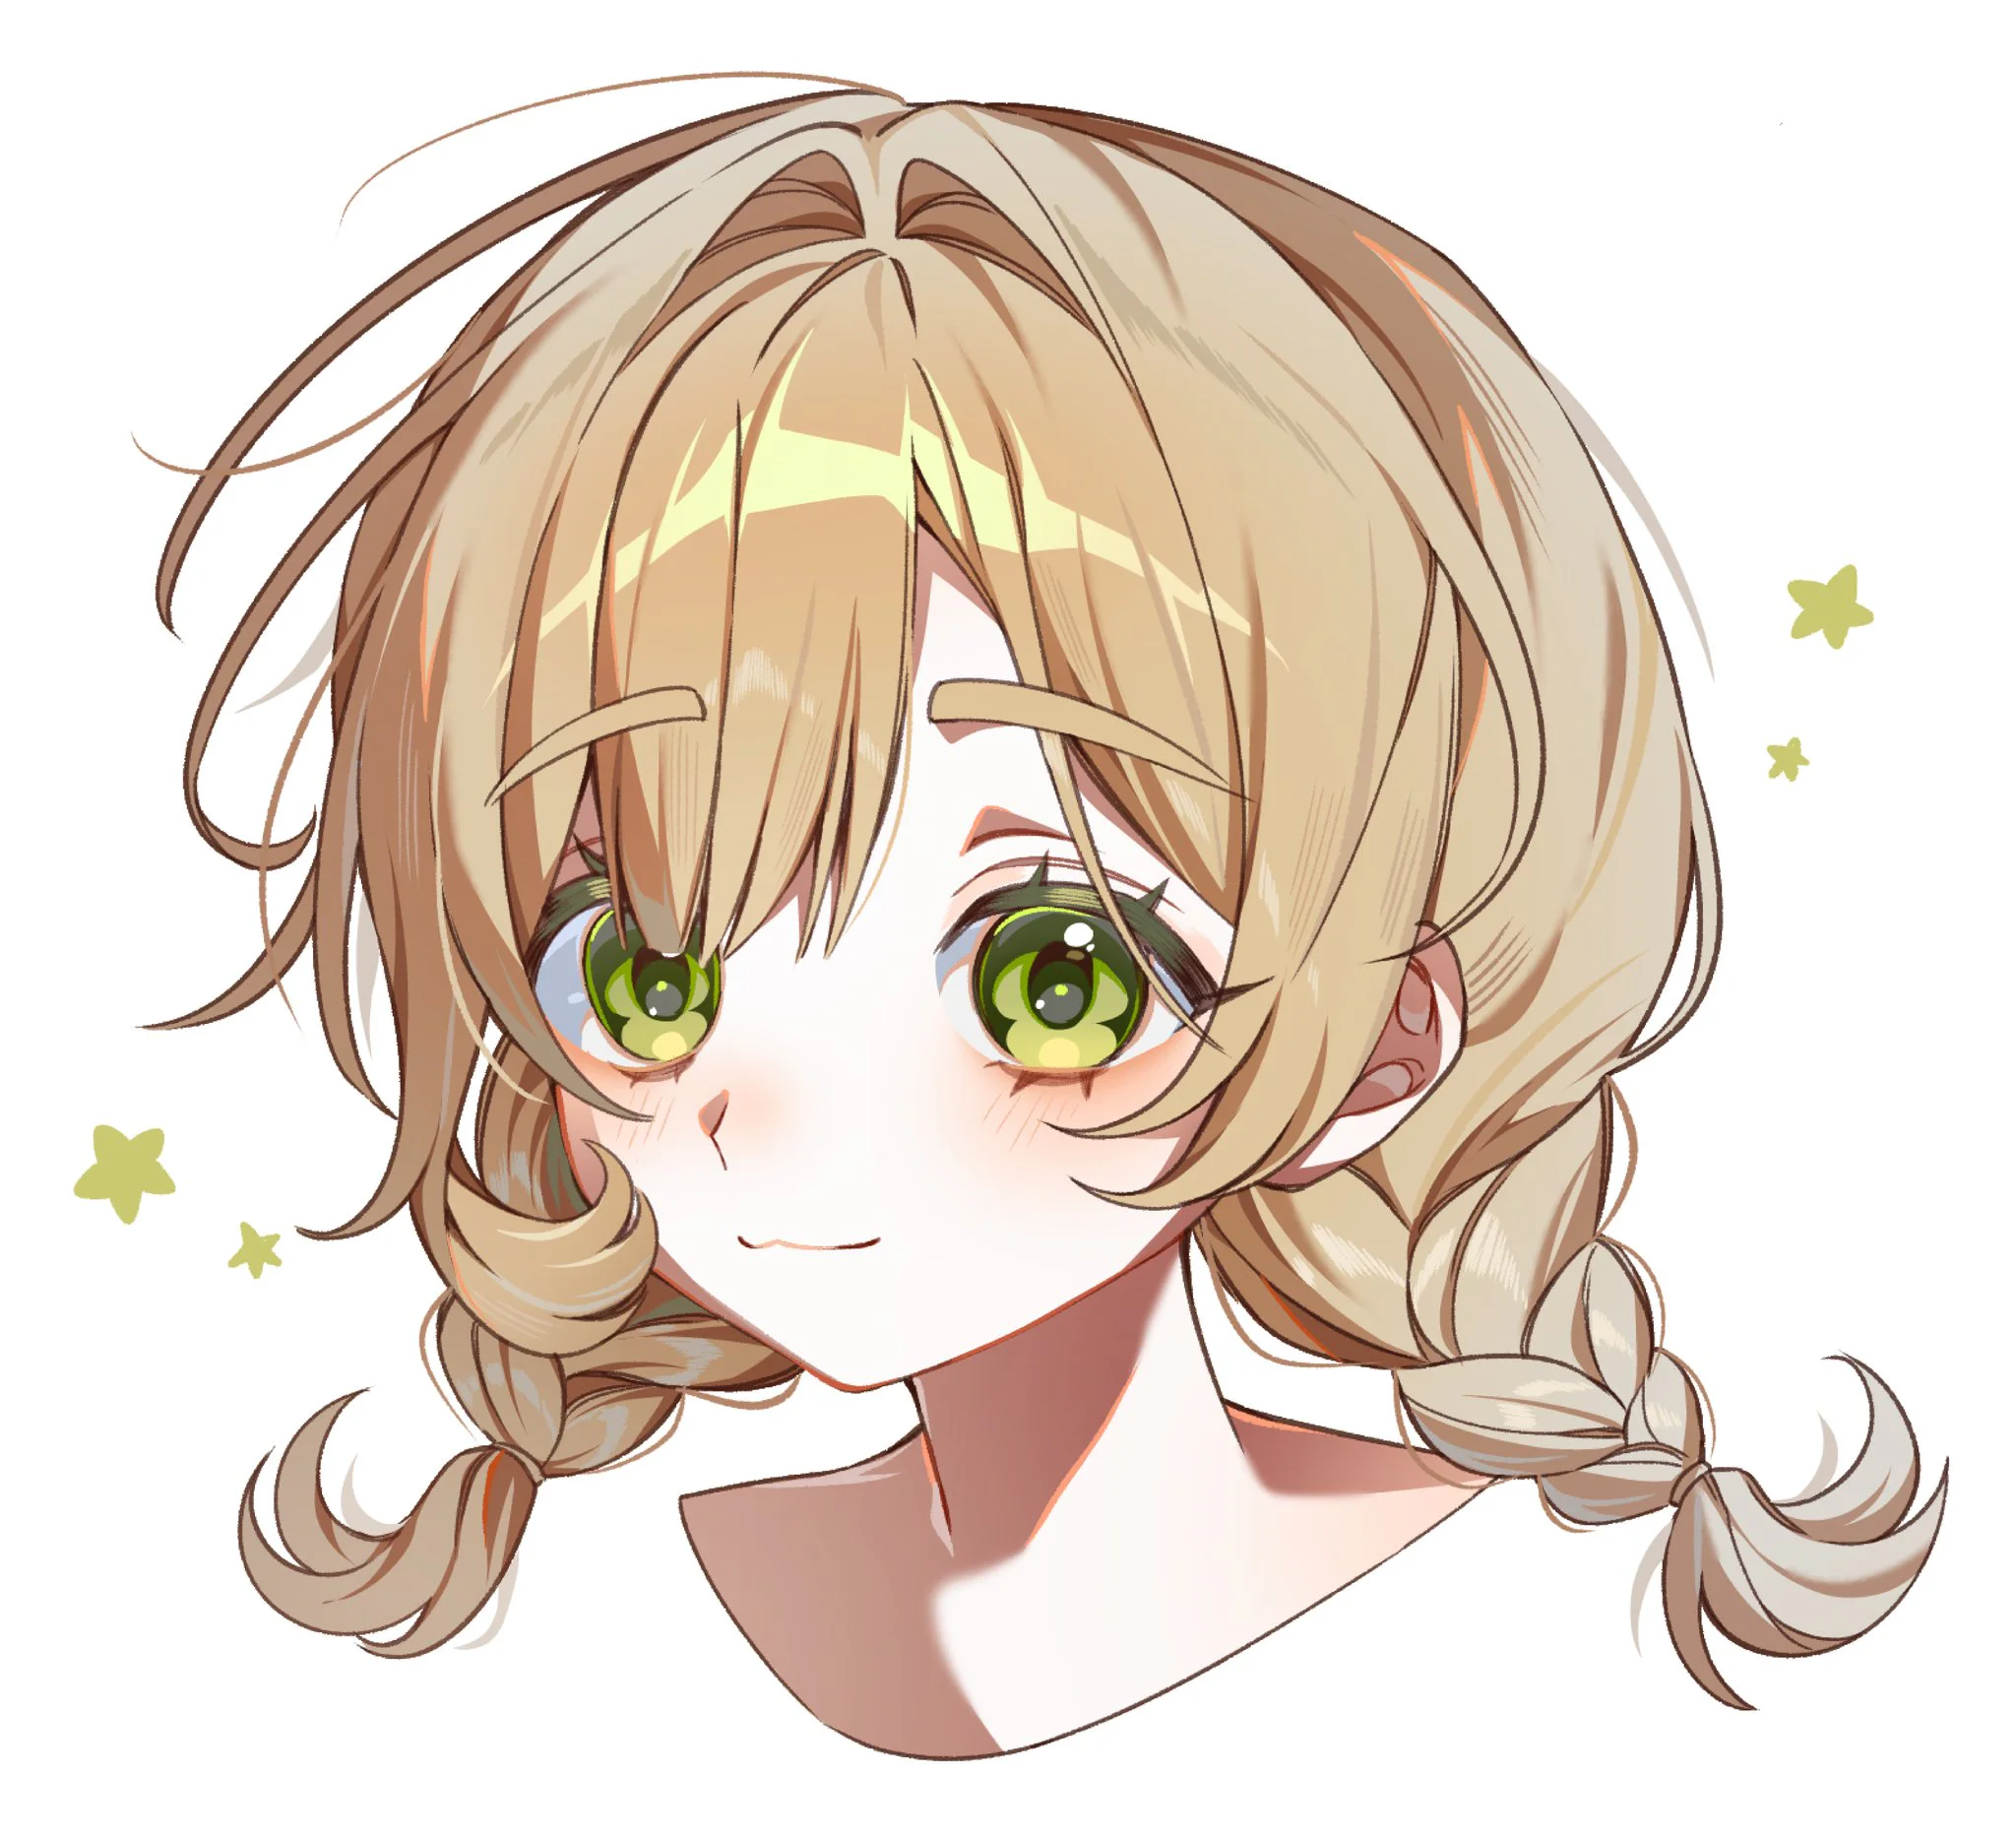
Image Overview: What hair style is this tutorial teaching?
This is a soft beige blonde anime hair style, leaning towards:
thin, clean lineart
clearly separated clumps that aren't too stiff
shading with large shapes
subtle reflected light at dark edges
some light-dark boundaries having increased saturation to make the hair less chalky
highlights placed according to hair flow, not randomly
flyaway hairs added only in the final step to increase naturalness
It's very suitable for female anime portraits, cute character illustrations, pastel fanart, or styles that need a gentle, bright, and sweet visual feel.
Step 1: Base Color + Gray at the Edges
The first frame in the image clearly states: base color + gray at the edges. This is an extremely important step because bright-colored hair, especially blonde hair, is very prone to a common flaw: looking too "flat" or too "plastic." Adding a layer of gray or light grayish brown at the edges from the start helps the hair have more volume and thickness, instead of just being a plain beige yellow block.
This method is actually very logical in terms of workflow. When coloring hair, many artists don't fill with a single color and then worry about the rest; they often immediately add a bit of hue or value change at the edges, roots, or clump boundaries to prevent the base from looking dead. Clip Studio TIPS also describes adding soft gradients and a second color layer from the early stage as a way to increase depth for hair movement.
Another very noteworthy detail is that the hair's lineart is tinted brown, not left as solid black. Coloring the lineart can make the artwork softer and gentler, instead of being stiff like original black manga lines. Clip Studio TIPS clearly states that coloring your lineart is a way to make artwork feel softer and richer in color.
Step 2: First Shadow Layer + Adding Reflected Light to Blur Boundaries
The second frame states: first shadow layer + reflected light to blur boundaries. This is a very valuable idea. Many beginners often divide hair into very distinct light and dark areas, and immediately the hair looks stiff. Meanwhile, this image shows that after placing the first shadow, the author added reflected light or a secondary light layer at the shadow's edge so the transition isn't too harsh.
In hair coloring tutorials on Clip Studio TIPS, reflected light is used quite frequently to make hair less dry and add a new color tone to dark areas. One tutorial clearly states that reflections can be added along hair edges or at the ends of hair clumps, and often use a color slightly different from the main tone to enrich the hair color, for example, blue hair might use purple or cyan for reflected light. That principle applied to blonde hair is also very effective: just adding a cool or creamy light layer at the rim will make the hair "breathe" immediately.
Simply put, step 2 does two things simultaneously:
blocking in large dark shapes to give the hair form
rescuing the light-dark boundary from being cut too sharply
This is where many people skip, so hair often looks flat or like folded paper.
Step 3: Second Shadow Layer + Detailing + Increasing Saturation at the Boundary Line
The third frame is a step very worth learning if you want hair to look more "delicious" without heavy rendering: second shadow layer + detailing + increasing saturation at the boundary line.
The second shadow layer isn't used to completely break the old shape, but to:
make some dark areas deeper
redefine some important hair clumps
draw the viewer's eye to focal areas
give the hair more levels of depth instead of just a single light-dark layer
Clip Studio TIPS also describes this logic correctly: after the first shadow layer, many artists will add a Multiply 2 or a darker shading pass to make the hair color richer and deeper. Multiply is a blend mode very commonly used for shadows because it darkens the layer below in a way that maintains the overall hue quite well.
But what makes frame number 3 truly great is the detail of increasing saturation at the boundary line. This is an extremely powerful trick for coloring bright hair. If only dark shadows touch the light pale area, the hair can easily look "chalky" or dirty gray. When you add a bit of warmer, more intense, or brighter hue right at the intersection of light and dark, the hair will look much more alive. Tutorials on color theory for hair coloring on Clip Studio TIPS also emphasize using stronger interactive colors or color mixing to make hair less muddy and have better color depth.
In short:
the second shadow layer creates depth, while saturation at the boundary creates color richness.
Step 4: Finishing Details, Polishing, and Adding Flyaway Hairs
The final frame states: finishing details, polishing, flyaway hairs. This is the step many people like to jump into too early, but it should actually be left for last.
By this point, the hair already has:
a clear color base
first shadow layer
second shadow layer
reflected light
boundaries with color rhythm
Only then comes the "makeup" part for the hair:
adding a few finer highlight streaks
clarifying intersections of hair clumps
adding flyaway hairs at the edges or around the hairline
adjusting some hard/soft edges
brightening a few spots to make the hair look shinier
In hair coloring tutorials on Clip Studio TIPS, the finishing step often includes highlights, reflections, line cleanup, and a few hair strands to break the overly clean, industrial feel. Many articles also emphasize not drawing too many flyaway hairs, as overusing them will make the hair messy and lose its large shape.
In this image, the flyaway hairs are used like "seasoning": added just enough to make the hair less fake, not turning the whole head into a frizzy broom. That's a very solid point.
Why is this 4-step workflow effective?
Because it correctly solves the 4 biggest problems when coloring bright hair:
1. Keeps the hair color clean
Starting from a simple base color and soft lineart helps prevent the hair from looking heavy from the start.
2. Has volume but isn't stiff
The first shadow layer creates form, while reflected light softens the light-dark boundary.
3. Has color depth
The second shadow layer and increased saturation areas make the hair less chalky, less flat.
4. Has a finished look
Highlights, details, and flyaway hairs make the hair look more alive, but because they're done last, they don't ruin the overall composition.
What if you want to apply this workflow on Procreate?
Although the image doesn't specify software, this workflow translates very well to Procreate. Procreate has:
Brush Library to manage and select brushes for different roles
Blend Modes for layers, where Overlay functions as a combination of Multiply and Screen to enhance midtone light-dark areas
Smudge and brush blending to soften transitions
Brush Studio to fine-tune grain, brightness, contrast, and how brushes pick up color
Meaning if you're coloring hair on Procreate, you can still follow the exact formula from the image:
base → shadow 1 → reflected light → shadow 2 → increase saturation at boundaries → highlights → flyaway hairs.
Tips to prevent blonde hair from looking flat or muddy
Here are a few points taken directly from the image and common hair coloring workflows:
Don't let the base be just one flat yellow color.
Don't leave lineart as solid black if the artwork is going for a soft direction.
Don't cut light-dark boundaries too straight and dry.
Do add subtle reflected light at shadow edges.
Do have at least one deeper shadow layer to lock in the focal point.
Increasing saturation at a few boundary lines will greatly rescue bright-colored hair.
Only add flyaway hairs after the large shapes are stable.
Conclusion
This new image is a very practical tutorial for bright-colored anime hair. It doesn't teach from an overly heavy anatomical hair perspective, nor does it cram in too many tricks. It simply shows you a very worthwhile process to keep: base color + edge gray → first shadow layer + reflected light to soften boundaries → second shadow layer + increase saturation at contact points → finish with highlights and flyaway hairs. This is also logic very close to many hair coloring articles on Clip Studio TIPS, where artists often start from flat color, add gradient/multiply to increase depth, then use reflections and final details to make the hair more alive.
If I had to sum it up in one concise sentence:
the greatest strength of this tutorial is knowing where to stop — enough shadow for volume, enough color for richness, enough detail for beauty, but never breaking the large hair shapes.
Where should anime hair coloring start?
It should start from a clean base color and clear hair shape, then add large shadows. Many hair coloring tutorials also follow the logic of flat color first, then shading and reflections.
Why should bright-colored hair have gray or a secondary color at the edges?
Because if it's just one flat bright color, the hair easily looks flat. Adding a secondary color at the edges helps the hair have depth and read volume better.
What is reflected light in hair used for?
Reflected light helps soften the light-dark boundary and adds a new color tone to dark areas, making the hair look richer in color.
Should Multiply be used when shading anime hair?
Yes. Multiply is a very common blend mode for shading because it darkens the layer below and helps the hair color look deeper.
Why should flyaway hairs be added in the final step?
Because flyaway hairs should only be finishing details. If added too early, you can easily lose the large hair shapes and the artwork becomes messy.
Đánh giá bài viết
More from author
Cách vẽ nhân vật nam manga ngầu bằng mắt cụp, tóc đen bóng và halftone
So sánh các cách học Mẹo Vẽ Ký Họa Cảnh Đường và cách chọn hướng
Tự Học Clip Studio Paint Cơ Bản: Hướng Dẫn Toàn Diện Cho Người Mới Bắt Đầu

Bộ Sưu Tập 48 Brush Information Volume Tạo Chi Tiết Và Texture Cực Đỉnh Cho PS, Procreate, CSP
You might also like
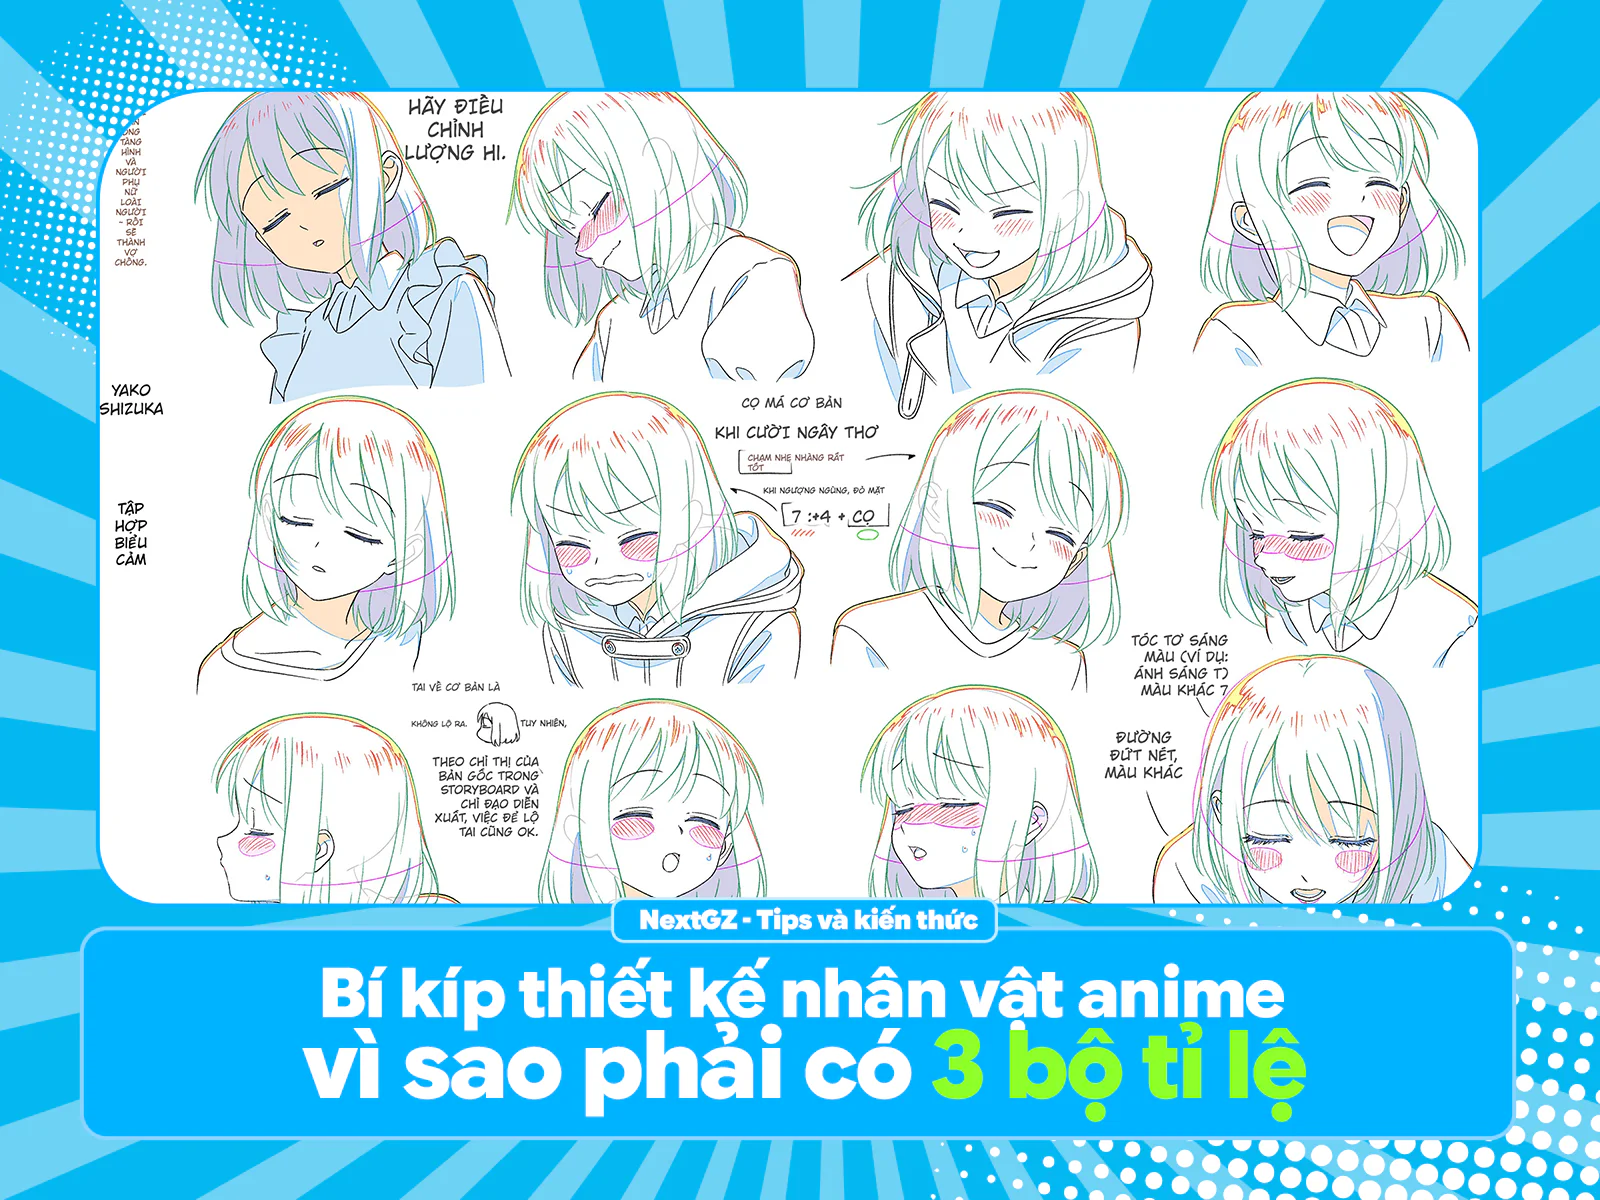
Bí kíp thiết kế nhân vật anime: vì sao phải có 3 bộ tỉ lệ và ~50 biểu cảm?
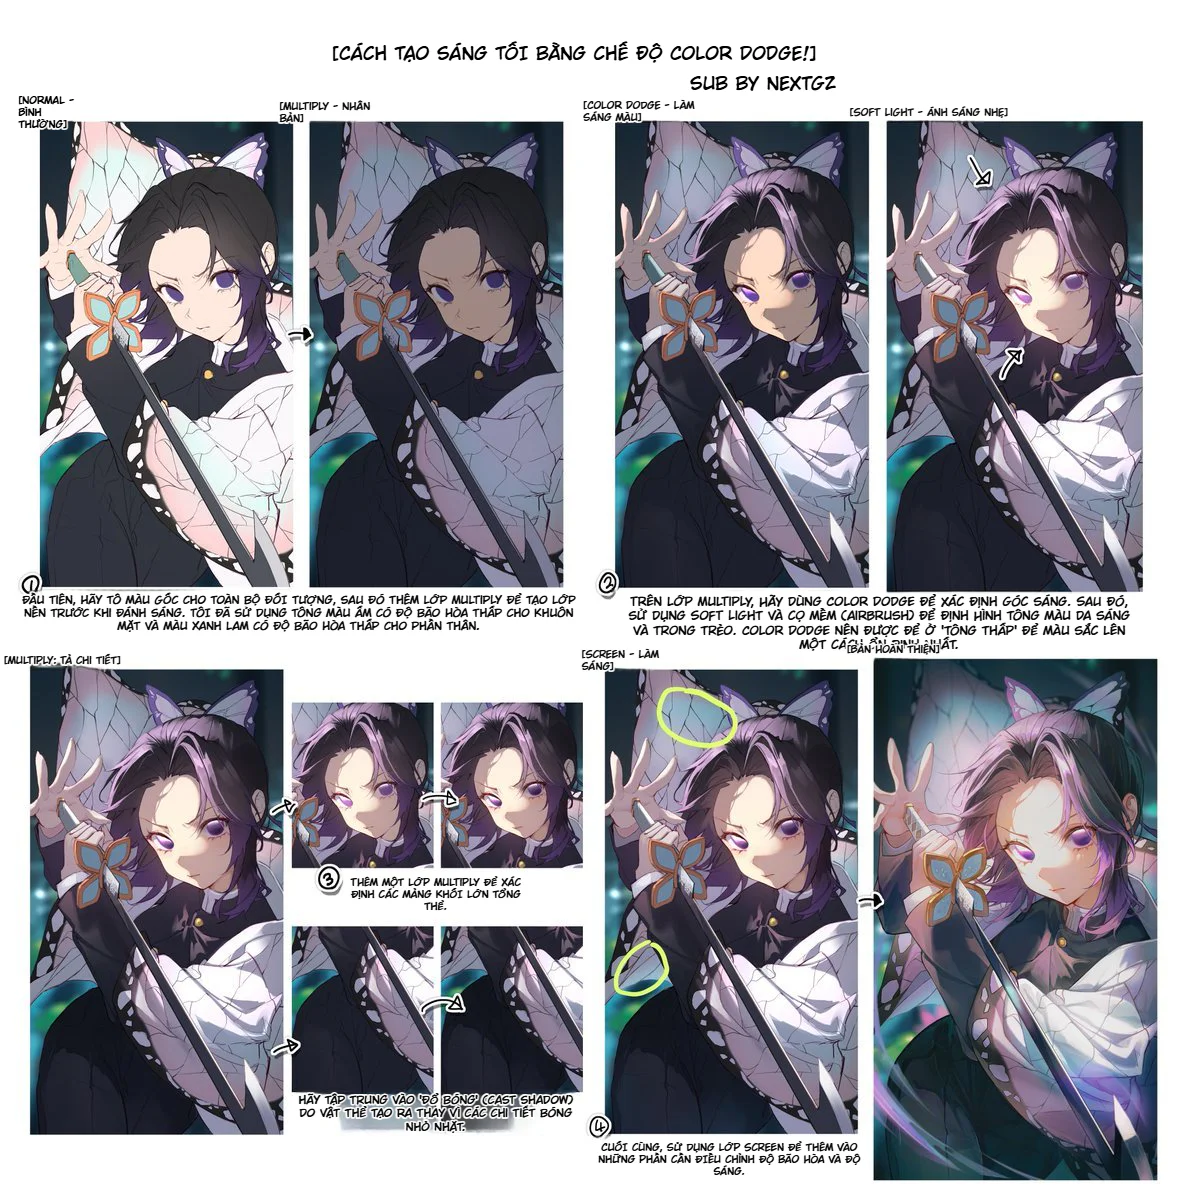
Cách tạo sáng tối bằng Color Dodge: workflow render ánh sáng cho tranh anime
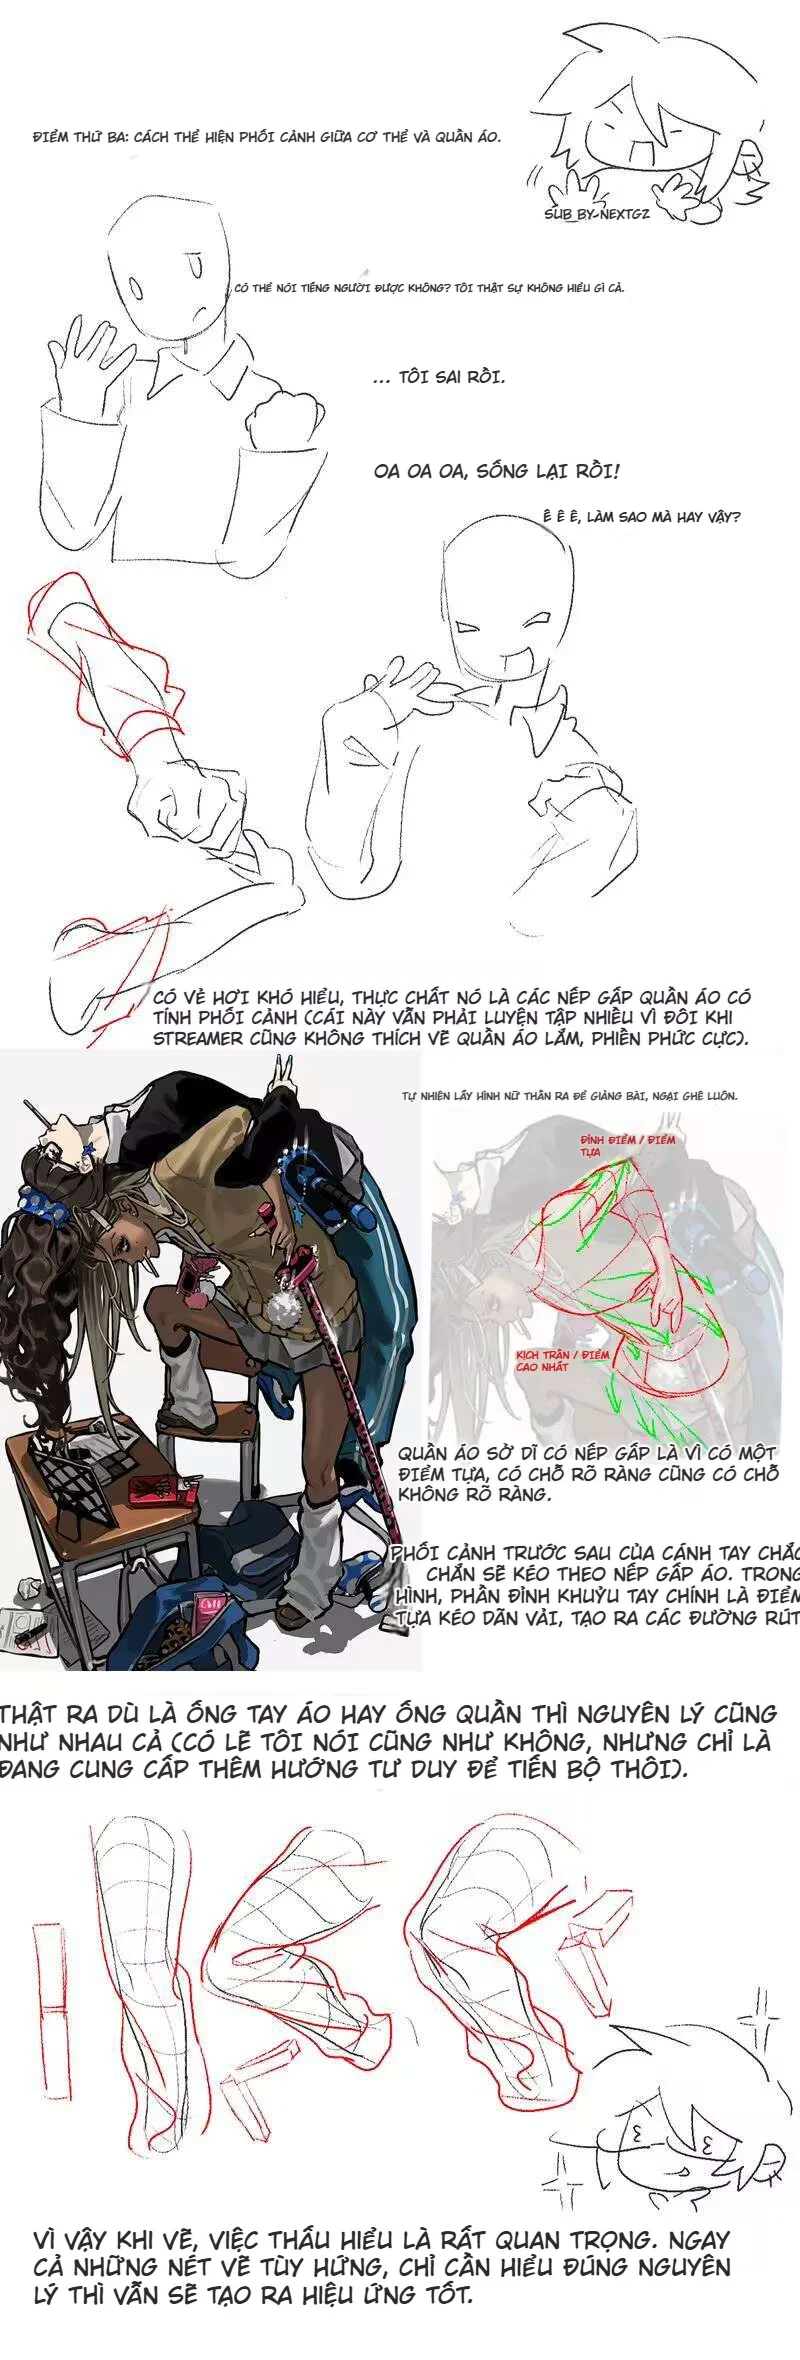
Cách vẽ dáng người sinh động: tư duy động thái cơ thể cho người mới học vẽ

Bình luận
0 bình luận
Đăng nhập để tham gia thảo luận cùng cộng đồng!
Đăng nhập ngayĐang tải bình luận...